I was halfway through the hallway of my nephew’s cottage near Salisbury last Tuesday—a lovely little thing built around 1890, though the floorboards had seen better days—when I heard it: that dreaded, hollow click-clack of a poorly fitted plank. He’d tried to save a few quid by skipping the underlay, thinking he could just whip it up in an afternoon. People often think that learning how to lay laminate flooring is just a matter of clicking pieces together like a child’s puzzle, but if you don’t respect the subfloor first, you’re merely building a future headache. You can buy the most expensive oak-effect boards in the shop, but if the ground beneath them isn’t dead level, you’ll be hearing those boards groan every time you walk to the kitchen for a brew.
I’m not going to give you any of those glossy, polished instructions you see in the magazines that make it look easy. Instead, I’ll walk you through the actual, messy reality of the job. I’ll tell you exactly which tools you actually need (and which ones are a waste of money), how to handle those tricky door frames without losing your temper, and why expansion gaps are the most important thing you’ll do all day.
Table of Contents
- Step-by-Step Instructions
- Mastering Subfloor Preparation Steps for a Level Walk
- Essential Laminate Flooring Tools List for the Hands on Diyer
- A Few Bits of Advice Before You Start Hammering
- A Few Things to Remember Before You Start
- A Bit of Advice Before You Start
- A Final Look Before You Sit Down
- Frequently Asked Questions
Guide Overview
Tools & Supplies
- Tape measure for accurate layout
- Rubber mallet for tapping planks into place
- Spacers to maintain expansion gaps
- Utility knife or saw for cutting planks
- Tapping block to protect plank edges
- Laminate flooring planks (calculate area + 10% waste)
- Underlayment or foam padding (one roll per area)
- Laminate installation kit (includes spacers and tapping block)
- Transition strips for doorways
Step-by-Step Instructions
- 1. Before you even think about opening those boxes, you need to acclimatise the wood. I’ve seen far too many people rush this, only to find their new floor buckling two weeks later because the boards weren’t used to the humidity in the room. Bring the packs into the house at least 48 hours before you start, and leave them in the exact room where they’ll be laid.
- 2. Now, you must get down on your hands and knees and check the subfloor. I spent thirty years looking at foundations, and I can tell you that a laminate floor is only as good as what sits underneath it. If there’s a stray bit of grit, a rogue nail, or a dip in the concrete, you’ll feel it through the planks every time you step. Use a straight edge to find the high and low spots, and if it isn’t perfectly level, get some self-levelling compound down before you go any further.
- 3. Lay down your underlay, but don’t go overboard with the thickness. You want something that provides a bit of cushion and damp protection, but if you use something too plush, the joints will start to stress and snap under the weight of a heavy sideboard or a dining table. Overlap the edges slightly and tape them together so you don’t have any gaps where a bit of dust might settle.
- 4. When you start your first row, you’ll need to leave an expansion gap around the perimeter of the room. This is non-negotiable. Most people think they can push the boards right up against the skirting board, but wood moves—it breathes, much like we do. Use a couple of spacers, about 10mm thick, to keep that gap consistent along every wall and around the door frames.
- 5. Start your first row against the longest, straightest wall. Once that’s down, you’ll click the next board into place at an angle, much like a jigsaw puzzle. You’ll need a tapping block and a rubber mallet to ensure the joints are tightly seated without bruising the edges of the laminate. If you try to force them with a hammer alone, you’ll end up with gaps that no amount of sealant will ever fix.
- 6. For the ends of the rows, you’ll have to cut the boards to size. Use a sharp mitre saw if you have one, but a simple hand saw will do if you’re patient. Once cut, push the board into the row and click it home. When you get to the end of a row, you’ll often have a piece left over; if that piece is at least 30cm long, save it for the next row. Starting your next row with a piece from the previous one keeps the joints staggered, which is what makes the floor look professional rather than like a cheap patchwork quilt.
- 7. Once you’ve reached the far wall, you’ll likely find the last row needs a bit of trimming. This is the fiddly bit where most people lose their temper. Measure carefully, cut, and then use your spacers one last time to ensure you haven’t pushed the floor too tight against the wall. Finally, remove the spacers and fit your skirting boards back over the top to hide those expansion gaps. If you’ve done it right, the floor should look like it’s been there since the house was built.
Mastering Subfloor Preparation Steps for a Level Walk
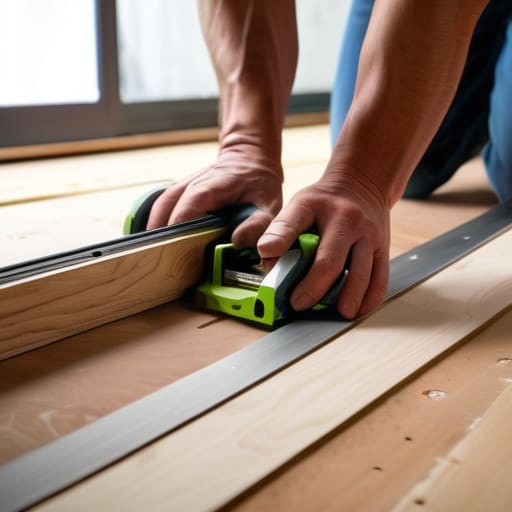
Now, don’t let the fancy adverts fool you; the most important part of the job happens before you even open a single box of planks. I’ve seen too many people rush into a click lock flooring installation only to find their new floor bouncing like a trampoline underfoot. If your subfloor isn’t dead level, you might as well be trying to lay a tablecloth over a pile of gravel. I spent forty years inspecting floorboards in old cottages across Wiltshire, and the lesson is always the same: if there is a dip deeper than three millimetres over a two-metre span, you need to fix it. Whether you’re using a self-levelling compound or just patching up some old timber, get it flat now or you’ll be paying for it in creaks later.
When you’re checking your progress, you’ll likely find yourself debating trowel vs roller for flooring compounds. If you’re working on a concrete screed, a good trowel is your best friend for smoothing out those edges. Once the surface is dry and clean, give it a once-over with a straight edge to ensure there are no hidden bumps lurking in the corners. It’s tedious work, I know, but a bit of elbow grease today saves you a lot of heartache when you’re finally walking across the finished room.
Essential Laminate Flooring Tools List for the Hands on Diyer
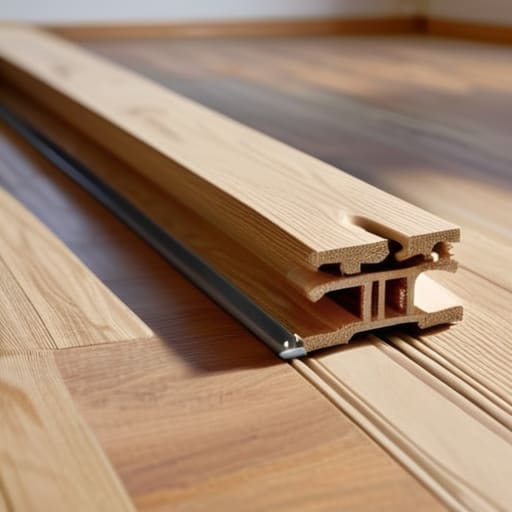
Now, before you go rushing off to the local DIY shop, let’s get one thing straight: half the jobs I saw during my years surveying were botched simply because someone tried to wing it with a kitchen knife and a hammer. A proper laminate flooring tools list isn’t about buying the most expensive kit; it’s about having the right bits to do it once and do it right. You’ll need a good tapping block and a pull bar—don’t try to force those click lock flooring installation joints together with your bare hands or you’ll end up with a bruised thumb and a broken tongue.
You must also pick up a decent pack of laminate flooring spacers. I’ve seen many a well-meaning homeowner skip these, only to find their floor buckling when the temperature shifts in November. You need that expansion gap against the skirting boards, or you’ll be wishing you’d spent the extra fifty pence. Finally, grab a rubber mallet. A metal hammer will crack your boards faster than a frost cracks a garden path, and I’d rather not hear about it when we meet at the post office next week.
A Few Bits of Advice Before You Start Hammering
- Don’t go rushing in straight from the shop; you need to leave those boxes in the room where they’re going to live for at least forty-eight hours. If the floor is cold and the wood is warm, they won’t play nice together, and you’ll be dealing with gaps by next winter.
- Keep an eye on your expansion gaps. I’ve seen plenty of a job go wrong because someone forgot to leave a bit of breathing room around the edges of the skirting boards. Wood moves, and if it doesn’t have a place to go, it’ll buckle and ruin the whole lot.
- Watch your pattern. It’s easy to get halfway through a room and realise you’ve ended up with tiny, pathetic little slivers of flooring at the far wall. Plan your layout before you click the first plank into place so you don’t end up with a mess.
- If you’re working on a floor that isn’t perfectly straight, don’t try to force the planks to bend to your will. If you have to hammer too hard to get a joint to close, stop and check what’s underneath; you’re likely fighting a bump in the subfloor.
- Mind the clicking mechanism. It’s the most delicate part of the whole system. If you’re too heavy-handed with the tapping block, you’ll snap the tongue off, and then you’ve got a piece of expensive timber that’s nothing more than a glorified coaster.
A Few Things to Remember Before You Start
Don’t rush the subfloor; if you try to hide a dip or a bump with the laminate, you’ll be hearing those annoying creaks every time you walk to the kitchen for a brew.
Buy a bit more than you think you need, because between the mistakes and the odd awkward cut around a radiator, you’ll be glad you didn’t run short halfway through.
Give the planks a day or two to sit in the room before you lay them, otherwise the change in temperature will make them warp faster than a cheap garden gate in a storm.
A Bit of Advice Before You Start
I’ve seen plenty of folks rush straight into clicking those planks together, only to end up with a floor that bounces like a trampoline; if you don’t take the time to get that subfloor dead level first, you’re just building a headache that’ll creak under your feet for the next twenty years.
Gordon Ellery
A Final Look Before You Sit Down
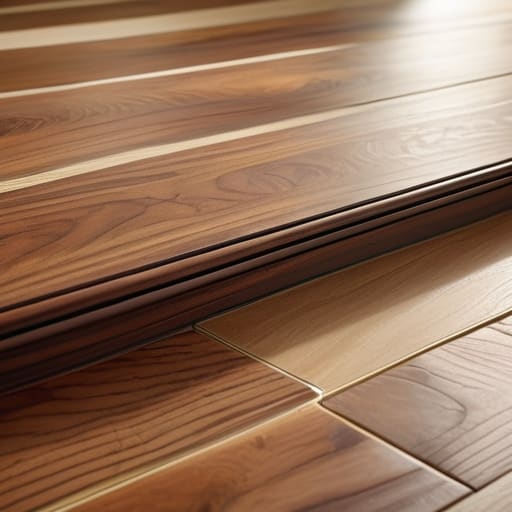
Now, once you’ve finished clicking those last few planks into place and you’ve cleared away the offcuts, take a moment to actually look at the work. We’ve covered a fair bit of ground, from the absolute necessity of a level subfloor—because a wonky base will haunt you for years—to making sure you’ve left that crucial expansion gap around the perimeter. If you’ve followed the steps, checked your measurements twice, and kept your spacers handy, you shouldn’t be left with any of those annoying hollow sounds when you walk across the room. It isn’t just about the surface layer; it’s about the preparation underneath that determines whether your floor lasts five years or twenty.
I know it can feel like a lot of heavy lifting, especially when your knees start protesting halfway through the afternoon, but there is a particular sort of satisfaction in looking at a room you’ve improved with your own two hands. It isn’t just about the aesthetics or the cost savings; it’s about the fact that you’ve looked after your home. A house is a collection of small, well-maintained details, and a solid floor is a fine place to start. So, once the skirting boards are back on and the dust has settled, pour yourself a cup of tea and enjoy the view. You’ve earned it.
Frequently Asked Questions
How much of a gap should I actually leave around the edges of the room to stop the boards from buckling?
Now, don’t let the temptation to butt the boards right up against the skirting tempt you. I’ve seen enough floors heave in the summer heat to know better. You need to leave a gap of about 10mm—roughly the width of a standard pencil—all the way around the perimeter. If you don’t give that floor room to breathe and expand, you’ll find yourself walking on a miniature mountain range by July.
Do I really need to lay an underlay, or can I get away with putting the laminate straight onto the subfloor?
You can certainly try, but I wouldn’t recommend it. I’ve seen too many folks skip the underlay to save a few quid, only to find their new floor clicking and clacking like a loose shutter in a gale. The underlay isn’t just for warmth; it levels out those tiny imperfections in the subfloor and keeps the moisture from the screed from warping your planks. Do it properly now, or you’ll be fixing it later.
If my room isn't a perfect rectangle—and most of the old cottages around here certainly aren't—how do I stop the pattern from looking crooked?
Most of the cottages I’ve valued in this corner of Hampshire weren’t built with a spirit level, let alone a right angle. If your room is wonky, don’t trust the walls. Instead, find the longest straight line you can—usually the main entrance—and snap a chalk line across the floor. Lay your first row along that line, not the wall. It’ll leave a slightly larger gap at the edges, but at least your floor won’t look like it’s sliding uphill.