
You don’t need a fancy electric whisk or a degree in food science to master this, despite what those glossy magazines in the village shop might tell you. I spent twenty minutes last Tuesday trying to follow one of those “instant” methods, only to end up with a runny, pale mess that looked more like watered-down custard than anything decent. The truth about how to make lemon curd is much more old-fashioned than that; it’s about patience and a bit of elbow grease. If you try to rush the heat, you’ll find yourself scraping a burnt, sulfurous layer off the bottom of your saucepan, and I can tell you from experience, that is a waste of good butter.
I’m not here to give you a list of complicated gadgets you’ll never use. Instead, I’m going to walk you through the proper, steady way to do it—the way that ensures a thick, silky texture every single time. I’ve tested this against several dozen variations over the years, and I’ll show you exactly when to pull it off the heat so you get that perfect, bright gold finish.
Table of Contents
- Recipe Instructions
- Finding the Right Citrus Curd Ingredients That Actually Work
- Mastering the Egg Yolk Ratio for Curd and Beyond
- Five Bits of Advice from a Man Who’s Burnt More Than His Fair Share
- A Few Final Bits of Advice Before You Start
- ## A Lesson in Patience
- A Final Word on the Curd
- Frequently Asked Questions
Recipe Instructions
Step 1
You’ll need three large lemons—look for ones with skin that feels thin and heavy for their size, as they’ve got more juice. Use a microplane or a fine grater to take the zest from all three, but be careful not to hit the white pith; that’s where the bitterness lives, and once it’s in the pot, there’s no getting it out.
Step 2
Squeeze the juice from those lemons into a heavy-bottomed saucepan. I always say a heavy pot is like a good foundation on a cottage—it distributes the heat evenly so you don’t get hot spots. Add about 150g of caster sugar and your four large egg yolks. Give it a good whisk until it looks like a pale, uniform slurry.
Step 3
Place the pan over a very low heat. This is the part where most people lose their patience, but you must resist the urge to turn up the flame. If you rush it, you’ll end up with sweet scrambled eggs, and that’s a waste of good ingredients and a perfectly good morning.
Step 4
Keep stirring. Use a wooden spoon or a silicone spatula, and make sure you’re scraping the bottom corners of the pan where the eggs like to hide and cook too quickly. You’ll know it’s working when the mixture starts to thicken and coat the back of your spoon, usually after about ten or twelve minutes of steady, patient stirring.
Step 5
Once it’s thick enough to hold its shape, take it off the heat immediately. I like to pass it through a fine sieve into a clean glass jar just to catch any stray bits of cooked egg or zest that didn’t quite make the cut. Let it cool on the counter; it will thicken up even more as it settles, much like a good mortar once the water has left it.
Finding the Right Citrus Curd Ingredients That Actually Work
You can’t get a proper result if you’re starting with those sad, thin-skinned lemons you see in the supermarket plastic tubs. I’ve spent enough time in my garden to know that a real, fragrant citrus curd ingredients list begins with fruit that actually has some weight to it. If the skin is soft, the juice will be watery, and you’ll find yourself fighting a losing battle for a smooth lemon curd texture. I always look for lemons that feel heavy for their size; that’s the juice tucked inside.
Once you have the fruit, you have to be mindful of the balance. I’ve seen plenty of people try to cut corners, but the egg yolk ratio for curd is what determines whether you have a rich custard or a runny disappointment. If you want that thick, spreadable consistency that holds its shape on a scone, don’t be stingy with the yolks. It’s a bit like repairing a dry stone wall—if your foundation isn’t solid, the whole thing will eventually slump. Just keep a close eye on the heat, and if you see any tiny bits of cooked egg, don’t panic; just get a sieve ready for straining lemon curd immediately.
Mastering the Egg Yolk Ratio for Curd and Beyond
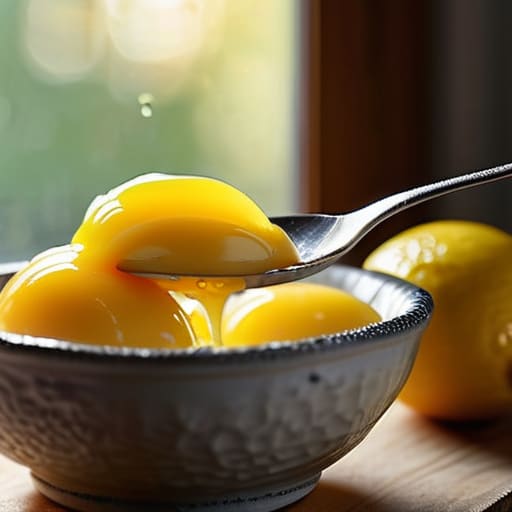
Now, if you’ve followed the recipe, you’ll have noticed that the difference between a runny mess and something you’d actually serve at a village fete lies entirely in the egg yolk ratio for curd. In my years, I’ve seen people try to skimp on the yolks to save a few pennies, but that’s a mistake. The yolks provide the lecithin needed to emulsify the fats and acids; without enough of them, you won’t achieve that smooth lemon curd texture that sits properly on a spoon. I remember an old baker in Salisbury who used to swear by adding one extra yolk for every three lemons, just to ensure the set was firm enough to withstand a bit of transport.
If you find your mixture has gone a little grainy—which happens to the best of us if the heat gets away from you—don’t bin it. Just grab a fine-mesh sieve and spend a minute straining lemon curd through it while it’s still warm. It’s a small bit of extra work, but it makes all the difference when using it as one of those homemade lemon dessert toppings for a scone or a sponge cake.
Five Bits of Advice from a Man Who’s Burnt More Than His Fair Share
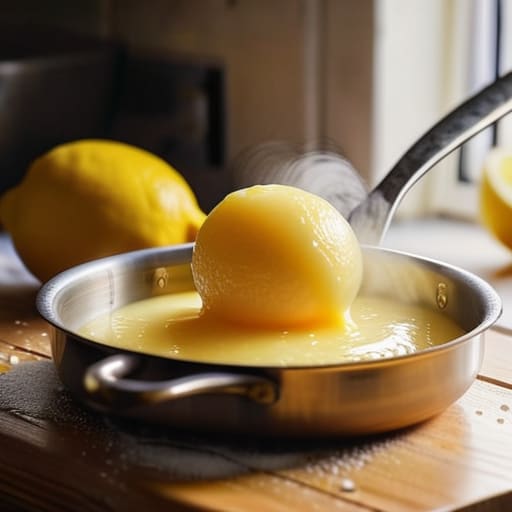
- Watch your heat like you’re watching the weather forecast; if you let the pan get too hot too quickly, you’ll end up with scrambled eggs in a lemon sauce, and no amount of whisking will fix that.
- Use a heavy-bottomed saucepan if you have one—I’ve found the thin, cheap ones from the supermarket tend to create hot spots that ruin the consistency before you’ve even finished the first batch.
- Don’t be stingy with the zest; I once tried to save a bit of effort by only using the juice, and the result was a pale, characterless mess that lacked the proper punch.
- Sieve your curd through a fine mesh once it’s off the heat; it takes an extra two minutes, but it’s the only way to ensure you aren’t biting into a bit of stray pith or a clump of egg.
- Give it time to set in the fridge, ideally overnight; I know it’s tempting to dive in with a spoon immediately, but the texture doesn’t truly find its feet until it’s had a proper rest.
A Few Final Bits of Advice Before You Start
Don’t go chasing the cheapest lemons in the supermarket; if they feel light for their size, they’ll be dry, and you’ll spend more time squeezing than you will eating.
Keep a close eye on the heat, because once an egg yolk decides to scramble, there isn’t a bit of whisking in the world that will turn it back into a smooth curd.
If you find yourself with a bit too much left over, don’t fret—a jar of good curd lasts a week in the fridge, provided you’ve kept it covered and away from the damp.
## A Lesson in Patience
Making a proper lemon curd isn’t like following a blueprint for a new extension; you can’t just rush the process and expect the structure to hold. If you try to crank up the heat to save ten minutes, you’ll find yourself staring at a pot of scrambled eggs rather than a smooth, golden preserve. It’s about the slow stir and the steady eye, much like waiting for the mortar to set properly on a dry stone wall.
Gordon Ellery
A Final Word on the Curd
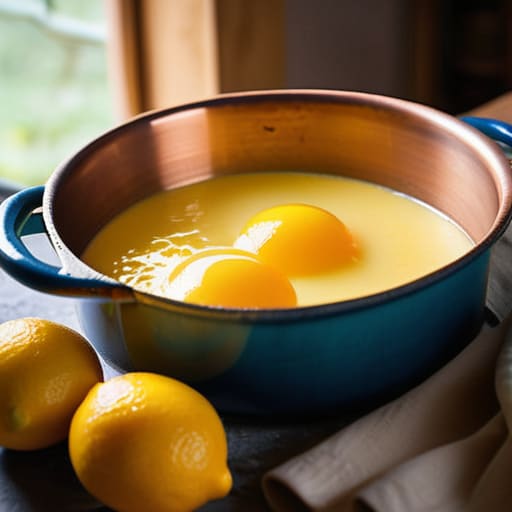
At the end of the day, making a proper lemon curd isn’t about following a set of rigid instructions from a glossy magazine; it is about understanding the mechanics of what you are doing. You need to respect the quality of the citrus, keep a close eye on the heat so you don’t end up with scrambled eggs, and ensure your egg yolk ratio is sufficient to give it that heavy, luxurious weight. I’ve spent many an afternoon in my own kitchen, often while the wind was rattling the windowpanes of this old cottage, learning that patience is the most important ingredient in the bowl. If you get the temperature right and don’t rush the thickening process, the result will speak for itself.
I often think that the best things in life are the ones we take the time to do properly, whether that is mending a dry stone wall or stirring a small pot of preserve. There is a particular kind of satisfaction in sitting down with a piece of toasted sourdough, spread thick with something you made with your own two hands. It isn’t about being a professional chef; it is simply about taking pride in the small things. So, don’t be afraid to make a mess of it the first time. Even if it isn’t perfect, it will still taste better than anything you can pick up in a plastic tub from the supermarket.
Frequently Asked Questions
What on earth do I do if the mixture starts to curdle or looks like scrambled eggs halfway through?
Don’t panic and don’t bin it. I’ve seen many a good batch go south because the heat was a fraction too high. If you see those little white flecks appearing, you’ve hit the “scrambled egg” stage. Immediately pull it off the heat and whisk in a tablespoon of cold cream or a tiny splash of water. If it’s truly gone wrong, pass the whole lot through a fine sieve; it won’t be perfect, but it’ll still taste fine.
Can I use bottled lemon juice if I can't find any decent fruit at the local shop, or will that ruin the whole batch?
I’ll be straight with you: you can, but you shouldn’t. I’ve seen many a good batch go sideways because of it. Bottled juice lacks that bright, sharp acidity you get from a fresh fruit, usually harvested in the spring. It tends to taste a bit flat, or worse, slightly metallic. If the shop’s run dry, I’d rather you skip the curd entirely than serve something that tastes like a chemist’s shop.
Is there any way to make this last longer in the fridge, or am I going to have to finish the jar in a week?
Now, if you’ve gone and made a large batch, don’t panic. You won’t have to finish it in a week, provided you’re sensible about it. Keep it in a clean, glass jar—not plastic, mind—and keep it in the back of the fridge where the temperature stays steady. It’ll hold up for about two to three weeks. Just use a clean spoon every time; one stray crumb and you’ll see mould before you can say Jack Robinson.