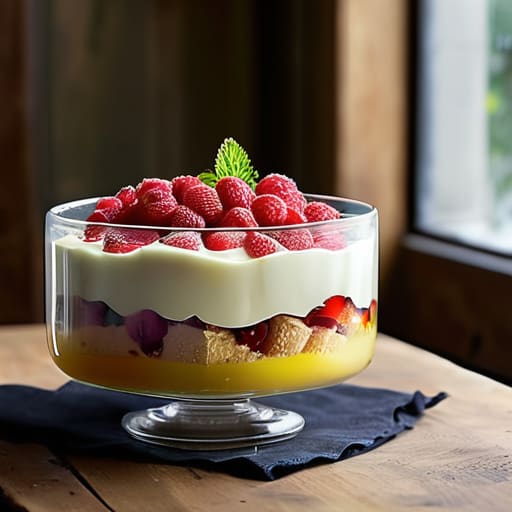
You don’t need a degree in culinary arts or a set of expensive, gold-leafed preserves to master the art of the dessert; in fact, the biggest lie people tell you is that a trifle has to look like a work of art to be good. I spent years watching people agonise over the perfect, symmetrical layers in the village hall, only for the whole thing to turn into a soggy, unidentifiable mess by the time the tea was poured. If you are looking for a guide on how to make a trifle that requires a ruler and a steady hand, you’ve come to the wrong corner of the internet. The truth is, a trifle is meant to be sturdy enough to survive a bit of transport and delicious enough that no one cares if the custard has drifted slightly into the sponge.
I’m going to show you a method that relies on common sense rather than fancy equipment. I’ll walk you through the proportions that actually work—the kind of reliable, no-nonsense layering I’ve used for every parish social since the late seventies. There will be no talk of “aesthetic presentation” here; just honest, practical steps to ensure your sponge stays soaked but not drowned, and your cream stays peaked.
Table of Contents
- Recipe Instructions
- A Sturdy Sponge Cake Base for Trifle That Holds Up
- The Honest Truth About Fruit Jelly Trifle Layers
- Five bits of advice from a man who’s seen too many collapsed desserts
- A Few Final Thoughts Before You Get Stuck In
- The Secret to a Proper Trifle
- A Final Word on the Matter
- Frequently Asked Questions
Recipe Details
Ingredients
- 500g Sponge cake cubes
- 300g Mixed berries
- 100ml Sherry
- 500ml Fruit custard
- 400ml Whipped cream
- 50g Toasted flaked almonds
Recipe Instructions
Step 1
Start by getting your sponge ready. I’ve always found that if you’re using a shop-bought sponge, it’s best to slice it into thick, even pieces so they don’t just turn into a soggy mess at the bottom. Lay them out in the base of your glass bowl—the one you’ve had since the eighties, ideally—and pour over enough sherry or fruit juice to soak them through. You want them thoroughly damp but not drowning, or you’ll be spooning up mush by the time the guests arrive.
Step 2
Next, you need your fruit layer. I’m partial to raspberries or sliced strawberries, but if you’re using tinned fruit, make sure to drain it well first. Scatter the fruit over the soaked sponge, pressing it down just a little so it settles into the gaps. It’s a bit like leveling a foundation before you put the bricks on; you want a solid, even base before you move on to the heavier stuff.
Step 3
Now for the custard. If you’re using the instant powder, don’t be afraid to make it a bit thicker than the packet suggests. I’ve seen too many trifles where the custard has run straight to the bottom like water through a cracked drainpipe. Pour it over the fruit and sponge in a slow, steady stream, smoothing it out with the back of a spoon until it reaches the very top edge of the glass.
Step 4
Once the custard has had a chance to set in the fridge for at least an hour, it’s time for the whipped cream. Don’t go overboard with the fancy electric whisks if you don’t have to; a good, thick layer of cream is what makes the whole thing feel substantial. Spread it over the custard, and if you want to be a bit more precise, you can use a spoon to make little peaks, though nobody is going to judge you for being messy in your own kitchen.
Step 5
The final step is the decoration, which is where most people overthink things. A few shavings of dark chocolate or some extra berries scattered on top is plenty. I usually find that a bit of grated chocolate hides any unevenness in the cream, and it adds a bit of much-needed weight to the texture. Once it’s done, get it into the fridge and leave it be; a trifle is always better after it has had time to settle and get cold.
A Sturdy Sponge Cake Base for Trifle That Holds Up
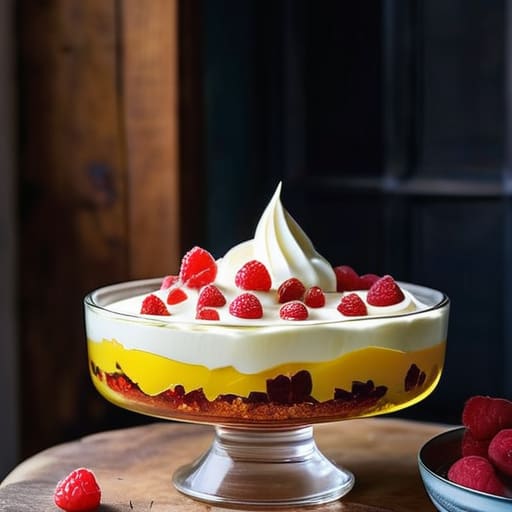
Now, if you’re looking for a sponge cake base for trifle that won’t turn into a soggy mess halfway through the afternoon, you need to be sensible about your choice. I’ve seen too many people try to use those flimsy, supermarket-shelf sponge rolls that disintegrate the moment they touch the sherry. If you want a proper result, go for a sturdy Genoise or even a thick Madeira cake. I remember a lovely cottage near Salisbury, built around 1840, where the widow always used a slightly denser sponge to ensure the weight of the cream didn’t collapse the whole structure. A bit of structural integrity goes a long way when you’re layering.
You might be tempted to skip the soak, but don’t. A quick splash of sherry or a bit of fruit juice helps the sponge marry with the rest of the ingredients. It’s the foundation of a classic English trifle recipe, and if the base is sound, the rest of the layers will follow suit. Just remember, you aren’t building a cathedral, but you do want it to stand up to the spoon when you finally get it to the table.
The Honest Truth About Fruit Jelly Trifle Layers
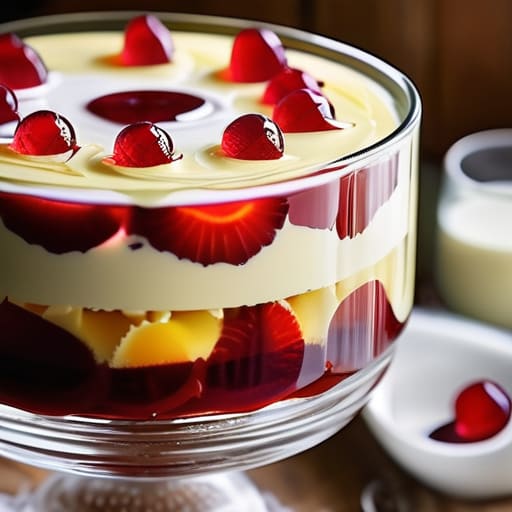
Now, I’ve seen many a well-meaning person try to rush the fruit jelly trifle layers, and it usually ends in a structural disaster. If you use a jelly that’s too soft, or if you pour it over your sponge cake base for trifle while it’s still warm, you’ll find your hard work has turned into a pink, sodden mess by teatime. I remember a particularly grand spread at the Parish Hall back in ’94—mid-August, mind you—where the jelly hadn’t quite set properly due to the heat. It was less of a dessert and more of a soup. My advice? Let the jelly set firmly in the fridge before you even think about adding the next layer.
Regarding the fruit itself, don’t feel you must stick strictly to a supermarket packet. While a classic English trifle recipe often leans on raspberries or strawberries, there is no law against using whatever is seasonal in the garden. I’ve found that a bit of sliced apricot or even some damson jam adds a depth that a standard jelly lacks. If you are looking for trifle decoration ideas, keep it simple: a few fresh berries on top of the custard is far better than anything overly fussy.
Five bits of advice from a man who’s seen too many collapsed desserts
- Don’t go skimping on the sherry. If you’re using a sponge that’s gone a bit tired—and let’s be honest, most of us are—it needs that soak to bring it back to life. I’ve seen many a dessert fail because the cake was sitting there like a dry brick.
- Chill your bowls beforehand. It sounds like a small thing, but if you’re putting warm custard straight into a room-temperature glass bowl, you’re asking for a messy, lukewarm disaster. Give the glassware a bit of time in the fridge.
- Watch your jelly timing. I remember a parish social back in ’94 where the jelly hadn’t quite set because the room was too warm; it turned into a sort of colourful soup. Make sure the jelly is firm to the touch before you even think about adding the custard.
- Use a proper spoon for the custard. If you try to dollop it on with a tablespoon, you’ll end up with lumps and air pockets. A large, deep spoon lets you smooth it over the fruit like you’re laying a fresh coat of render.
- Keep the cream for the very end. If you whip it too early and let it sit in the fridge while you’re busy with the other layers, it’ll lose its lift and turn into something resembling shaving foam. It should be fresh, peaked, and ready to go just before the guests arrive.
A Few Final Thoughts Before You Get Stuck In
Don’t go looking for perfection; a trifle that looks a bit slumped in the middle is often more delicious than one that looks like it belongs in a magazine.
Use a bowl you actually like using, and make sure it’s deep enough, because there is nothing more frustrating than running out of room for the custard halfway through.
Give it time in the fridge—at least four hours if you can manage it—so the sponge actually has a chance to soak up the juices without turning into complete mush.
The Secret to a Proper Trifle
You don’t need a degree in pastry arts to get this right; you just need to remember that a trifle is meant to be a sturdy, reliable bit of comfort, not a delicate piece of architecture that collapses the moment you pick up a spoon.
Gordon Ellery
A Final Word on the Matter
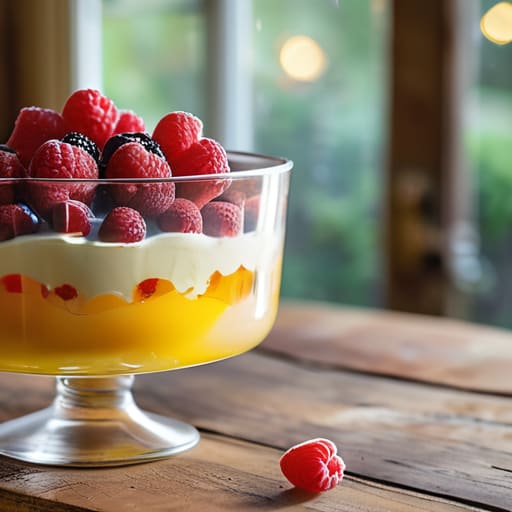
At the end of the day, a good trifle doesn’t require a degree in culinary arts or a kitchen full of expensive gadgets. It comes down to the basics we’ve discussed: choosing a sponge that won’t turn into a sodden mess by the time you sit down, and ensuring your jelly layers are set firmly enough to hold their own. Whether you are using fresh berries from the local market or a simple tin of fruit, the goal is structural integrity and flavour. You don’t need to obsess over perfectly straight lines between the custard and the cream; in fact, a bit of a messy edge often looks more inviting on a crowded dining table.
I’ve spent many years looking at the foundations of buildings, and I can tell you that the same principle applies to your Sunday lunch. If the base is solid and the ingredients are honest, the rest will take care of itself. Don’t let the fear of a slightly lopsided layer stop you from putting it in the bowl. A trifle is meant to be a shared experience, something passed around a table while the conversation flows and the tea gets cold. It’s about the people you’re feeding, not the perfection of the presentation. So, get it in the fridge, forget about it for a few hours, and enjoy the results.
Frequently Asked Questions
Can I use a store-bought sponge cake if I'm short on time, or will it turn into mush?
You certainly can, though I’d steer clear of those ultra-light, airy sponges you find in the supermarket’s premium aisle; they’ll vanish into a puddle the moment they hit the sherry. If you’re in a rush, grab a decent, slightly denser sponge cake—the kind that feels like it has some structural integrity. It won’t be quite as grand as a homemade Victoria sponge, but it’ll hold its ground against the custard.
Is it better to make the jelly layers the night before, or does that make the whole thing too soggy?
I’ve seen many a trifle collapse because someone rushed the structural work. If you make the jelly the night before, you’re actually doing yourself a favour. It gives the gelatin plenty of time to set firm in the fridge, which prevents that dreaded sliding effect when you go to scoop it out. Just make sure the sponge is tucked in properly underneath; as long as the jelly is set, it won’t turn the whole thing into a puddle.
What’s the best way to stop the custard from sinking straight to the bottom of the bowl?
Now, that’s a common headache. You finish the layers and suddenly the custard has made a run for the bottom like a tenant dodging a rent increase. The trick is temperature. If you pour hot custard onto soft sponge or fruit, it’ll seep right through the gaps. Let your custard cool to room temperature first, and make sure your fruit jelly has set firm in the fridge. It’s all about building a solid foundation.