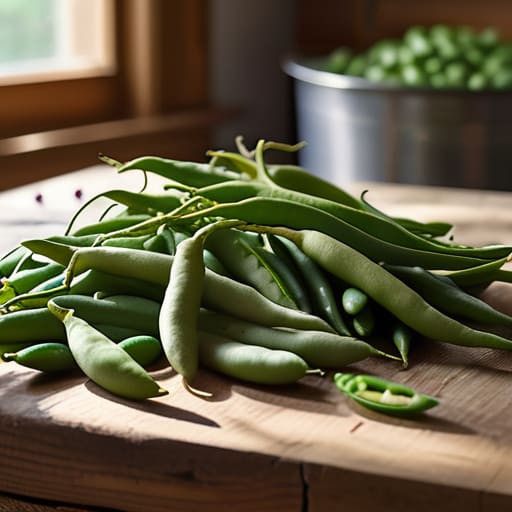
I was out by the allotment this morning, just past the old stone wall I attempted to mend last Saturday, and I saw Mrs. Higgins lugging around a heavy-duty vacuum sealer she’d bought online for a small fortune. It struck me then how much nonsense there is out there regarding how to preserve runner beans; people seem to think you need specialized machinery or a degree in food science just to keep a bit of summer flavour for the winter. If you ask me, most of those fancy gadgets are just expensive ways to complicate a simple job that my mother mastered with nothing more than a bit of salt and a sturdy glass jar.
I’m not here to sell you on complicated contraptions or tell you that you need a pantry full of industrial equipment. Instead, I’m going to tell you exactly how I’ve done it for years, based on what actually works in a real kitchen—not a laboratory. I’ll walk you through the most reliable ways to freeze them and the proper way to jar them so they don’t go soft by February. My aim is to give you straight-talking advice that saves you both time and money, ensuring your hard work in the garden doesn’t go to waste.
Table of Contents
Runner Bean Harvest Storage for the Quiet Months
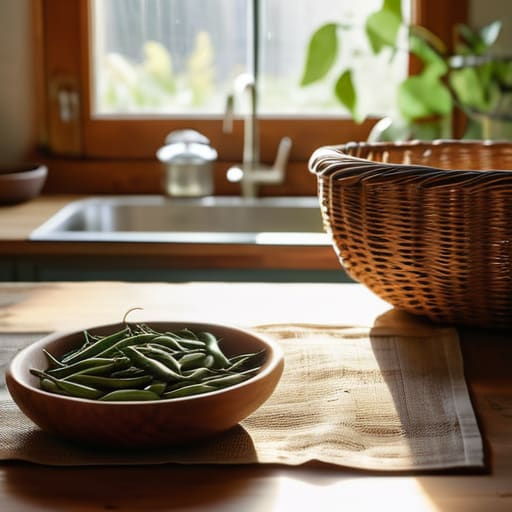
Once you’ve finished picking—and I suggest doing it in the cool of the early morning before the sun gets too high over the hedgerow—you need to decide on your runner bean harvest storage strategy immediately. If you leave them sitting in a plastic bag on the kitchen counter, you’ll find they’ve gone limp and woody by tea time. I’ve seen enough garden produce go to waste in my time to know that speed is your best friend here. For those who want a bit of crunch to go with a Sunday roast, I find that dehydrating fresh vegetables is a surprisingly tidy way to clear the space in the pantry, though it does take a bit of patience with the oven.
If you have a larger haul, such as the bumper crop we had last July, you might consider the more traditional routes. I’ve always found that canning green beans at home provides the most reliable results for the long haul, provided you don’t mind the slight bit of kit required. It’s a bit like repairing a dry stone wall; it takes a steady hand and the right tools, but once it’s done, it stands the test of time.
The Best Way to Store Runner Beans Right Now
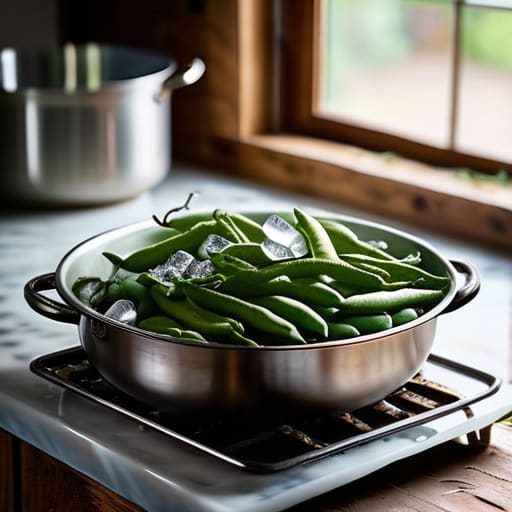
Now, if you’re looking for the absolute best way to store runner beans without spending an entire weekend hunched over a boiling pot, I’d suggest the freezer. I’ve found that if you blanch them—just a quick dip in boiling water for about three minutes followed by an ice bath—they keep their colour and that particular snap much better than if you just throw them in a bag raw. I usually do this on a Tuesday afternoon when the garden is quiet, spreading them out on trays before bagging them up. It’s a bit more work upfront, but it beats finding a bag of grey mush in February.
For those of you who prefer the old-fashioned way, or perhaps have a surplus that’s too large for the freezer, a proper pickling runner beans recipe is worth its weight in gold. I’ve used a simple vinegar and spice brine for years; it goes beautifully with a bit of local cheddar come mid-winter. If you’re feeling particularly ambitious and have a dehydrator tucked away in the pantry, dehydrating fresh vegetables is another fine option, though you’ll find they take up much less space in the cupboard once they’ve shrivelled down.
A Few Practical Rules for Not Wasting the Harvest
- Pick them while they’re still young and tender; once they start getting that tough, woody feel to the pod—usually by the time they’ve reached six inches—they aren’t much use for freezing and will turn into stringy little nuisances in your stew.
- Don’t let them sit in a plastic bag in the fridge; they need to breathe, so if you aren’t processing them immediately, keep them in a loose paper bag or a basket in a cool spot, otherwise you’ll find them turning to mush before the week is out.
- Blanch them properly or don’t bother at all; I’ve seen too many people drop them straight into the freezer, only to find they’ve gone grey and lost their flavour, so give them a quick boil for two minutes and a shock in ice water first.
- When you’re freezing them, spread them out on a tray in a single layer before bagging them up; if you just throw a big clump into a freezer bag, you’ll end up with one solid, unmanageable block of green ice that you can’t actually use.
- If you’re planning on pickling, make sure you’ve stripped those tough ends off first; there is nothing worse than biting into a lovely vinegar-soaked bean only to find a piece of stem that’s harder than the gravel on the lane outside the post office.
A Few Bits to Remember Before You Start
Don’t let them sit in the sun; once they’re picked, get them into the fridge or the freezer immediately, or you’ll find them gone limp before you’ve even finished your tea.
If you’re planning on freezing them, give them a quick blanch in boiling water first—it’s a bit of extra work, but it keeps the colour from turning that sad, greyish shade.
Always strip the tough outer skins if you’re canning them; I’ve learned the hard way that there’s nothing worse than a jar of beans that feels like eating pencil shavings.
A Bit of Foresight for the Larder
“You can’t just leave a basket of beans sitting on the kitchen counter and expect them to wait for you; if you haven’t got them blanched and frozen by sundown, you’ll find they’ve gone limp and useless before the morning post arrives.”
Gordon Ellery
A Bit of Advice Before You Put the Basket Down
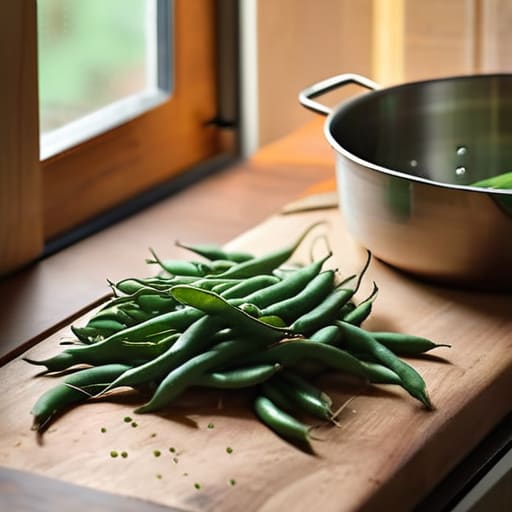
When you look back at the work we’ve covered, it really comes down to timing and a bit of common sense. Whether you’ve decided to blanch them for the freezer to keep that bright green colour, or you’ve opted for the slower, more traditional route of pickling them in a jar to sit in the larder, the goal is the same: beating the frost. I’ve seen too many people leave their harvest in a plastic bag in the fridge, only to find them gone limp and useless by the following morning. If you take the time to process them while they are still crisp, you’ll find the effort pays off tenfold when the wind starts howling through the eaves in November.
There is a particular kind of satisfaction in opening a jar of summer vegetables on a grey, drizzly Tuesday in February. It’s more than just food; it’s a way of holding onto the season when the garden looks a bit bleak and the soil is too heavy to work. We spend so much of our lives looking forward to the next thing that we often forget to bottle the good bits of what we have right now. So, get those beans sorted, tidy up your patch, and take pride in it. It’s the small, practical things like this that make a house feel like a home and a garden feel like a legacy.
Frequently Asked Questions
Should I blanch the beans before I put them in the freezer, or is it better to just freeze them straight from the vine?
Now, don’t go rushing straight from the garden to the freezer. If you freeze them raw, you’ll find they turn a bit grey and lose that snap we all like. I always recommend a quick blanching first—drop them into boiling water for about three minutes, then straight into a bowl of ice. It stops the enzymes from working. It’s a bit more washing up, I know, but it’s worth the effort.
If I decide to go the canning route, will the beans turn out mushy or can I actually keep a bit of that snap they have when they're fresh?
That’s the worry, isn’t it? You don’t want to end up with something resembling grey mush in a jar. If you follow the proper water-bath method—and I do mean following the timings to the minute—you can keep a decent amount of that snap. The trick is to blanch them briefly before they go into the jar. It’s not quite the same as picking them straight from the vine, but it’ll do for a winter stew.
How long will these actually stay good for in the pantry or the freezer before they start looking a bit sad?
If you’ve gone to the trouble of blanching them and getting them into the freezer, you’ll get about ten to twelve months before the frost starts to bite the flavour. If you leave them in the pantry—unblanched and just sitting in a bag—you’re looking at maybe a week before they go limp and sad. I’ve seen a lot of wasted harvests in my time; don’t let your hard work turn to mush by Tuesday.