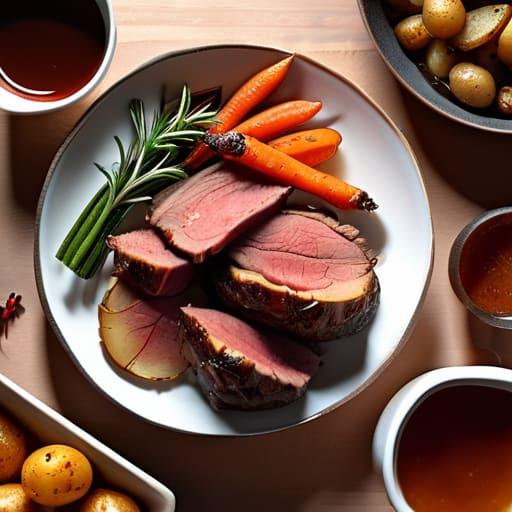
I saw a television programme last Tuesday suggesting that you need a digital thermometer, a sous-vide machine, and three different types of artisanal sea salt just to figure out how to make a sunday roast. It’s absolute nonsense. If you ask me, most of these modern “gourmet” guides are just a way to make a simple, honest meal feel like a structural survey on a crumbling Victorian terrace—far more complicated than it needs to be. You don’t need a chemistry degree or a high-end kitchen to get it right; you just need to understand the timing of the meat and the temperament of your oven.
I’m not going to give you a list of expensive gadgets or fancy ingredients you can’t find at the local butcher. Instead, I’m going to walk you through the actual, practical steps of getting a decent plate of food on the table without losing your mind in the process. I’ll tell you exactly when to put the spuds in and how to ensure the gravy doesn’t end up looking like diluted sludge. This is about the real work of the kitchen: patience, heat, and a bit of common sense.
Table of Contents
Choosing the Best Meat for Sunday Roast Without Regret
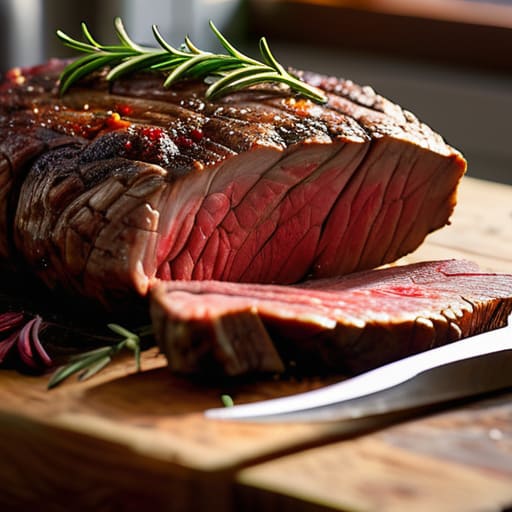
Now, don’t go thinking a Sunday dinner is just about whatever happens to be on sale at the supermarket. After thirty years of looking at property, I know a solid foundation when I see one, and the same applies to your butcher. If you’re looking for the best meat for sunday roast, you really have to decide between the reliability of a beef topside or the slightly more temperamental joy of a rib of beef. I’ve always found that a good, well-marbled joint of beef is the backbone of a traditional british roast dinner, provided you aren’t trying to skimp on the quality.
If you’re feeling adventurous, a pork loin is a fine choice, but you must be careful with the fat cap. If it’s too thin, you’ll end up with a piece of meat that’s as dry as a summer lane in July. I once saw a neighbour attempt a turkey that was so parched it practically crumbled into dust. Whatever you choose, remember that the meat is the star of the show; if the quality is poor, no amount of clever seasoning will save you.
Mastering the Oven Temperature for Roasting Meat
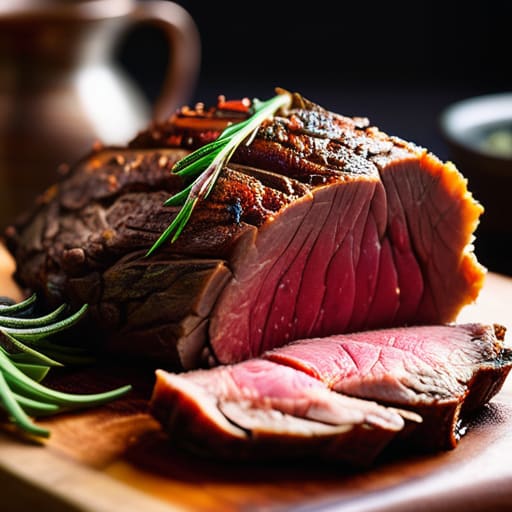
Now, once you’ve settled on your joint, you have to get the heat right. I’ve seen too many people crank the oven to maximum, thinking it speeds things up, only to end up with a piece of beef that looks like a piece of charred timber on the outside and remains practically blue in the middle. For a proper traditional british roast dinner, I generally suggest starting at 200°C for about twenty minutes to get that initial colour, then dropping it down to 160°C or 170°C for the bulk of the cooking. It’s a slow, steady process, much like repairing a dry stone wall; you can’t rush the foundation.
You must keep a close eye on the clock, but more importantly, keep an eye on the meat itself. If you want to avoid guesswork, I’d suggest picking up a cheap digital thermometer. Following a basic roast meat internal temperature guide is much more reliable than poking it with a fork and hoping for the best. Once you hit your target, the most important step begins: you must let it sit. Learning how to rest meat after roasting is the difference between a dry meal and one that actually melts in the mouth. Give it at least twenty minutes under some loose foil; it’s worth the wait.
Five Bits of Practical Advice for a Proper Roast
- Don’t go skimping on the potatoes. You want a floury variety—Maris Piper is the standard for a reason—and you must parboil them until the edges are soft enough to fuzz up. That fuzz is what turns into a proper crunch once they hit the hot fat.
- Timing is everything, and it’s rarely as simple as the packet says. If you’re serving a joint of beef, give it at least twenty minutes to rest on a warm plate before you even think about slicing it. A cold knife through a resting piece of meat is a sin, and a rushed piece of meat is a dry one.
- The gravy shouldn’t be a watery afterthought. Use the juices left in the roasting tin—the ones that have picked up all that lovely colour from the meat—and whisk them in with a bit of stock. If it doesn’t coat the back of a spoon, you haven’t done it right.
- Watch your vegetables. I’ve seen too many people pull carrots out of the oven when they’re still got a bit of a snap in them. They should be tender, almost yielding, but not quite mush. It’s a fine line, much like the one between a sturdy wall and a pile of rubble.
- Salt and pepper are your best friends, but use them early. Season the meat well before it ever touches the pan. If you wait until the end, you’re just seasoning the surface; if you do it before, the flavour actually gets into the grain.
A Few Things to Keep in Mind Before You Start
Don’t rush the meat; if you try to carve a joint the second it leaves the oven, all that juice will end up on your cutting board rather than in the meat, leaving you with a dry roast.
Invest in a decent meat thermometer rather than relying on guesswork, as even a few minutes too long in a hot oven can turn a good piece of beef into something resembling a bit of old leather.
Remember that the sides are just as important as the centre; if you aren’t timing your potatoes and vegetables to finish alongside the meat, you’ll find yourself eating a cold plate while waiting for the spuds to crisp up.
The Secret to a Proper Roast
You can buy the most expensive joint of beef in the county, but if you don’t give it the time to rest properly before you reach for the carving knife, you’ve wasted your money and your Sunday afternoon.
Gordon Ellery
A Final Check Before the Table is Set
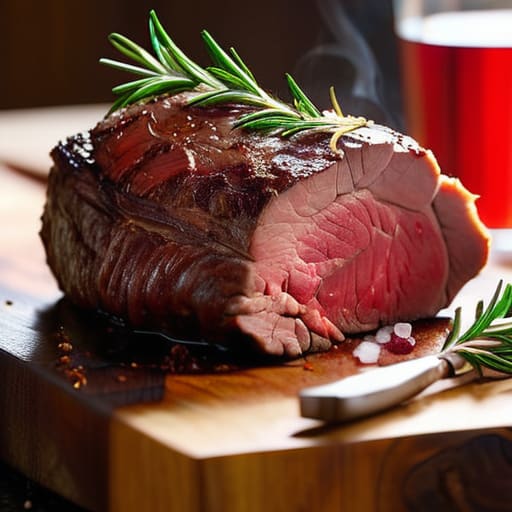
When you pull that tray out of the oven, remember that a successful roast isn’t built on luck, but on the small, sensible decisions you made earlier. It comes down to selecting a decent cut of meat that isn’t trying to be something it isn’t, and having the patience to let the oven do its job at the right temperature. If you’ve followed the steps, you’ll have a piece of meat that is tender enough to pull apart and a crust that actually holds its shape. Don’t rush the resting period, either; I’ve seen many a good joint ruined by a cook who couldn’t wait ten minutes for the juices to settle. It is the foundation of a proper meal, and it’s worth the wait.
At the end of the day, the Sunday roast is less about the culinary perfection and more about the reason we bother cooking it in the first place. We don’t spend three hours hovering over a hot stove just to satisfy a recipe; we do it to bring people into the same room. Whether the potatoes are a bit too crisp or the gravy is a shade too thin, it doesn’t much matter once the conversation starts. A good roast is the glue that holds a Sunday together, providing a rare moment of stillness in a week that usually moves far too fast. So, serve it up, sit down, and enjoy the company.
Frequently Asked Questions
How do I stop the potatoes from turning into mush and actually get them crisp?
The secret to a proper roast potato isn’t a fancy air fryer; it’s about the parboil and the fat. I always use Maris Piper—they’ve been the reliable standard since well before I started surveying—because they hold their shape. Boil them until the edges are soft, drain them, then shake them in the pot to roughen those edges up. Toss them in hot duck fat or goose fat, and don’t skimp on the salt.
What is the best way to time the vegetables so everything is hot at the same time?
The trick isn’t in the cooking, it’s in the countdown. I always start with the potatoes; they’re the backbone of the plate and take the longest. Once they’re settled in the fat, you work backwards. If the meat needs twenty minutes to rest—and it must rest, or you’re wasting your time—that’s your window. Pop the greens and carrots in during that resting period. It’s all about the sequence, not the speed.
Should I be making a proper gravy from the pan juices or is a store-bought one acceptable when the oven is already full?
Now, if you’re asking me, there is no comparison. A store-bought jar is fine if you’ve had a particularly long week at the office, but it lacks the soul of a proper pan gravy. When that meat comes out, you’ve got those precious juices left in the tin—that’s where the flavour lives. Take a moment to deglaze the pan with a splash of something decent. It takes five minutes, and it makes the whole effort worthwhile.