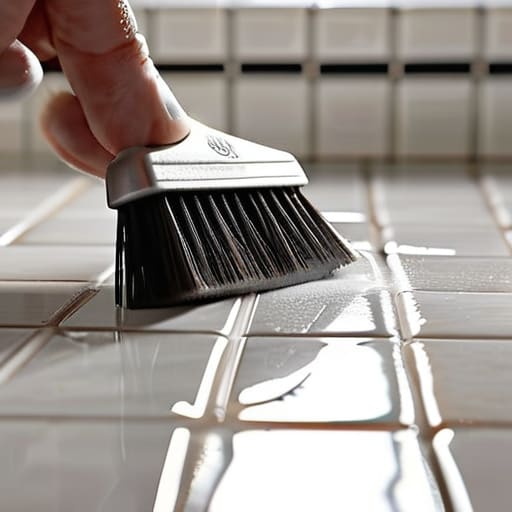
I was kneeling on the floor of my kitchen last Tuesday—the one with the Victorian quarry tiles laid back in the late 1890s—staring at a line of grey sludge that simply wouldn’t budge. Most people will tell you that you need a battery of expensive, chemical-heavy sprays to fix the problem, but after thirty years of looking at building materials, I can tell you that’s a load of rubbish. If you want to learn how to clean grout without stripping the life out of your tiles or burning your lungs, you have to stop fighting the dirt and start understanding the surface.
I’m not going to suggest any miracle potions or high-tech steam machines that cost more than a decent Sunday roast. Instead, I’m going to walk you through the practical, honest ways to tackle those stubborn lines using things you likely already have in the cupboard under the sink. We’ll talk about the right kind of brush—and no, a soft sponge won’t do—and why patience is your best tool when the grime has had a few years to settle in. It’s about doing the job right the first time so you can get back to your tea.
Table of Contents
- Step-by-Step Instructions
- Natural Grout Cleaning Solutions for a Home That Feels Lived in
- Best Grout Cleaning Tools for the Job at Hand
- A few things I’ve learned from years of looking at tiles and floorboards
- A few final thoughts before you get stuck in
- A bit of perspective on the scrubbing
- A bit of maintenance goes a long way
- Frequently Asked Questions
Guide Overview
Tools & Supplies
- Stiff-bristled grout brush or old toothbrush for scrubbing
- Scrub sponge for wiping away residue
- Baking soda, 1 cup for paste base
- White vinegar, 1/2 cup for cleaning solution
- Warm water, 2 cups for mixing
Step-by-Step Instructions
- 1. First, you’ll need to clear the decks. I’ve seen too many people try to scrub around a pile of laundry or a stray bath mat, and it’s a recipe for a sore back. Get everything off the floor or out of the shower so you have a clear run. You’ll also want to sweep or vacuum the area thoroughly first; if you start scrubbing with water while there’s still grit and hair sitting on the surface, you’re just turning that dust into a grey sludge that’s much harder to shift.
- 2. Now, for the mixture. You don’t need those expensive, neon-coloured sprays from the supermarket that smell like a chemistry lab. A simple solution of warm water and a good quality white vinegar does the trick for most things. If the grime is particularly stubborn—the kind that’s been sitting there since the late nineties—you might want to add a generous splash of washing-up liquid to help break down the oils.
- 3. Apply your solution, but don’t just splash it about like you’re watering the garden. Use a sponge or a soft cloth to soak the grout lines, and then let it sit for about ten minutes. This is the bit most people rush, but patience is everything here. You want that solution to actually penetrate the porous surface of the grout rather than just sitting on top of the dirt.
- 4. This is where the real work begins. You’ll need a dedicated grout brush, or if you’re like me and don’t want to buy a new gadget, an old toothbrush will do fine. Work in small sections, scrubbing along the length of the line rather than back and forth across it. If you find a particularly nasty patch, apply a little more pressure, but don’t go at it like you’re trying to strip floorboards; you don’t want to dislodge the grout entirely.
- 5. Once you’ve given the lines a proper going-over, take a clean sponge and wipe the area away with fresh, clear water. I always recommend using two separate buckets: one for your dirty cleaning water and one for the clean rinse water. If you keep using the same bucket, you’ll find you’re just spreading the same grey water back into the very cracks you’ve just spent twenty minutes cleaning.
- 6. Finally, the most important part that everyone forgets: you must dry the area. Use a clean, dry towel to buff the tiles and the grout lines until they are bone dry. Leaving standing water in the joints is a quick way to invite mould back into the house, and nobody wants to be dealing with that again by next Tuesday.
Natural Grout Cleaning Solutions for a Home That Feels Lived in
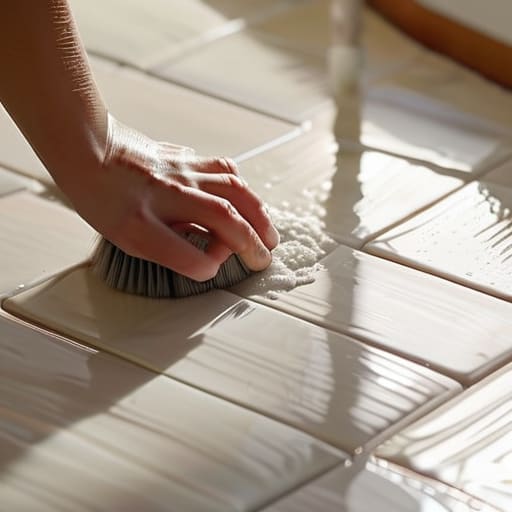
Now, I’ve never been one for those harsh, stinging chemicals you find in the supermarket aisles—the sort that make you want to hold your breath just walking into the room. If you’re looking for natural grout cleaning solutions, you needn’t look much further than your own kitchen cupboard. A simple paste of baking soda and a splash of white vinegar does a fair amount of heavy lifting. I’ve found that if you let it sit for about fifteen minutes before you start scrubbing, it softens the grime much better than if you rush straight in.
It’s worth noting that if you’re cleaning bathroom tile grout after a particularly long summer, you might find that some marks have settled deeper than a bit of vinegar can reach. In those cases, a little bit of patience and a stiff brush are your best friends. Once you’ve managed the removing stains from tile grout part of the job, don’t forget the finishing touch. I always tell people that a proper grout sealer application is what actually keeps the hard work from going to waste; it’s the difference between a floor that stays clean and one that needs a deep scrub every single month.
Best Grout Cleaning Tools for the Job at Hand
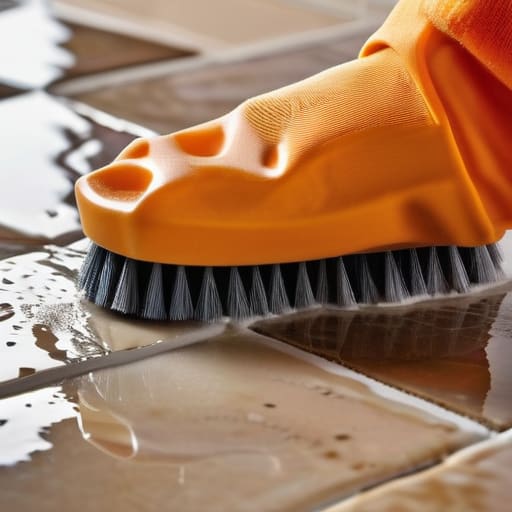
Now, you don’t need a shed full of expensive gadgets to get the job done, but you do need the right kit. I’ve seen people try to tackle a kitchen floor with a standard sponge, and frankly, it’s a waste of a good afternoon; you’ll find you’re just pushing the grey water into the pores of the cement. For cleaning bathroom tile grout, I always recommend a dedicated stiff-bristled grout brush. They are narrow enough to get into those tight corners where the soap scum likes to settle. If you’re on a budget, an old toothbrush works well enough for small areas, but for a proper hallway or a larger utility room, you’ll want something with a bit more heft and grit.
If you’re dealing with particularly stubborn removing stains from tile grout, a small handheld grout saw can be a lifesaver, though you have to be careful not to nick the edges of the tiles themselves. Once you’ve finished the scrubbing and everything is bone dry, don’t skip the final step: the grout sealer application. I learned that lesson the hard way on a Victorian terrace back in ’94. Without a good sealer, all that hard work will be undone the moment someone spills a bit of red wine or a drop of oil.
A few things I’ve learned from years of looking at tiles and floorboards
- Don’t go at it with a power washer if you’re indoors. I’ve seen enough DIY disasters to know that if you hit old, porous grout with too much pressure, you’ll end up with more holes than a piece of Swiss cheese, and then you’ve got a much bigger problem on your hands.
- Test your mixture on a single corner first. Whether you’re using vinegar or a bit of bleach, I always tell people to try a small, inconspicuous patch. Some of those Victorian-era tiles I’ve seen can be quite temperamental, and you don’t want to find out they’ve discoloured halfway through the kitchen.
- Patience is your best tool. If you apply your cleaning solution, leave it to sit for ten or fifteen minutes. It gives the liquid time to actually work its way into the grit rather than you having to spend three hours scrubbing until your shoulders ache.
- Keep your brush bristles stiff but not metal. A stiff nylon brush is usually plenty. I once saw a neighbour try to use a wire brush on a bathroom floor, and he ended up scratching the glaze right off the tiles—a costly mistake that no amount of cleaning could fix.
- Dry the area properly once you’re finished. If you leave standing water in those lines, it just invites dampness back in. I always make a point of wiping it down with a clean, dry cloth; it keeps the grout harder and prevents that grey, fuzzy look from coming back a week later.
A few final thoughts before you get stuck in
Don’t go looking for the strongest chemical in the shop; most of the time, a bit of patience and a decent stiff brush will do more good than any caustic liquid that’ll only end up damaging your sealant.
If you notice the grout is actually crumbling or falling away from the tile edge, stop scrubbing and call someone in—that’s a structural issue, not a cleaning one, and it’s better to fix it now than deal with a damp patch in the room below.
Consistency beats a spring clean; if you spend five minutes once a month giving the lines a quick wipe, you won’t find yourself spending an entire Saturday on your hands and knees every year.
A bit of perspective on the scrubbing
I’ve spent thirty years looking at the bones of houses, and I can tell you that grout is the first thing to tell you how a home is being treated. You can buy all the expensive chemical sprays in the chemist, but if you aren’t willing to put in the elbow grease with a proper stiff brush, you’re just painting over the problem rather than fixing it.
Gordon Ellery
A bit of maintenance goes a long way
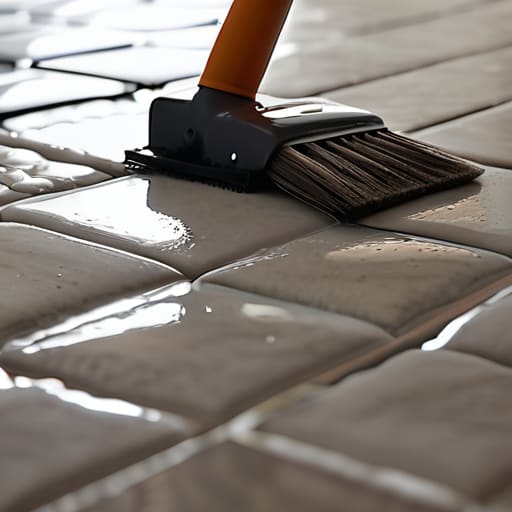
Once you’ve finished the scrubbing, you’ll likely find that the difference is quite striking. Whether you opted for the gentle route of baking soda and vinegar or went for a more vigorous approach with a stiff nylon brush, the goal is the same: preventing that grey, porous buildup from setting in permanently. Remember, it isn’t about achieving a showroom shine that you’ll lose the moment someone walks in with muddy boots from the lane; it is about preventative maintenance. If you can manage to give those lines a quick once-over every few months, you won’t find yourself needing to strip the tiles back to the substrate in five years’ time. It is much easier to keep a clean house than it is to fix one that has been neglected for a decade.
At the end of the day, a home is meant to be used, not just looked at through a window. I’ve spent thirty years looking at the bones of houses, and I can tell you that a bit of grime in the kitchen grout doesn’t mean a house is failing; it just means people are living in it. Don’t let a bit of dirty tile make you feel like you’re losing your grip on things. Take the time to do the work, enjoy the satisfaction of a job well done, and then put the brush away. A clean floor is a fine thing, but a home filled with life is far more important.
Frequently Asked Questions
How often should I actually be doing this, or am I just wasting my weekends if the floor looks fine?
Look, if the floor looks fine, don’t go looking for trouble. I’ve seen enough damp issues in old cottages to know that over-scrubbing can actually wear down the sealant. If you’ve got a busy household, a quick mop once a week keeps the surface grime at bay. But a proper, deep scrub? Leave that for once a season. If you do it more often than that, you’re just wasting a perfectly good Saturday.
If the grout is starting to crumble or turn to powder under my brush, is it time to call a professional or just patch it myself?
If you’re seeing powder under your brush, you’ve moved past simple cleaning and into structural territory. In my thirty years of surveying, I’ve seen many a well-meaning homeowner try to patch a crack with a bit of premixed grout, only for it to fall out six months later. If the grout is crumbling, the bond has failed. If it’s just a small area, you can patch it, but if it’s widespread, call a professional.
Can I use these cleaning methods on those old, porous quarry tiles in the kitchen, or will I ruin them?
Now, hold your horses there. Those quarry tiles—likely mid-century, given the pattern—are a different beast entirely compared to modern ceramic. They’re thirsty, porous things. If you go in with heavy acids or even too much vinegar, you’ll etch the surface and leave them looking dull as a wet Sunday. Stick to a mild, pH-neutral soap and plenty of water. If they’re particularly stubborn, use a soft brush. Don’t go rushing in with the bleach.