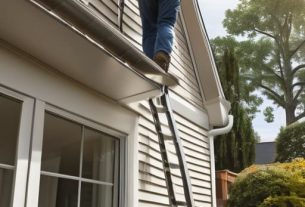
I was halfway up a rickety step-ladder last Tuesday, squinting through a drizzle that felt more like a sponge, when I realised the problem wasn’t just a few loose felt shingles. Most people think they need a specialist contractor or a complete structural overhaul when they start looking into how to fix a shed roof, but that is rarely the case. Usually, it’s just a matter of a bit of grit in the wrong place or a gutter that’s been blocked by oak leaves since the late nineties. I’ve spent thirty years looking at properties from the thatched cottages in the valley to the brick semis on the edge of town, and I can tell you that most leaks are far simpler to mend than a builder would like you to believe.
In this guide, I’m going to skip the fancy jargon and the expensive tool lists you see in those glossy magazines. Instead, I’ll show you exactly how I approach a repair, from identifying the soft spots in the timber to getting the felt to lay flat without it all sliding off the next time the wind picks up. We’ll cover the practical bits—the stuff that actually keeps the damp out—so you can get back to your gardening without worrying about your tools rusting away in the dark.
Table of Contents
- Step-by-Step Instructions
- Replacing Damaged Roofing Felt When the Damp Creeps in
- A Shed Roofing Materials Guide for the Practical Homeowner
- A few things I’ve learned from being on a ladder too often
- A few final thoughts before you pick up the hammer
- A bit of foresight goes a long way
- A final word on the work
- Frequently Asked Questions
Guide Overview
Tools & Supplies
- Hammer for driving nails
- Utility knife for cutting shingles or felt
- Pry bar for removing old roofing material
- Drill for securing new panels or shingles
- Roofing shingles or metal panels (area dependent)
- Roofing felt or underlayment (1 roll)
- Roofing nails (1 box)
- Roof sealant/caulk (2 tubes)
Step-by-Step Instructions
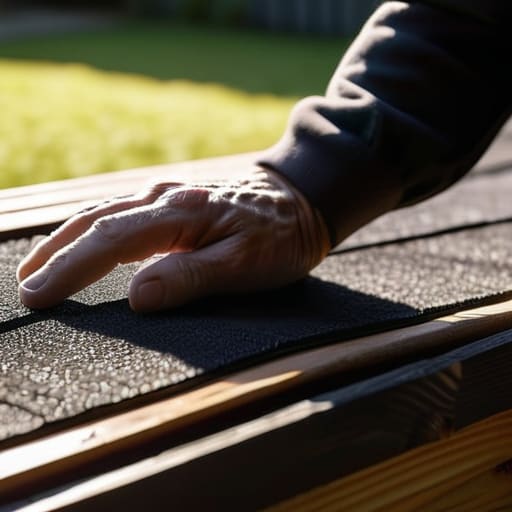
- 1. First, you need to clear the decks. I’m talking about more than just sweeping away a few stray leaves from last autumn; you need to get up there with a stiff brush and remove every bit of moss and grit that’s settled in the grooves. If you leave that organic matter sitting there, it acts like a sponge, holding moisture against the wood and ensuring your repair won’t last through the first frost.
- 2. Once it’s clear, you have to find the actual culprit. I’ve spent many a Saturday crawling around on my hands and knees looking for the source of a drip, and it’s rarely where you think it is. Check for cracked felt, split shingles, or nails that have worked their way loose over the years. If the timber underneath feels soft or spongy when you give it a poke with a screwdriver, you aren’t just fixing a roof; you’re looking at a bit of carpentry to replace a rotten batten.
- 3. If you’re dealing with torn felt—which is usually the case with those older sheds built in the late seventies—you’ll need to patch it. Don’t just slap some glue on the hole. You need to overlap a new piece of roofing felt over the damaged area, making sure it extends at least six inches beyond the tear in every direction. If you don’t get that overlap right, the wind will catch it and have the whole job undone by Tuesday.
- 4. Now, grab your roofing nails and start securing the patch. You want to nail them down in a staggered pattern, rather than a straight line, to prevent water from finding a path through the holes. I always tell people to hammer them flush; if the nail heads are sticking up like little mountains, they’ll catch the rain and eventually pull themselves right out of the wood.
- 5. For the gaps around the edges or where the roof meets the wall, you’ll want a decent bit of bitumen sealant or a high-quality roofing mastic. I’ve seen plenty of people try to use standard silicone from the local DIY shop, but that’s a waste of money. You need something specifically designed for outdoor use that can handle the expansion and contraction of the wood when the temperature swings between a sunny afternoon and a freezing night.
- 6. If your shed is one of the older timber models, like those standard kits from the mid-eighties, the felt might be so brittle that it crumbles like a biscuit when you touch it. In that case, don’t bother with patches. It is much better to strip the whole thing back to the rafters and lay down fresh felt from scratch. It’s a proper afternoon’s graft, but it’s the only way to be sure you won’t be back up that ladder in six months’ time.
Replacing Damaged Roofing Felt When the Damp Creeps in
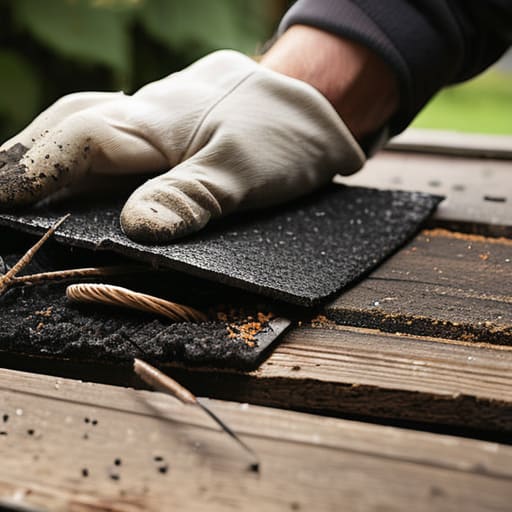
Now, if you find that the old felt has become brittle—it usually does after a decade of sun and frost—patching it up is like trying to mend a sieve. When you get to the stage of replacing damaged roofing felt, don’t just slap a bit of bitumen over the cracks and call it a day. I’ve seen many a well-meaning neighbour do exactly that, only to find the damp has already migrated into the timber rafters. You need to peel back the old, perished layers entirely. If the wood underneath feels soft or looks dark, give it a quick scrape with a wire brush; if it’s truly rotten, no amount of new felt will save it.
When you’re selecting your supplies, I’d suggest looking for a heavy-duty mineral felt rather than the thin, cheap stuff you find in the big DIY chains. It’s a bit more of an investment upfront, but it’s a vital part of any shed roof maintenance checklist if you want to avoid doing this again in two years’ time. Make sure your overlaps are at least ten centimetres wide, and always start from the bottom edge and work your way up, so the water runs over the joins rather than into them.
A Shed Roofing Materials Guide for the Practical Homeowner
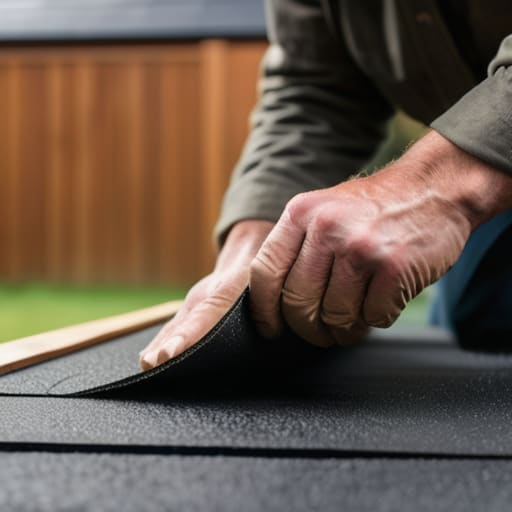
Now, before you head down to the local builders’ merchant, you’ll want to know what you’re actually looking for. I’ve seen many a well-meaning neighbour buy a roll of felt that’s far too thin, only to find it’s shredded by the first proper gale that rolls off the Channel. If you are looking for a proper shed roofing materials guide, start with the weight of the felt. You want something with a heavy bitumen coating; if it feels like tissue paper in your hands, it won’t last a season.
If you’ve opted for something more substantial, like cedar shingles or even those modern composite tiles, remember that the fixing is just as important as the material itself. When I’m fixing shed roof shingles, I always make sure the nails are long enough to bite deep into the timber, otherwise, the wind will have them off like autumn leaves. Don’t forget that a bit of flashing or even a strip of lead around the joints can save you a great deal of grief later. It’s much better to spend an extra tenner now than to spend your Saturday repairing a leaking shed roof come next February.
A few things I’ve learned from being on a ladder too often
- Don’t go skimping on the nails; if you use those tiny, flimsy ones from the discount bin, the first real wind that comes off the downs will strip your felt right off like a loose bandage.
- Check your timber before you even think about the roofing; if the rafters have started to bow or rot through, all the new felt in the world won’t stop the whole thing from sagging by Christmas.
- Always work from the bottom up, overlapping your layers like scales on a fish, because if you do it the other way around, you’re essentially building a little waterfall that directs every drop of rain straight into your tools.
- If you’re working solo, get a sturdy stepladder and don’t try to be a hero by leaning a long ladder against a slippery roof—I’ve seen enough near-misses at parish fetes to know better.
- Keep an eye on the eaves; if the felt isn’t tucked in properly or secured at the edge, water will just curl right under it and rot your floorboards before you’ve even noticed the damp.
A few final thoughts before you pick up the hammer
Don’t let the weather dictate your schedule; if you see a patch of damp on the floorboards, you’ve already waited too long, and it’s much cheaper to fix a bit of felt now than a rotted timber frame come next spring.
Invest in decent quality roofing felt rather than the cheapest roll you find at the hardware shop, as I’ve seen far too many “bargain” jobs fail after just one heavy Hampshire downpour.
Always check your rafters for stability before you start laying anything new; there’s no sense putting a brand new roof on a shed that’s already leaning five degrees to the left.
A bit of foresight goes a long way
I’ve spent many a Saturday afternoon balanced on a wobbly ladder looking at a patch of rot, and I’ll tell you this: it is far cheaper to spend twenty quid on a roll of decent felt in July than it is to replace a warped floor and a ruined lawnmower in November.
Gordon Ellery
A final word on the work
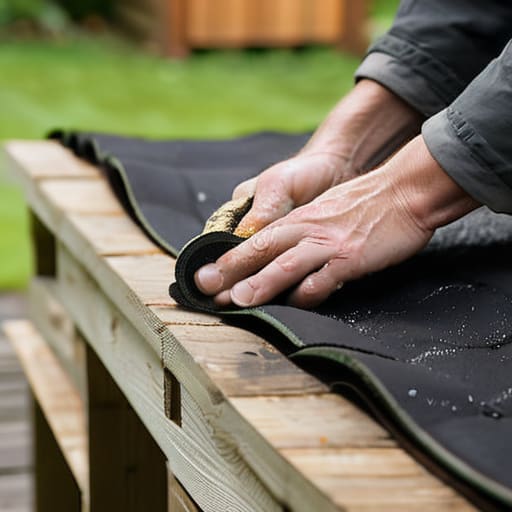
Getting a shed roof sorted isn’t about fancy tools or expensive contractors; it is about getting the basics right before the weather turns. Whether you are laying down a fresh bit of heavy-duty felt or replacing a few perished shingles, the goal is simple: keep the water out and the timber dry. I have seen too many people try to save a few quid by skipping the felt or ignoring a small soft spot in the wood, only to find their lawnmower or garden tools ruined by a damp autumn. If you have tackled the leaks and ensured your fix is secure, you have done more than enough to protect your kit for the coming season.
There is a particular sort of satisfaction in looking at a shed and knowing it is watertight because you were the one who saw to it. It isn’t quite the same as restoring a Grade II listed cottage in the village, but it is honest work nonetheless. Taking care of the small things—the sheds, the fences, the garden gates—is what keeps a home feeling solid and well-tended. So, once you’ve climbed down from that ladder and wiped the dust from your hands, take a moment to appreciate the job. You’ve done right by your property, and that is what matters most.
Frequently Asked Questions
If I've already replaced the felt but the wood underneath feels soft, do I really need to replace the whole roof timber?
If the timber feels soft, you’ve moved past a simple felt job and into structural territory. I’ve seen too many folks try to patch over rot, only to have the whole roof sag by the next winter. If you can push a screwdriver into the wood and it sinks in like butter, that rafter is compromised. Don’t gamble on it; swap the timber now, or you’ll be replacing the entire shed frame by next year.
Is it worth spending the extra money on bitumen shingles, or will standard felt do the job well enough for a garden shed?
If your shed is just a place for the lawnmower and a few rusted trowels, standard felt is fine, provided you don’t mind replacing it every five years. But if you’re using that shed as a workshop or a potting shed where you actually spend time, go for the bitumen shingles. They’re thicker, they don’t tear when the wind catches them, and they’ll last twice as long. It’s worth the extra few quid.
How do I stop the wind from lifting the edges of the new felt once I've finished the job?
You don’t want that wind catching the edge like a sail, especially with the gusts we get coming off the downs. Once you’ve laid your felt, don’t just trust the adhesive. I always use clout nails—the ones with the wide, flat heads—spaced about six inches apart along the edges. If you’re feeling particularly thorough, a bead of roofing sealant along the overlap does wonders. It’s a bit of extra work, but it beats a loose sheet flapping about in November.