I was halfway through a cup of tea in the hallway of the old Miller cottage—a fine mid-Victorian build, though the damp in the corner is a worry—when I realised I’d made a right mess of things. I’d spent three hours trying to peel back a particularly stubborn damask pattern, thinking a bit of elbow grease would do the trick, only to find I was essentially clawing at the very skin of the house. Most people think that learning how to remove wallpaper is just about finding a good scraper and some patience, but they’re wrong. If you don’t respect the layers underneath, you aren’t decorating; you’re performing surgery without an anaesthetic.
I’ve spent thirty years looking at what lies behind the surface, and I’ve seen enough ruined plaster to last me another thirty. In this guide, I’m going to show you the proper, methodical way to get those old patterns off without losing your temper or your deposit. We’ll talk about the right temperature of water, why that expensive chemical spray might be a waste of your hard-earned money, and how to tell if your walls are actually ready for a fresh coat of paint. I’ll give it to you straight, no nonsense and no fluff.
Table of Contents
- Step-by-Step Instructions
- Gathering Your Tools and a Proper Wallpaper Removal Solution Recipe
- Mastering the Scraper and Stripping Vinyl Wallpaper Without the Mess
- A Few Lessons Learned the Hard Way
- A Few Bits to Remember Before You Start
- A Word of Caution Before You Start
- The Final Stretch
- Frequently Asked Questions
Guide Overview
Tools & Supplies
- Scoring tool to create small holes in the paper
- Putty knife to scrape away residue
- Spray bottle for applying liquid
- Wallpaper stripper solution or warm water/vinegar mix (1 gallon)
- Sponges and cleaning cloths (3-4)
- Large bucket (1)
Step-by-Step Instructions
- 1. Before you even think about touching a scraper, you need to get your tools in order. I’m talking about a proper scoring tool—not one of those flimsy plastic things—a good sponge, a bucket, and a decent stripping solution. If you’re using a chemical remover, make sure you’ve got the windows open; I once tried this in a small scullery back in ’94 and felt like I was breathing in a chemistry lab for three hours.
- 2. You’ll need to find the edges, usually where the paper meets the skirting board or the ceiling coving. Most modern papers have a non-woven backing that’s quite stubborn, so you’ll need to take a scoring tool and lightly run it over the surface. Don’t go too deep, mind; you aren’t trying to carve your name into the lath and plaster, just enough to create channels for the liquid to get underneath.
- 3. Now, mix your solution in a bucket—either a commercial stripper or a simple mix of warm water and a bit of fabric softener if you’re being frugal. Soak your sponge and start applying it to the wall in manageable sections. I always tell people not to try the whole room at once; if you let the paper dry out before you start scraping, you’ll be there until the next parish council meeting.
- 4. Once the paper looks sufficiently sodden, it’s time for the scraper. Start at the top and work your way down, using a firm but steady pressure. If you hit a patch that won’t budge, don’t force it. Just apply more solution, wait five minutes, and try again. I’ve seen too many people tear the paper face off only to find they’ve pulled the plaster right along with it, which is a much more expensive problem to solve.
- 5. If you find yourself dealing with several layers of old, Victorian-era paper—which, let’s be honest, happens in almost every cottage between here and Salisbury—you might need to strip the first layer just to see what you’re actually working with. It’s a bit like peeling an onion, and it’s not particularly glamorous work, but it’s the only way to ensure the wall is truly clean.
- 6. Once the bulk of the paper is off, you’ll be left with a sticky, tacky residue on the walls. This is where most people give up, but you mustn’t. Take a clean sponge and a bucket of fresh, warm water and wash the walls down thoroughly. You need to get every bit of that glue off, or your new paint—or heaven forbid, new wallpaper—won’t adhere, and you’ll be revisiting this job in six months’ time.
- 7. Finally, give the walls a chance to dry completely. I usually leave them for at least twenty-four hours before I even think about sanding or priming. If you try to rush the drying process, you’ll find the moisture trapped behind the new finish, and that’s a recipe for bubbling and peeling that no amount of good intentions can fix.
Gathering Your Tools and a Proper Wallpaper Removal Solution Recipe
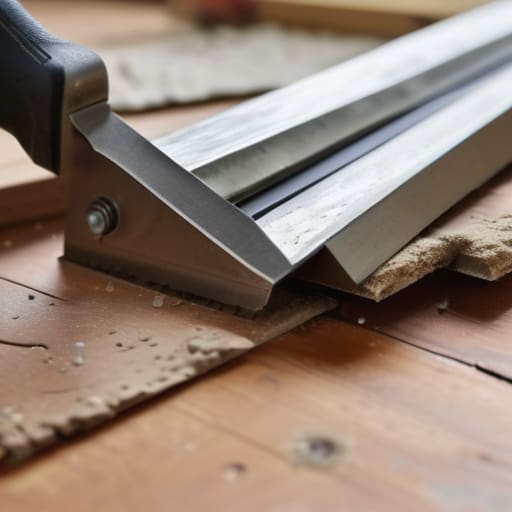
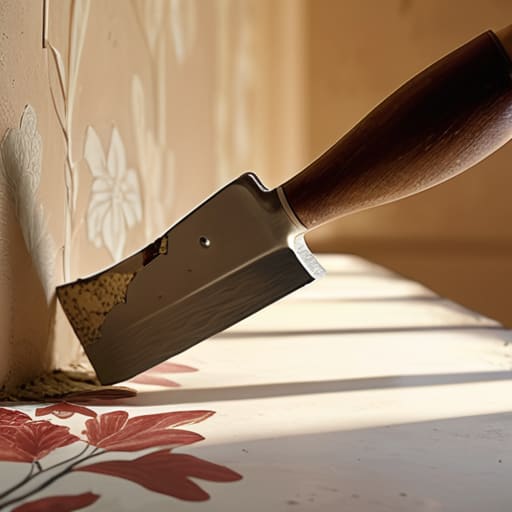
Now, don’t go heading to the big-box DIY warehouse and buying every gadget they’ve got on the shelf. You don’t need much, but you do need the right bits. A decent pair of wallpaper removal tools—specifically a sturdy scoring tool and a wide-bladed scraper—will save your wrists from a lifetime of ache. I remember a job back in ’94 on a cottage near Salisbury; the lad used a blunt knife and ended up gouging the lath through. If you’re stripping vinyl wallpaper, you’ll need to be even more patient, as that plastic coating is designed to repel moisture and will fight you every step of the way.
As for the liquid, you can save a few pounds by making your own wallpaper removal solution recipe right in the kitchen. A bucket of hot water with a generous splash of fabric softener or a bit of white vinegar does the trick far better than those expensive sprays in fancy bottles. It helps soften the adhesive without being too harsh on the underlying surface. Just remember, if you find yourself removing old wallpaper residue that’s been stuck since the mid-seventies, you might need to apply it a little thicker and let it sit.
Mastering the Scraper and Stripping Vinyl Wallpaper Without the Mess
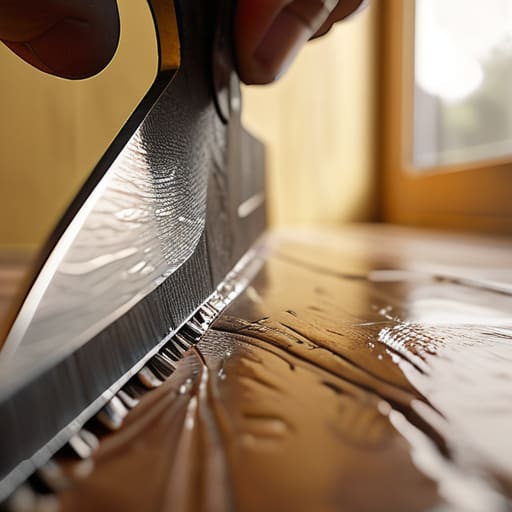
Now, if you’ve gone and put up one of those heavy-duty vinyl layers—the sort common in kitchens or hallways built anywhere from the mid-seventies onwards—you’ll find a bit more fight in it. You can’t just soak these away like the old paper rolls; the plastic top layer acts like a raincoat, keeping my solution from ever reaching the glue. You’ll need to take a sharp blade and score the surface first. I usually do this in small, vertical strips. If you don’t break that waterproof seal, you’re just wasting your time and your bucket.
Once the surface is breached, that’s when you learn how to use a wallpaper scraper effectively. Don’t go hacking at it like you’re clearing a hedge; you want a steady, flat pull. I’ve seen too many people gouge right into the plaster because they were rushing. Keep the blade at a shallow angle, and if you feel it catching, stop and apply more liquid. It’s a slow process, but if you take your time, you’ll avoid a massive headache regarding drywall repair after wallpaper removal, which is a job I’d rather leave to the professionals.
A Few Lessons Learned the Hard Way
- Don’t go at it with a heavy-duty scraper straight away. I’ve seen too many people try to muscle through a stubborn layer only to find they’ve gouged a hole in the lath and plaster underneath. Start with a blunt edge and a bit of patience; it’s much easier to fix a bit of sanding later than it is to patch a hole in a Victorian ceiling.
- Watch out for the damp. If you’re using a hot water solution, keep an eye on how much moisture is soaking into the walls. In those older cottages around here, where the walls can be a bit porous, you don’t want to turn the whole room into a swamp. Work in small sections, maybe two square metres at a time, and let it dry out before moving on.
- If you hit a patch that simply won’t budge, don’t fight it. It’s often a sign that there’s a layer of old, oil-based paint or a particularly thick sealant underneath. In those cases, you’re better off using a fine-mesh scoring tool to prick the surface first. It lets the liquid get behind the paper instead of just sitting on top of it.
- Always keep a bucket of clean water and a few old rags handy. As you strip the paper away, you’ll be dealing with a fair amount of grey, sodden pulp. If you don’t wipe the wall down as you go, that sludge will just dry into the plaster, making your job of prepping for the new paint ten times harder than it needs to be.
- Check the corners and the skirting boards. People often forget that the paper tends to bunch up and get stuck tight in the crevices. I’ve spent many an afternoon scraping around a skirting board only to realise I’d left a thick ridge of paste behind. Use a smaller, more precise tool for the edges, or you’ll be spending your whole weekend sanding out the mess.
A Few Bits to Remember Before You Start
Don’t go rushing in with a sharp blade; if you haven’t let the solution soak into the paper for ten minutes, you’ll just end up gouging the plaster underneath, and that’s a much more expensive problem to fix.
Always test a small, hidden patch behind a radiator or a picture frame first, as some of the thicker vinyls from the seventies don’t take to moisture nearly as well as the older, more porous papers.
Keep a bucket and a mop close at hand, because no matter how careful you think you’re being, the slurry will find its way across the floorboards before you’ve even finished the first corner.
A Word of Caution Before You Start
I’ve seen many a well-meaning homeowner tear into a room only to find they’ve stripped the very soul of the wall along with the paper; if you aren’t prepared to spend a few hours being patient with the steam, you’ll spend a week paying a plasterer to fix your mistakes.
Gordon Ellery
The Final Stretch
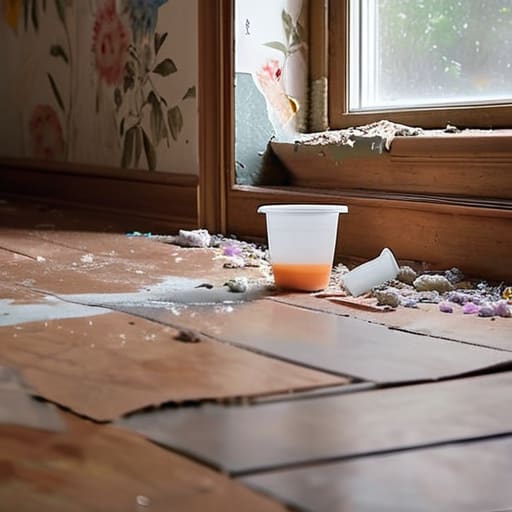
Once you have finally cleared away those layers of tired, peeling paper, you will likely find yourself standing there with sore shoulders and a very messy floor. Just remember that the secret to a clean finish isn’t in the strength of your arm, but in the patience of your process. Whether you were battling stubborn vinyl or soaking through old, heavy-duty patterns with my homemade solution, the goal is always the same: reaching that solid, clean plaster underneath. Don’t be tempted to rush the drying stage once the scraping is done; if you try to paint over damp walls, you’ll be right back where you started, only with a much bigger bill from the decorator. It is a bit of a slog, I’ll grant you that, but doing it right the first time saves a world of heartache later.
There is a particular satisfaction in seeing a room stripped back to its bones. I remember a cottage near Chawton—built, I believe, around 1840—where we spent three days just getting through the grime of a dozen different decades. When we finally saw the original lime plaster, the whole room felt like it could breathe again. That is what this work is really about. You aren’t just cleaning a wall; you are preparing a foundation for whatever comes next, be it a fresh coat of cream paint or a bold new colour. It’s hard graft, certainly, but there is nothing quite like the feeling of knowing you’ve truly cleared the way for a new chapter in your home.
Frequently Asked Questions
What on earth do I do if I strip the paper away and find nothing but crumbling, damp plaster underneath?
Now, don’t panic, but you’ve hit the snag I’ve seen in half the cottages between Hungerford and Salisbury. If the plaster is soft or flaking like a dry biscuit, it’s likely damp or just aged out. You can’t just slap new paper over it; it’ll peel within a month. You’ll need to scrape back to the solid bit, let it dry out completely, and then apply a good bonding agent before any skimming begins.
I’ve tried the steam method, but the paper isn't budging—am I using too much water or not enough heat?
It’s usually the heat, not the water. If you’re seeing puddles on the floor, you’ve gone too heavy on the liquid, which just risks soaking into the lath and plaster underneath. I’ve seen enough damp issues in these old cottages to know that’s a recipe for trouble. Hold the steamer on one spot for a good thirty seconds to let the warmth penetrate the adhesive, then scrape immediately. If it won’t budge, it needs more time, not more moisture.
Once the walls are clean and dry, do I need to sand them down before I even think about picking up a paintbrush?
You certainly do. I’ve seen far too many people rush straight from stripping to painting, only to find their new coat of emulsion looks like a bag of flour dropped on a driveway. Once the paste is gone, you’ll likely have bits of old paper or uneven plaster. Give it a light sand with a fine-grade paper to smooth those ridges. It’s a bit of extra elbow grease, but it makes the finish worthwhile.