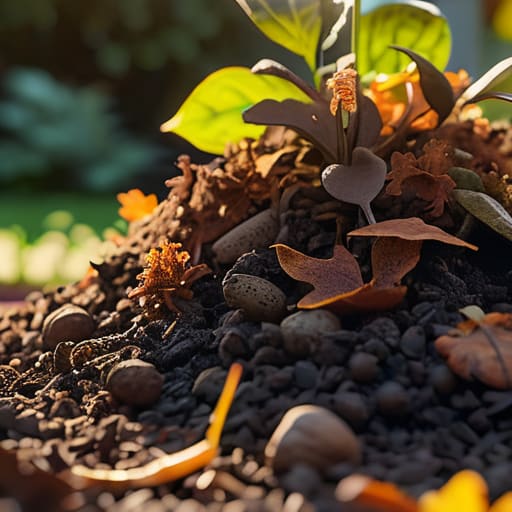
I spent forty minutes yesterday afternoon staring at a pile of rotting vegetable peelings and damp leaves behind my shed, wondering why it looked more like a neglected construction site than a garden asset. Most of the glossy magazines will tell you that you need fancy plastic bins or specific chemical additives to get things moving, but that is absolute nonsense. The truth about how to build a compost heap is much simpler and, frankly, a bit more tactile than those shops would have you believe. If you treat it like a science experiment instead of a bit of basic earthwork, you’ll likely end up with nothing but a stinking pile of sludge that attracts every wasp in the parish.
I am not going to give you any of that polished, theoretical rubbish you find in the city garden centres. Instead, I’ll show you how to layer your browns and greens properly so the heat actually builds up, just like a well-constructed dry stone wall. I will walk you through exactly where to site it—away from those low-lying spots near the lane that turn to bog in November—and how to manage it without spending your entire weekend breaking your back.
Table of Contents
- Step-by-Step Instructions
- Balancing Green vs Brown Materials in a Real Garden
- Mastering the Nitrogen and Carbon Ratio Without the Fuss
- A few bits of practical advice before you get your hands dirty
- The short version for those in a hurry
- ## The truth about a proper heap
- A bit of patience and some good dirt
- Frequently Asked Questions
Guide Overview
Tools & Supplies
- Garden fork or shovel for mixing materials
- Pitchfork for turning the heap
- Brown materials (dried leaves, straw, or cardboard) – large volume
- Green materials (vegetable scraps, grass clippings, or coffee grounds) – large volume
- Water (for moisture control) – as needed
- Compost bin or wire mesh (optional for containment) – 1 unit
Step-by-Step Instructions
- 1. First things first, you need to pick a spot that isn’t going to turn your garden into a swamp. I’ve seen too many people tuck their heap into a hollow in the garden, only to find that after a bit of typical Hampshire rain, they’ve essentially built a stinking bog right next to their patio. Find a bit of level ground, preferably in a spot that gets some sun to keep the microbes active, but isn’t so exposed that the wind blows the whole thing apart.
- 2. Don’t just start throwing kitchen scraps onto the bare grass. You want to start with a foundation of coarse materials—think twigs, small branches, or even some old woody prunings from last autumn. This creates a bit of an air gap at the bottom, which is vital because if the base gets compacted and airless, the whole lot will just sit there smelling like a damp cellar instead of turning into good soil.
- 3. Now comes the bit that most people get wrong: the balance. You can’t just throw a mountain of grass clippings on there and expect magic; you’ll just end up with a heavy, sodden mass of green sludge. You need to alternate your “greens”—the nitrogen-rich stuff like vegetable peelings and fresh grass—with your “browns,” which are the carbon-heavy bits like shredded cardboard, dried leaves, or straw. I always tell my neighbours to think of it like layering a proper bed; a bit of green, a good layer of brown, and so on.
- 4. Once you have your layers going, you need to keep an eye on the moisture. It shouldn’t be soaking wet, but it shouldn’t be bone dry either. A good rule of thumb I learned years ago is that the heap should feel like a wrung-out sponge. If it’s too dry, the decomposition simply stops, and if it’s too wet, you’ll have a problem with smells that’ll have the neighbours knocking on your door.
- 5. You can’t just build it and forget it for a year, though I know it’s tempting when the weather turns cold. Every few weeks, or whenever you have a spare twenty minutes, get a garden fork and give it a proper turn. You want to move the stuff from the outside into the middle and vice versa. This introduces oxygen, which is the real engine that drives the whole process along.
- 6. Finally, have a bit of patience. I’ve seen people get frustrated after a month because they don’t see black gold appearing, but nature doesn’t work on a surveyor’s timetable. Depending on how much you turn it and how much rain we get, it might take six months or a year. Just keep adding to it, keep it balanced, and eventually, you’ll have something much better than any bag of compost you can buy at the garden centre.
Balancing Green vs Brown Materials in a Real Garden

Now, if you get this wrong, you won’t have a compost heap; you’ll have a damp, stinking pile of sludge that no one wants near their vegetable patch. The secret is getting the balance between your green vs brown materials right. I always tell people to think of it like a recipe. The ‘greens’ are your nitrogen-rich scraps—grass clippings, vegetable peelings, and that leftover salad from Tuesday. The ‘browns’ are your carbon sources, like dried leaves, straw, or even torn-up cardboard from the postman’s deliveries. If you just throw in a bucket of fresh grass after a heavy rain, you’ll end up with a mess that smells like a blocked drain.
You want a bit of both in every layer. A good rule of thumb I’ve used for years is to aim for roughly two parts brown to one part green. If the pile starts looking a bit sodden, toss in some more shredded paper or dry twigs to help the organic matter breakdown without it turning into a swamp. It’s all about finding that sweet spot where the pile stays warm but doesn’t go sour.
Mastering the Nitrogen and Carbon Ratio Without the Fuss
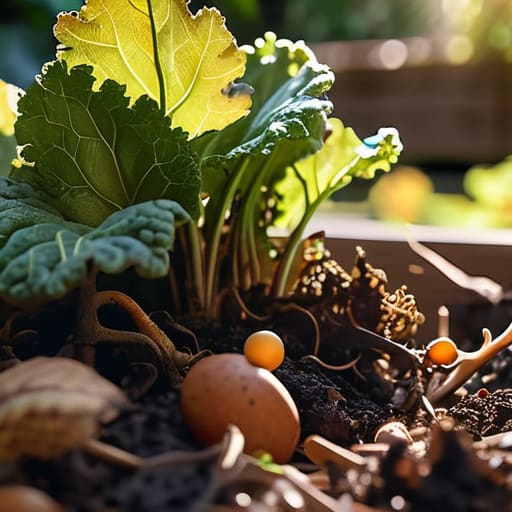
Now, don’t let the science books frighten you; you don’t need a laboratory to get the nitrogen and carbon ratio right. In my thirty years of looking at properties, I’ve seen people spend a fortune on landscaped gardens only to let the soil turn to dust because they didn’t understand what was happening under the surface. All you really need to remember is that if your pile starts smelling like a damp basement, you’ve got too much “green” stuff—those nitrogen-heavy kitchen scraps and fresh grass clippings. If it just sits there looking like a pile of dry sticks, you’re lacking the nitrogen to get things moving.
The trick is to treat it like a proper recipe. I usually keep a small bag of dried leaves or some shredded cardboard by the shed to toss in whenever I’m adding the weekly vegetable peelings. This keeps the aerobic decomposition process working steadily without you having to think about it too much. If you keep a decent balance, you’ll notice the compost pile temperature rises naturally. That heat is your best friend; it’s the sign that the organic matter is actually breaking down into something useful for your roses, rather than just rotting in a heap.
A few bits of practical advice before you get your hands dirty
- Don’t go making a mountain of it all at once; a heap that’s too big becomes a sodden, heavy mass that’s nearly impossible to turn, so start with something manageable, maybe a cubic metre at most, tucked away in a corner where the drainage is decent.
- Keep an eye on the moisture, because if it’s as dry as a chalk quarry in July, nothing’s going to happen, but if it’s dripping like a leaky gutter after a storm, you’ll end up with a smell that’ll have the neighbours complaining.
- If you’ve got some old cardboard lying about from your last delivery, tear it up and throw it in; it’s a brilliant way to add those browns we talked about, and it’s much better than letting it pile up in the recycling bin.
- Give it a bit of a stir every now and then with a garden fork—not that I expect you to do it every day, but if you leave it completely stagnant, it loses the air it needs to actually work.
- Avoid throwing your pet waste or any cooked scraps in there; I’ve seen people try it, and it’s a quick way to turn a useful garden tool into a breeding ground for things you really don’t want near your vegetable patch.
The short version for those in a hurry
Don’t go looking for a perfect balance on a spreadsheet; just keep a handful of brown material, like crushed eggshells or dry leaves, ready to toss in whenever your kitchen scraps start looking a bit too soggy.
If the heap starts smelling like something died under the garden shed, it’s far too wet and needs more air and dry stuff; if nothing is happening at all, you’ve likely forgotten to add your green kitchen waste.
You don’t need a fancy plastic bin from the garden centre to make this work, but do try to keep the heap in a spot that doesn’t turn into a swamp every time we get a bit of Hampshire rain.
## The truth about a proper heap
You can buy all the fancy plastic bins you like from the garden centre, but they won’t do a lick of good if you don’t treat the pile with a bit of respect; a real compost heap needs air, a bit of grit, and the patience to let nature do the heavy lifting while you go about your business.
Gordon Ellery
A bit of patience and some good dirt
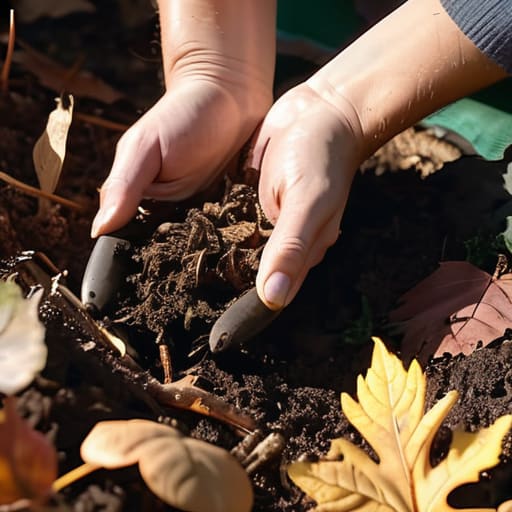
At the end of the day, building a decent heap isn’t about following some complicated scientific formula you’d find in a textbook. It’s about remembering that you need your browns and your greens to play nice together, and that a bit of air is just as important as the scraps themselves. If you’ve kept your ratios roughly right and haven’t let it turn into a sodden, stinking pile in the corner of the garden, you’ve done the hard part. Just keep an eye on it, turn it when it looks like it’s gone a bit quiet, and let nature do the heavy lifting for you. It isn’t a job that requires a degree, just a bit of common sense and the willingness to get your hands a little dirty.
I’ve spent a lifetime looking at the bones of houses—the foundations, the flint, the timber—and I can tell you that the best things are always built from the ground up. There is a particular kind of satisfaction in seeing a pile of kitchen waste and garden clippings transform into that dark, crumbly gold that makes a vegetable patch truly sing. It’s a small thing, really, but it’s part of that proper way of looking after a piece of land. So, don’t overthink it. Get your heap started, keep at it, and in a year’s time, your roses will be thanking you for it.
Frequently Asked Questions
What on earth am I supposed to do if the whole heap starts smelling like a blocked drain?
If your heap starts smelling like a blocked drain, you’ve got a soggy, airless mess on your hands. It usually means you’ve piled on too many green scraps and not enough dry stuff. Stop adding kitchen waste immediately. Get a pitchfork and turn the whole lot to get some air back into it, then mix in plenty of torn-up cardboard or dry leaves. It needs to breathe, otherwise, you’re just brewing sludge.
Do I really need to buy one of those expensive plastic bins, or can I just pile it up in the corner of the garden?
You don’t need to spend forty quid on a plastic bin just to satisfy a catalogue. I’ve seen plenty of them sitting empty in gardens because they’re a nuisance to turn. If you’ve got a spare corner behind the shed, a simple heap works just fine. Just keep it tidy and tucked away from the path, or you’ll be tripping over it come autumn. Honestly, the worms don’t care about the decor.
How often am I actually going to have to get out there with a pitchfork to turn it all over?
If you’re expecting to be out there every Tuesday with a pitchfork, you can put it away. I’ve spent enough time on my feet to know that life is too short for unnecessary manual labour. Once the heap is established, aim for a turn every few weeks—or even once a month if the weather is damp. If it looks a bit stagnant or starts to smell, that’s your cue to get moving.