I was standing in my back garden last Tuesday, looking at the uneven mess of flagstones near the old oak—the one planted back in 1924—and I couldn’t help but shake my head. Most people think that learning how to lay a patio is all about picking out the prettiest limestone or slate from the garden centre, but they’ve got it backwards. You can buy the most expensive stone in all of Wiltshire, but if you haven’t spent enough time getting the sub-base compacted and the drainage right, you aren’t building a terrace; you’re just building a very expensive slush fund for the next heavy rain.
I’ve spent thirty years valuing properties and a fair few weekends on my hands and knees with a spirit level, so I know exactly where the pitfalls lie. In this guide, I’m going to walk you through the process without any of the fancy jargon or the sales pitch you’ll get from the big builders. We’ll cover everything from digging out the right depth to ensuring your stones don’t end up wobbling like a jelly after the first frost. It’s about doing the job properly the first time, so you can actually sit down and enjoy a cup of tea on it.
Table of Contents
- Step-by-Step Instructions
- Sub Base Preparation for Paving That Wont Fail You
- Leveling Patio Slabs Without Losing Your Mind
- Five Things I’ve Learned the Hard Way
- A Few Things to Remember Before You Start
- ## The Cost of Cutting Corners
- A Bit of Advice Before You Call It a Day
- Frequently Asked Questions
Guide Overview
Tools & Supplies
- Shovel for excavating the area
- Spirit level to ensure a flat surface
- Rubber mallet for setting pavers
- Plate compactor or tamper for base stabilization
- Patio pavers (square footage of area + 10% extra)
- Crushed stone/sub-base (depth of 4 inches)
- Sharp sand (depth of 1 inch)
- Jointing sand (for filling gaps)
Step-by-Step Instructions
- 1. First, you need to get the area cleared and marked out. Don’t just eyeball it; I’ve seen plenty of garden projects go awry because someone thought they could “sense” a straight line. Grab some wooden stakes and a length of string to define the perimeter. Once you’ve got your boundary, use a spade to dig out the area to a depth of about 150mm to 200mm. You need enough room for the sub-base, the mortar bed, and the stone itself. If you don’t dig deep enough from the start, you’ll find yourself building a patio that sits too high, tripping up every guest who comes over for tea.
- 2. Now comes the heavy lifting: the sub-base. I always tell people to use a good quality MOT Type 1 hardcore. Spread it out in layers of about 50mm at a time and compact it with a vibrating plate—or a “wacker plate” as the lads call it. If you just dump it all in at once and try to tamp it down, you’ll end up with hollow spots that cause the stones to shift and crack within two seasons. It takes more time, but a solid foundation is the only thing standing between you and a sinking mess.
- 3. Once your base is as firm as a well-settled foundation on a Victorian terrace, it’s time to prepare your mortar. You’ll want a standard mix of sharp sand and cement, usually a 4:1 ratio. Mix it until it’s a workable consistency—not too runny, or it’ll migrate away, and not too dry, or it won’t bond. I like to keep a bucket of water nearby to adjust the mix as I go, ensuring it’s just right for the job at hand.
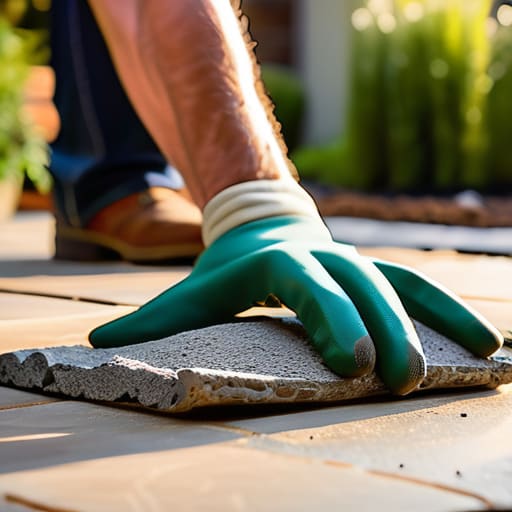
- 4. Start laying your stones from the lowest point of the garden and work your way up. This is where you manage your “fall”—the slight slope that ensures rainwater runs off the patio and away from your house walls. If you’ve ever seen a damp patch on a basement wall, you’ll know why this matters. Lay a thick bed of mortar, then place your paving stone on top. Give it a firm tap with a rubber mallet to settle it into the bed, checking your levels constantly with a spirit level.
- 5. As you move along, you’ll find small gaps between the stones. This is where the pointing comes in. Use a jointing compound or a finer sand and cement mix to fill these voids. You want to pack it in tightly so no weeds can find a foothold. I’ve spent many a Sunday afternoon scrubbing excess mortar off the face of the stone before it sets, so don’t leave it too long, or you’ll be fighting those stains for years.
- 6. Finally, once the mortar has had a chance to cure, give the whole area a good wash with clean water. It’s worth waiting at least 24 to 48 hours before you start walking on it heavily, though I’ve been known to step on a corner or two just to check my work. A clean, level patio is a proper bit of kit, and if you’ve followed these steps, it should look just as good ten years from now as it does the day you finish.
Sub Base Preparation for Paving That Wont Fail You
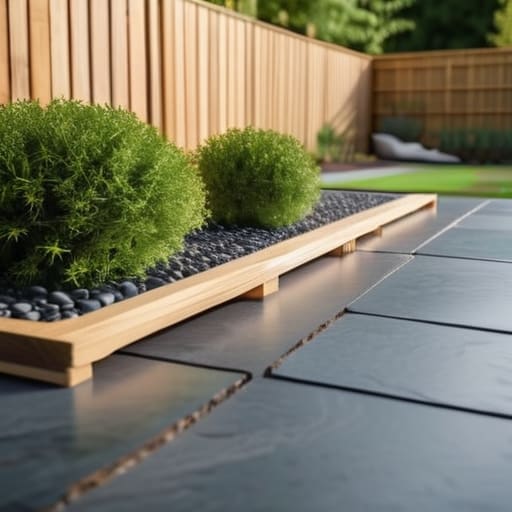
Now, if there is one thing I saw go wrong more than any other during my years valuing properties, it was a beautiful terrace that had surrendered to the frost and the rain. Most people want to jump straight to the pretty bit—the stone itself—but the real work happens underground. Proper sub-base preparation for paving is the difference between a garden feature that lasts a generation and one that becomes a trip hazard within two winters. I’ve seen too many folks try to save a few quid by skipping the hardcore, only to find their expensive slabs tilting like a drunkard after the first big soak.
You’ll want to dig down deep enough to accommodate at least 100mm of compacted MOT Type 1. Don’t just throw it in; you have to use a plate compactor—or a “wacker plate” if you’re talking to the lads at the local hire shop—to get it solid. If you don’t, you’ll be fighting wonky stones for the rest of your life. Once that base is rock-solid, you’re much more likely to succeed at preventing patio sinking when the ground inevitably shifts during a wet Hampshire winter.
Leveling Patio Slabs Without Losing Your Mind
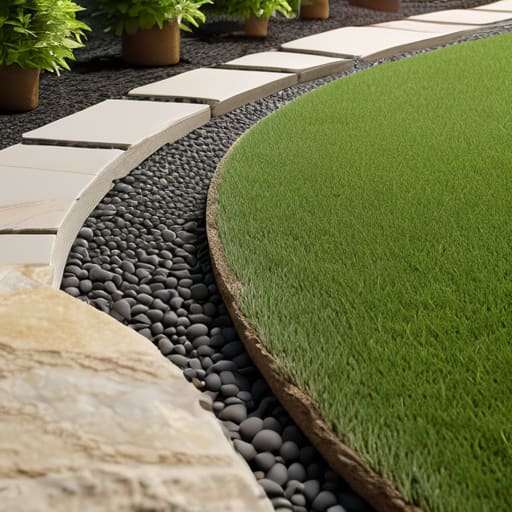
Once you’ve got your sub-base sorted, you’ll find that the real work begins when you’re actually trying to get those slabs sitting true. I’ve seen plenty of folks rush this bit, only to end up with a surface that looks like a miniature mountain range after the first frost. When you’re leveling patio slabs, don’t go chasing a perfectly flat plane like a billiard table; you need a slight fall—about one in sixty—to ensure rainwater actually runs off toward the lawn rather than pooling in a puddle by your back door.
I always recommend getting a decent set of paving stone installation tools, specifically a heavy-duty rubber mallet and a long spirit level. If you try to do it all by eye, you’ll regret it when you’re trying to set a garden table six months down the line. Use the mallet to tap the slab down, checking the level from two different directions each time. It’s a slow, repetitive process, but it’s the only way to ensure you aren’t fighting a wonky surface for the rest of your retirement.
Five Things I’ve Learned the Hard Way
- Don’t skimp on the grit. I’ve seen plenty of folks try to save a few quid by using a thin layer of sand, but if you don’t have a substantial, compacted sub-base, those slabs will be shifting and rocking before the first frost of winter hits.
- Check your fall. It sounds simple, but you need a slight slope—about one in sixty—to ensure rainwater runs off towards the lawn or a drain. I once visited a cottage near Salisbury where the patio was so flat that the patio furniture sat in a puddle every time it drizzled.
- Watch your finger joints. Whether you’re using a traditional mortar or a modern jointing compound, make sure it’s packed in tight. If you leave gaps, the weeds will move in faster than a new tenant, and you’ll be weeding on your hands and knees every weekend.
- Pick your stone for the weather, not just the look. Some of those fancy, porous flagstones look grand in a showroom, but they can become incredibly slippery when wet. I always tell people to test the grip; you don’t want to be skidding across your garden when you’re carrying a tray of tea.
- Plan for the edges. A patio without a solid border is just a pile of stones waiting to spread. You need a proper edging—be it a brick line or a concrete haunch—to keep everything tucked in tight and prevent the whole thing from migrating into your flowerbeds.
A Few Things to Remember Before You Start
Don’t skimp on the sub-base; I’ve seen too many beautiful flagstones in this county sink into the mud because someone thought a bit of sand was enough.
Check your levels twice and lay them once, because once that mortar sets, you’ll be fighting a wonky surface for the next twenty years.
Buy more slabs than you think you need, as you’ll almost certainly find a cracked one in the batch or break a corner when you’re trimming them to fit.
## The Cost of Cutting Corners
I’ve seen too many people try to save a few quid by skimping on the grit or skipping the compaction, only to be staring at a tripping hazard and a cracked slab three summers later; you can either spend the time doing the ground right now, or spend twice as much hiring a man to rip it all up and start again when the frost hits.
Gordon Ellery
A Bit of Advice Before You Call It a Day
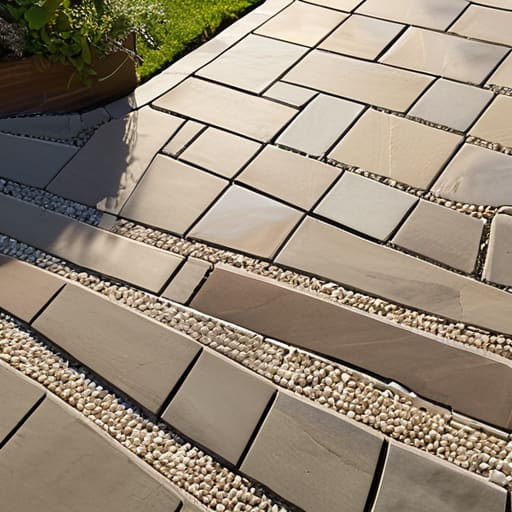
Now, if you’ve followed the steps properly, you should be standing on something much more substantial than just a few stones sitting on top of the dirt. You’ve dealt with the sub-base, you’ve wrestled with the leveling, and you’ve hopefully kept your back from seizing up in the process. Just remember that the real work is in the details; if you’ve skimped on the grit or rushed the compaction, you’ll be dealing with sinking slabs by next winter. Take the time to sweep the joints and ensure the fall is directed away from your house walls—I’ve seen far too many Victorian cottages suffer from damp simply because a homeowner wanted to finish a patio before the Sunday roast.
At the end of the day, a patio isn’t just an extension of your garden or a way to increase your property value—though, as a surveyor, I can tell you it certainly helps the valuation. It is a place for a quiet cup of tea when the sun is out, or a spot for the neighbours to gather for a drink. When you sit out there on a warm July evening, you won’t be thinking about the bags of sand or the ache in your knees. You’ll be thinking that you’ve built something properly made that will serve your home for decades to come. That is what makes the hard graft worth it.
Frequently Asked Questions
What’s the best way to stop the weeds from creeping up through the joints after the first winter?
The trick is to stop thinking of the gaps as just spaces and start seeing them as soil. If you’ve used sand, the wind and rain will eventually bring seeds in. I always recommend a polymeric sand; it hardens when dampened, making it much harder for a rogue dandelion to take hold. If you’re using mortar, just ensure your joints are packed tight. A little bit of diligence in spring saves a lot of scraping later.
Should I be using a sand-cement mix for the bedding, or is that old-fashioned compared to the modern stuff?
It isn’t old-fashioned; it’s standard for a reason. I’ve seen plenty of people try those modern “instant” mortars, but if you’re laying anything substantial, you want a proper sand and cement mix. I usually aim for a 4:1 ratio. It gives you the structural integrity that a bit of grit and lime provides. Modern products have their place, certainly, but for a patio that won’t shift when the frost hits, stick to the basics.
How much of a slope do I actually need to build in to make sure the rainwater doesn't pool against the house wall?
You want a fall of at least one in eighty. That means for every eighty millimetres of distance from your house wall, the patio should drop by one millimetre. If you’re looking at a standard four-metre stretch, you’re aiming for a five-centimetre difference in height from the house to the edge. I’ve seen plenty of poorly laid terraces in the village where the water just sits there, and believe me, you don’t want that damp creeping into your foundations.