
I was out by the old stone barn last Tuesday—a sturdy piece of 18th-century masonry, mind you—and I saw young Miller from down the lane trying to stack his logs against a damp garden wall. He’d spent a fair bit of money on some fancy, decorative metal log holder he’d ordered online, but he was making the classic mistake of thinking a bit of ironwork replaces common sense. If you don’t understand the basics of how to store firewood, you’re essentially just paying to create a very expensive pile of expensive kindling. There is no magic gadget or expensive rack that can fix wood that has been left to soak up the Hampshire drizzle like a sponge.
I’m not here to sell you on any high-tech gadgets or complicated garden architecture. What I want to do is share what I’ve learned from thirty years of seeing what actually works when the temperature drops and the frost settles on the fields. I’ll show you how to pick a spot that stays dry, how to stack it so the air can actually do its job, and how to avoid the mistakes that leave you staring at a smoky, useless fire on a Tuesday night.
Table of Contents
- Choosing the Right Firewood Storage Location Tips for Your Garden
- Outdoor Wood Rack Ideas That Actually Stand the Test of Time
- Five things I’ve learned from a lifetime of damp logs and smoky rooms
- A few things to remember before the frost sets in
- A lesson from a damp autumn
- A Final Word Before the Frost Sets In
- Frequently Asked Questions
Choosing the Right Firewood Storage Location Tips for Your Garden
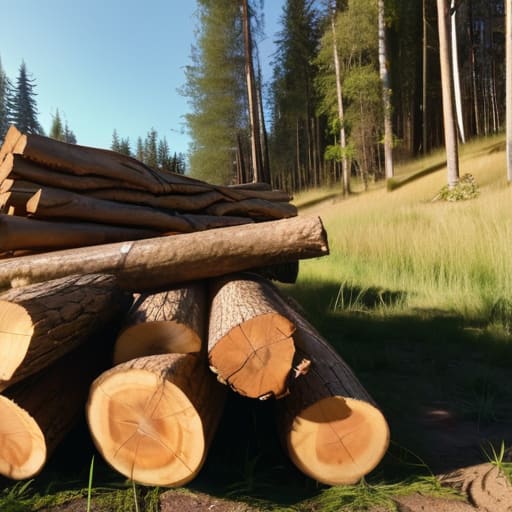
Now, you can’t just tip a pile of logs anywhere and call it a day. I’ve seen plenty of folks tuck their wood into a shaded corner behind the shed, thinking they’re being clever by hiding it. That’s a mistake. If you want to speed up the wood seasoning process, you need air. I always tell people to look for a spot that gets a good bit of sun and, more importantly, a steady breeze. If the air can’t move through the stack, you’re just creating a damp sponge that’ll be useless come January.
You also need to keep an eye on the ground. I spent a fair amount of time surveying old cottages where the damp from the soil crept straight into the hearth. Don’t let your logs sit directly on the grass or the dirt; it’s an invitation for preventing firewood rot to become an impossible task. I prefer using a raised timber frame or some sturdy paving slabs to get the stack off the earth. It keeps the bottom layer dry and ensures you aren’t fighting a losing battle with mould before the first frost even hits.
Outdoor Wood Rack Ideas That Actually Stand the Test of Time
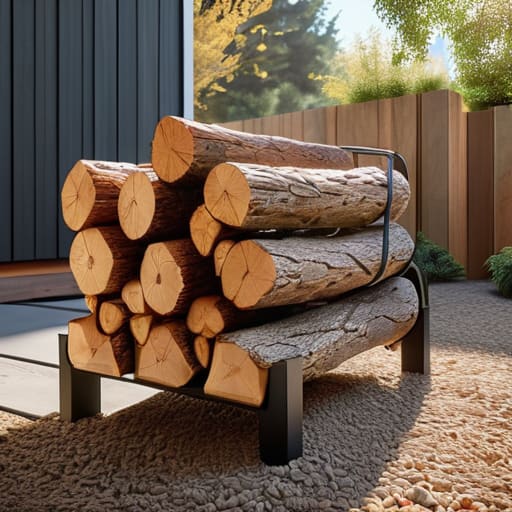
Now, if you’re looking for something more permanent than a pile of logs leaning against a shed, you need to think about airflow. I’ve seen too many people buy those cheap, flimsy metal racks from the big garden centres—the ones that look fine in the catalogue but buckle under the weight of a full winter’s supply within six months. A proper, heavy-duty timber rack, ideally built from pressure-treated softwood or even better, oak if you can find a decent deal, is worth the initial outlay. The trick is to get it off the ground. I always suggest raising your rack on a few sturdy paving slabs or even some concrete blocks; if the wood sits directly on damp soil, you’re essentially inviting preventing firewood rot to become an impossible task.
If you have the space, a dedicated timber woodshed with a sloped roof is the gold standard. It keeps the bulk of the moisture away while still allowing for a bit of a breeze to pass through the sides. This is vital for the wood seasoning process, as you want that air moving through the stack to pull out the dampness. Just make sure you don’t pack it too tight; a stack that’s too dense won’t dry, and you’ll end up with a pile of expensive, smoky kindling instead of proper fuel.
Five things I’ve learned from a lifetime of damp logs and smoky rooms
- Keep it off the ground. I cannot stress this enough. If you stack your logs directly on the soil or a damp patio, you’re essentially inviting the moisture to climb straight up into the wood. Get a pallet or a proper timber base underneath; it lets the air move and keeps the rot at bay.
- Airflow is your best friend. A tightly packed wall of wood might look tidy, but it’s a recipe for a mouldy mess. Leave gaps between the logs so the breeze can work its magic. I always say a stack should breathe as well as you do.
- Watch the overhang. If you’re building a stack against a house—which I generally advise against if you can help it—make sure it isn’t leaning against the brickwork. You don’t want dampness transferring from the wood to your lime mortar, especially on those older cottages around here that were built in the 1880s.
- Mind the roof, but don’t overdo it. A bit of cover from the driving rain is essential, but if you put a heavy tarp right down over the top of the pile, you’ll trap the humidity inside. Use a roof that sits a few inches above the wood to let the air circulate.
- The “Seasoning” test. Don’t trust a log just because it looks dry on the outside. Give it a good crack with an axe or a splitter; if the inside is dark and damp, it’s not ready. You want to see that pale, clean grain. If you burn green wood, you’re just wasting money and making your living room smell like a swamp.
A few things to remember before the frost sets in
Don’t be tempted by the easy way out; if you tuck your logs under a leaky porch or against a damp garden wall, you’ll be fighting a losing battle with a smoky, useless fire all winter.
Airflow is everything, so make sure your stack isn’t just a solid heap, but has enough breathing room to let the wind do the hard work of drying it out.
Invest in a rack that’s built to last, because a flimsy bit of timber will be bowing and rotting long before the first real cold snap hits.
A lesson from a damp autumn
I’ve spent forty years looking at how moisture moves through stone and timber, and I can tell you this: you can buy the most expensive seasoned oak in the county, but if you stack it against a north-facing wall where the wind can’t reach it, you might as well be trying to light a pile of wet sponges.
Gordon Ellery
A Final Word Before the Frost Sets In
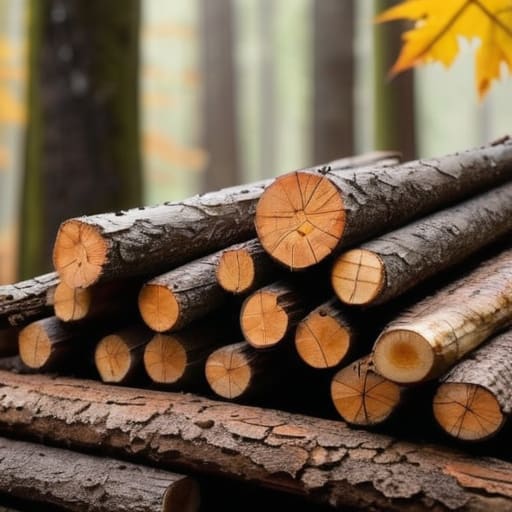
At the end of the day, storing wood isn’t about fancy garden architecture or following some complicated manual; it is about common sense and a bit of foresight. You need to make sure that stack is off the damp ground, tucked away from the worst of the driving rain, and—most importantly—given enough room to actually breathe. I have seen too many people cram their logs into a tight, dark corner only to find they have nothing but a pile of sodden, useless charcoal when the first frost hits in November. If you get the location right and choose a rack that won’t rot away after two seasons, you have done the hard part.
There is a particular kind of satisfaction that comes with a well-managed woodpile. I remember a cottage near Sevenhampton, built around 1840, where the owner kept a stack so tidy and dry that the scent of seasoned oak seemed to hang in the air all through January. It is about more than just warmth; it is about the quiet preparation that makes a house feel like a home. So, take the afternoon to get your wood sorted now. Your future self, sitting by a crackling fire while the wind howls across the downs, will certainly thank you for it.
Frequently Asked Questions
How long do I actually need to leave the wood out before it’s ready to burn?
It’s the question I get most at the village shop, usually while I’m buying my weekly paper. There’s no magic number, but a good rule of thumb is twelve months. If you’ve split it yourself, it might be ready in nine; if it was seasoned in a kiln, you can burn it sooner. Just grab a piece, let it sit for a minute, and if it sounds like a hollow “clack” rather than a dull “thud,” it’s ready.
Is it worth the extra money to buy a proper log store, or can I just lean it against the garden wall?
Look, I’ve seen plenty of folks lean a pile of logs against a garden wall, usually a flint one from the mid-1800s if they’re lucky. It seems easy enough, but you’ll find the bottom layer turns to mush within two seasons. If you can afford a proper log store, get one. It keeps the air moving and the wood dry. It’s better to spend the money now than to burn damp wood later.
How can I tell if my wood has gone mouldy and is actually unsafe for the hearth?
If you spot white, fuzzy patches or a dark, slimy coating on the ends of your logs, leave them be. That’s mould, and it’s a sign the wood has held onto too much moisture. If it smells musty—like a damp cellar rather than fresh pine—it’s gone off. I’ve seen people try to burn it anyway, but you’ll only end up with a stinging, smoky kitchen and a chimney that’s a nightmare to sweep.