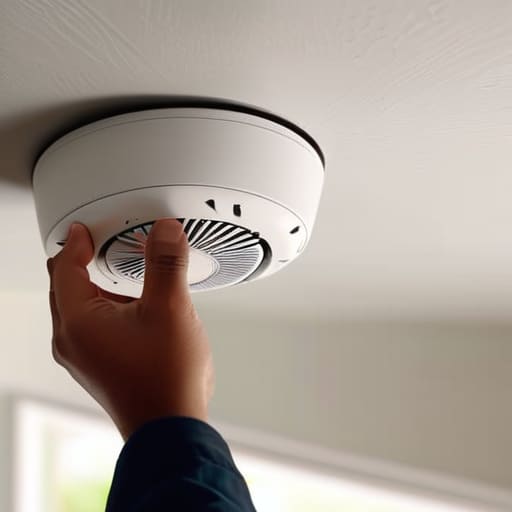
I was standing on a particularly rickety step-ladder in the hallway of a mid-Victorian terrace last Tuesday—the kind with those lovely, high ceilings that look grand but are a nightmare for anything electrical—when I realised most people have it all wrong. They think that knowing how to fit a smoke alarm is just a matter of slapping some adhesive strips on the plaster and hoping for the best. But if you’ve ever stood in a drafty corridor in a house built before 1900, you’ll know that positioning is everything. If you put it too close to a vent or tucked away in a corner where the air just sits still, you might as well not bother at all.
I’m not here to give you a lecture on safety regulations or sell you some expensive smart-gadget that requires a Wi-Fi signal just to beep. Instead, I’m going to show you the practical, no-nonsense way to get it done right. I’ll walk you through exactly how to fit a smoke alarm so it actually does its job, from choosing the right spot to making sure that little plastic disc is firmly secured to the ceiling. We’ll keep it simple, we’ll keep it steady, and we’ll make sure you can get back to your tea without worrying about the ceiling.
Table of Contents
- Step-by-Step Instructions
- Hardwired vs Battery Smoke Alarms Choosing Your Lifeline
- Smart Smoke Detector Mounting Locations for Real Peace of Mind
- A few things I’ve learned from years of looking up at ceilings
- A few things to remember before you reach for the ladder
- ## A bit of peace of mind
- A Final Check Before You Step Off the Ladder
- Frequently Asked Questions
Guide Overview
Tools & Supplies
- Power drill and drill bits for making pilot holes
- Screwdriver for securing mounting screws
- Step ladder for reaching ceiling heights
- Smoke alarm unit 1
- Mounting bracket 1
- Screws and wall plugs 1 set
Step-by-Step Instructions
- 1. First, you’ll need to head to the hardware shop—not the supermarket, as they rarely carry the decent, long-life lithium models—and pick up a mains-powered unit if you’re feeling ambitious, or a simple battery-operated one if you’d rather not mess with the wiring. I always suggest getting a pack of high-quality screws and a proper spirit level; there is nothing more annoying than a crooked alarm staring at you from the ceiling like a judgmental eye.
- 2. Once you’re back, find your spot. You want the alarm in the hallway of every sleeping area and in the main living room, but keep it at least three metres away from the kitchen or the bathroom. If you put it too close to the toaster or the shower steam, you’ll be woken up at 7:00 AM by a false alarm, and frankly, nobody has time for that.
- 3. Now, grab a sturdy ladder. I’ve seen too many people trying to balance on a kitchen chair, and I’d rather not have to write an obituary for a neighbour in next month’s newsletter. Hold the alarm base against the ceiling and use a pencil to mark the screw holes clearly. If you’re mounting it on a lath and plaster ceiling—which, if you live in one of the older cottages near the stream, you almost certainly are—you’ll need to find the joists or use specific plasterboard fixings to ensure it doesn’t just fall down.
- 4. Drill your pilot holes carefully. If you’re working with old timber, don’t go too heavy with the drill or you’ll splinter the wood, and once that’s done, it’s a frightful mess to fix. Tap your fixings in gently, then hold the mounting bracket up to the marks you made and screw it tight until it’s firmly seated against the ceiling.
- 5. If you’ve opted for a mains-wired model, this is where you might want to call a proper electrician rather than trying to “wing it.” You’ll need to connect the live, neutral, and earth wires to the terminal block in the alarm. Ensure the connections are tight and secure; a loose wire is just a recipe for a fire hazard rather than a fire preventer, and I’ve seen enough dodgy DIY to know the difference.
- 6. Finally, click the alarm unit onto the base and give it a firm twist to lock it in place. Press the ‘test’ button—it’ll be loud, so don’t be startled—and make sure the little green light stays steady. It’s worth doing this once a month just to be sure, and don’t forget to vacuum the dust off the casing every so often, or the sensor will get as confused as a tourist looking for the village green.
Hardwired vs Battery Smoke Alarms Choosing Your Lifeline
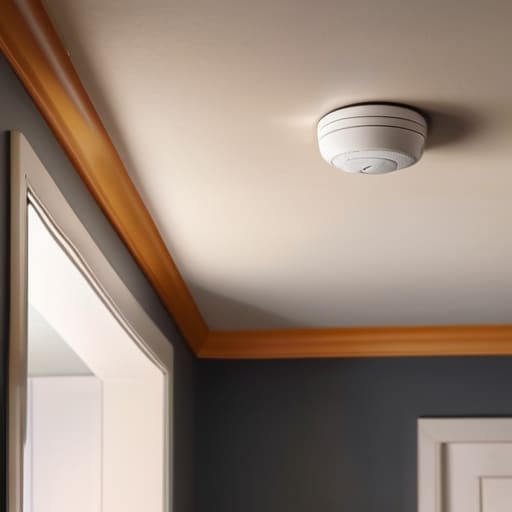
Now, you’ll find two main types of units in the shops: the ones that run on a single battery and the hardwired versions. In my years surveying older cottages—many of which were built well before the 1960s when fire safety wasn’t even a conversation—I’ve seen how much of a difference a proper setup makes. Hardwired vs battery smoke alarms is the question most people ask me at the post office. Battery units are easy enough for a quick fix, but they rely entirely on you remembering to swap a cell every year. Hardwired models are linked to your mains electricity, meaning if one goes off, they all do, which is a far more reliable way of detecting smoke in hallways or landings while you’re tucked up in bed.
If you are doing a proper renovation, I’d suggest going with the hardwired option; it’s more robust and keeps you closer to modern fire safety home regulations. However, if you’re just looking to bolster the protection in a small timber-framed bungalow, a high-quality, long-life lithium battery model will do the job just fine. Just remember, regardless of which you choose, consistency is everything when it comes to your peace of mind.
Smart Smoke Detector Mounting Locations for Real Peace of Mind
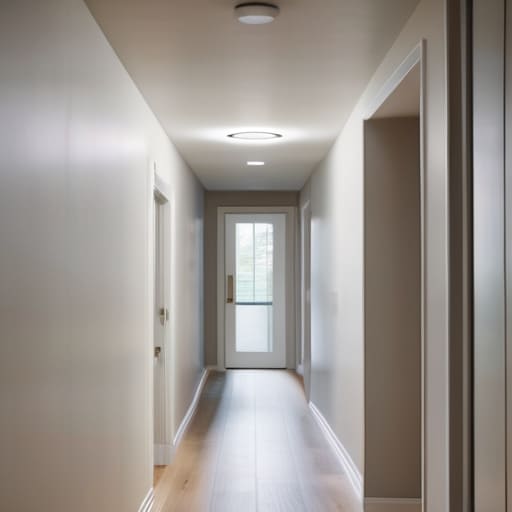
Now, once you’ve decided on your hardware, you have to consider where it actually sits. I’ve seen plenty of well-meaning folks stick a unit in a corner or tucked behind a heavy curtain, which is a bit like trying to catch rain in a sieve. For effective detecting smoke in hallways, you want the device centrally located on the ceiling. If you must opt for a wall installation, keep it at least 30cm away from the junction where the wall meets the ceiling; otherwise, you’ll just be catching the pockets of air that don’t move, and you’ll be left none the wiser when it matters.
It’s also worth noting that the kitchen and the airing cupboard are tricky spots. You don’t want a unit so close to the toaster that it screams every time you brown a slice of sourdough, but you certainly don’t want it so far away that a fire in the laundry room goes unnoticed. I always tell my neighbours to aim for the sleeping areas and escape routes. If you place them in the main circulation paths, you’re giving yourself that vital extra minute to get everyone out of the house and onto the pavement.
A few things I’ve learned from years of looking up at ceilings
- Don’t be stingy with the testing; I make a habit of pressing the button once a month, usually while the kettle is boiling, just to make sure the thing hasn’t gone dormant on us.
- If you’re mounting yours near a kitchen or a bathroom, keep a sensible distance—about three metres from the door—otherwise, you’ll be waking up to a false alarm every time someone makes toast or has a particularly steamy shower.
- Check the date on the back of the unit before you climb the ladder; most of these sensors have an expiry date of ten years, and I’ve seen more than one old unit fail right when it was actually needed.
- When you’re drilling into the ceiling, mind the joists; there’s nothing quite as frustrating as a half-finished installation because you’ve hit a timber beam you didn’t account for.
- If you’ve gone for the battery-operated sort, keep a spare set of lithium batteries in the kitchen drawer, not tucked away in the garage, so you aren’t scrambling when that midnight chirp starts.
A few things to remember before you reach for the ladder
Don’t get fancy with the placement; a smoke alarm is useless if it’s tucked into a corner or sitting right next to a steaming kettle in the kitchen.
If you’re opting for the battery types, set a recurring date in your calendar—perhaps the first Monday of every month—to test them, because a dead battery is no better than no alarm at all.
Treat the installation with a bit of respect; if you’re working on an older ceiling with lath and plaster, take it slow so you don’t end up with a pile of dust on your carpet and a loose fixture.
## A bit of peace of mind
I’ve spent thirty years looking at rafters and ceiling joists, and I can tell you this: a smoke alarm isn’t just another bit of plastic to clutter up your ceiling; it’s the only thing standing between a quiet night’s sleep and a very bad morning.
Gordon Ellery
A Final Check Before You Step Off the Ladder
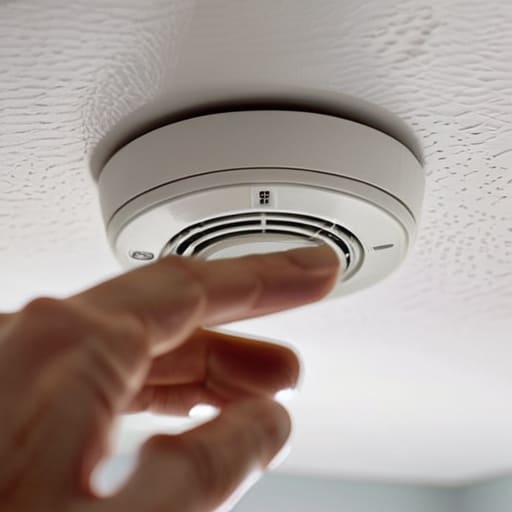
Once you’ve finished drilling those holes and testing that little red light, don’t just pack the screwdriver away and call it a day. You’ve done the hard part—choosing between a hardwired unit or a simple battery model, and making sure you haven’t tucked them too close to the kitchen where a bit of burnt bacon might set them off unnecessarily. Just remember that a smoke alarm is only as good as its last test. I make it a habit to press the test button on the first Monday of every month; it takes ten seconds, but it’s the only way to be certain the thing actually works when the air starts to thicken.
At the end of my career, I saw plenty of beautiful, period properties—some dating back to the mid-eighteenth century with lovely timber frames—that were nearly lost because someone thought a bit of maintenance could wait until next season. We spend so much time worrying about the price of a new kitchen or the colour of the front door, but the real value of a home lies in the people inside it. Fitting a smoke alarm isn’t just another chore on a Saturday morning list; it is a quiet act of looking out for one another. Do it properly, check it regularly, and then you can get back to your tea knowing your house is truly looked after.
Frequently Asked Questions
If I’ve got an older cottage with lath and plaster ceilings, am I going to need more than just a bit of filler to get the mounting screws to hold?
Now, you’ve hit on the exact problem with these lovely older cottages. If you’re looking at lath and plaster—likely dating back to the late Victorian era if it’s anything like the ones in Lower Cholderton—a standard screw will pull right out like a loose tooth. You can’t just rely on filler. You’ll need some proper hollow-wall anchors or even a bit of timber blocking tucked behind the lath if you want that alarm to stay put when the wind howls.
How often am I actually supposed to be testing these things, and is there a proper way to do it without just poking it and hoping for the best?
Once a week is the rule of thumb, though I tend to do mine every Sunday morning while the kettle’s boiling. Don’t just tap the plastic casing and assume it’s working; you need to press and hold the test button until the siren actually shrieks. If it sounds more like a dying cricket than a proper alarm, change the battery immediately. And for heaven’s sake, once a year, give it a quick vacuum to clear the dust.
Is it worth getting a detector that talks to my phone, or is that just more technology that’ll end up being a nuisance when the battery gets low?
Look, I’ve seen plenty of “smart” gadgets end up in the bottom of a junk drawer because they’re more trouble than they’re worth. If you’re the sort who constantly misplaces your phone, a smart alarm might just be another thing to ignore. But, if you’re often away from the house—perhaps visiting grandchildren or tending to the garden—having that alert sent straight to your pocket is worth the extra few pounds. Just make sure it’s a reliable brand.