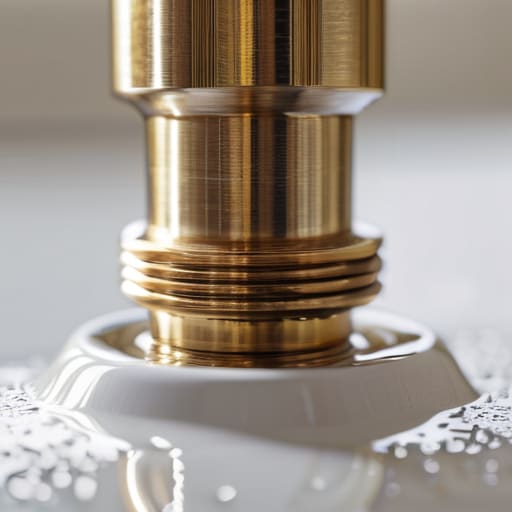
I was halfway through a lukewarm cup of tea last Tuesday when I heard it—that rhythmic, maddening tink-tink-tink against the floorboards in the hallway. It wasn’t a loose shutter or a bird in the eaves; it was the unmistakable sound of a slow drip from the downstairs radiator. Most people think they need to call out a plumber at sixty pounds an hour just to look at a bit of brass, but that’s a costly misconception. I’ve spent thirty years valuing properties from Salisbury to Winchester, and I can tell you that knowing how to fix a leaking radiator valve is often just a matter of having the right wrench and a bit of patience, rather than a degree in engineering.
In this guide, I’m going to skip the technical jargon and tell you exactly what I do when I’m faced with a damp patch on the carpet. I’ll walk you through the tools you actually need—and more importantly, the ones you don’t—so you can stop the drip without making a much larger mess of your landing. We’ll look at tightening the nut, replacing a worn washer, and when it’s time to admit the valve is truly gone. It’s straightforward, honest work that’ll save you a few quid and a lot of headache.
Table of Contents
- Step-by-Step Instructions
- Spotting the Radiator Valve Leak Symptoms Before They Spread
- Tightening the Valve Gland Nut to Stop the Steady Trickle
- A few bits of advice from someone who’s been soaked by more radiator leaks than I’d care to admit
- A few final thoughts before you put the tools away
- A bit of caution goes a long way
- A final word on the matter
- Frequently Asked Questions
Guide Overview
Tools & Supplies
- Adjustable wrench or spanner for loosening connections
- Radiator key for bleeding air if necessary
- Towels or rags to catch excess water
- Replacement valve washer or O-ring (if applicable)
- PTFE thread seal tape (1 roll)
Step-by-Step Instructions
- 1. Before you even think about reaching for a spanner, you must turn off the heating at the boiler. I don’t care if it’s a mid-winter frost or a mild Tuesday in April; you cannot be fiddling with these valves while the system is under pressure. Once the boiler is off, go to the radiator itself and turn the valve to the ‘off’ position to stop the flow of hot water through that specific unit.
- 2. Next, you’ll need to drain the radiator to stop a sudden deluge in your living room. I usually keep a shallow plastic tray and a few old towels tucked away in the airing cupboard for exactly this reason. Place the tray directly under the valve, then use a small spanner to slowly loosen the nut. Don’t go at it like you’re trying to crack a walnut; a gentle, steady turn is what gets the job done without making a mess.
- 3. Once the water has stopped running, it’s time to look at the culprit. Most of the time, the leak is coming from a perished washer or a bit of grit that’s lodged in the seat. Use a screwdriver or a small wrench to unscrew the valve head entirely. If you find that the metal looks pitted or the threads are stripped, well, you’ve gone beyond a simple fix and you’ll be heading to the hardware shop for a replacement part.
- 4. If the valve itself looks sound, take a clean rag and wipe down the internal components. I’ve seen plenty of leaks caused by nothing more than a tiny bit of limescale buildup that prevents a tight seal. You want that surface to be as clean as a whistle before you attempt to put it back together.
- 5. Now, you’ll need to replace the old washer. These little rubber rings are inexpensive, but they do perish over time—especially in those older Victorian properties where the water can be a bit hard. Ensure the new washer is the exact same size as the old one; I always keep a small assortment in a tin by the workbench because size matters when you’re trying to stop a leak.
- 6. Screw the valve head back onto the radiator, but please, for the sake of your floorboards, don’t over-tighten it. It’s a common mistake to think that more force equals a better seal, but you’ll likely just crack the nut or strip the thread. Tighten it just enough so that it feels firm and secure under your hand.
- 7. Finally, it’s time to test your handiwork. Turn the heating back on at the boiler and wait for the system to repressurise. Watch that valve like a hawk for a few minutes. If it stays dry, you’ve done a proper job. If it still weeps, you might need to tighten it just a fraction more, or perhaps the valve body itself is simply too old to be saved.
Spotting the Radiator Valve Leak Symptoms Before They Spread
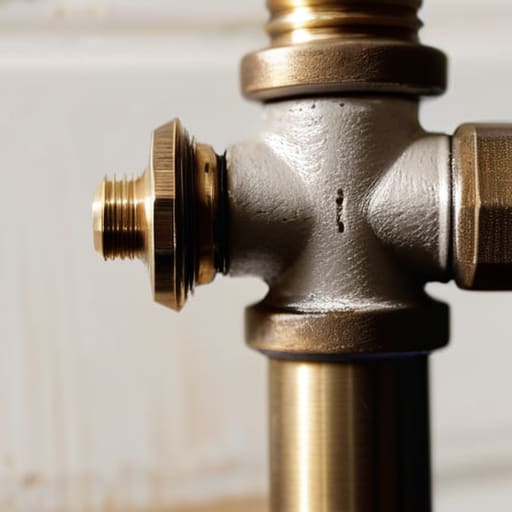
You don’t always need a flood to know something is amiss. In my years surveying older properties—the sort with floorboards that creak because they’ve been damp since the late seventies—I’ve learned that the real danger is the slow seep. Keep an eye out for radiator valve leak symptoms that aren’t quite a drip; look for a faint, white crusty residue around the metal joints or a slight discoloration on the carpet underneath. If you see that salt-like buildup, the seal is failing. It’s much easier to catch it then than to wait until you’re mopping up a puddle in the middle of a Tuesday night.
Another thing to watch for is a sudden drop in your boiler’s pressure gauge. If you find yourself topping up the system every few weeks, you aren’t just “losing water”—you’re losing money. Often, it’s just a matter of tightening the valve gland nut with a spanner, but if that doesn’t hold, you’re looking at a more serious bit of central heating system maintenance. Catching these small issues early is the difference between a ten-minute job and a call to an expensive engineer.
Tightening the Valve Gland Nut to Stop the Steady Trickle
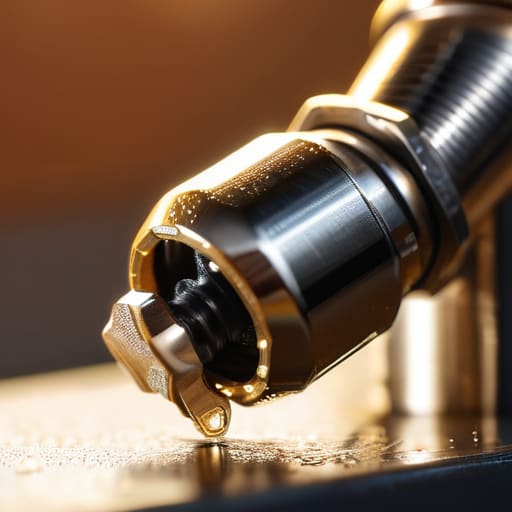
Now, if you’ve identified that the drip is coming from the spindle itself—that little metal rod that moves when you turn the dial—you might not need a whole new set of parts. Often, it’s just a matter of tightening the valve gland nut. This is the small nut located right where the spindle enters the valve body. I’ve seen many a homeowner panic and think they need to call out a professional for replacing a faulty radiator valve, but if the leak is just a slow weep, a gentle turn with an adjustable spanner often does the trick.
Be careful with your hands, though; these things can be temperamental. You aren’t looking to torque it like a wheel nut on a Land Rover. Just a quarter-turn at a time is plenty. If you over-tighten it, you’ll seize the spindle entirely, and then you’ll be stuck with a radiator that won’t turn on at all. It’s a bit like adjusting a dry stone wall; if you force the stone too hard, you’ll just crack the whole structure. Once it’s snug, wipe it dry and keep an eye on it for a few hours.
A few bits of advice from someone who’s been soaked by more radiator leaks than I’d care to admit
- Always keep a proper basin and a thick rag handy; I’ve learned the hard way that a small drip can turn into a puddle under your floorboards faster than you can find a towel.
- Don’t go at it with a massive wrench; if you use too much muscle on those brass fittings, you’ll crack the valve entirely, and then you’re looking at a plumber’s bill rather than a ten-minute fix.
- Check the condition of the radiator fins while you’re down there; if the leak has been going on for months, the metal might be thinner than it looks, and no amount of tightening will fix a corroded body.
- If you find yourself replacing a washer, make sure it’s the right size; I once saw a neighbour try to force a standard washer into a bespoke valve, and it was a right mess when the heating kicked in.
- Once you think you’ve finished, leave the heating off for an hour and just watch it; it’s better to catch a slow weep now than to discover a soak through your carpet at midnight.
A few final thoughts before you put the tools away
Don’t wait for a puddle to form; if you see even a tiny bit of rust or a damp patch on the valve, it’s time to take action before it ruins your floorboards.
Most of the time, a quick turn of the gland nut with a spanner will do the trick, but if the metal feels perished or the drip won’t stop, you’ll need to replace the valve entirely.
Always keep a rag and a bucket handy while you’re working; even when you’ve done everything right, there’s usually a bit of old, stagnant water waiting to make a mess.
A bit of caution goes a long way
I’ve spent thirty years looking at damp patches on floorboards and salt deposits on brass, and if there is one thing I’ve learned, it’s that a radiator valve doesn’t just start weeping for no reason; it’s usually a polite warning that you need to pick up a spanner before you’re picking up a mop.
Gordon Ellery
A final word on the matter
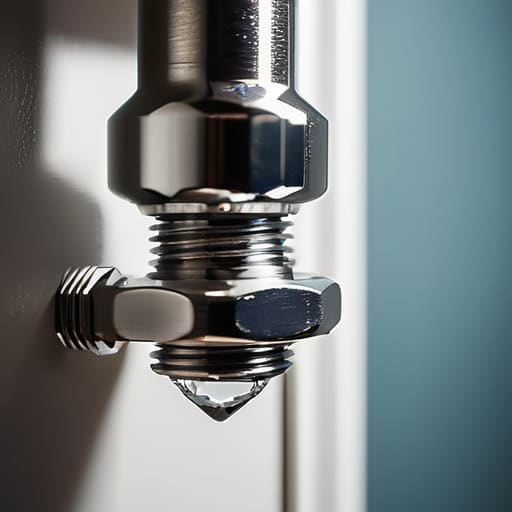
Once you have finished, do not simply walk away and forget about it. Give that valve a proper test by turning the heating up and watching it closely for at least twenty minutes. You’ve checked the gland nut, ensured the connections are snug, and hopefully stopped that annoying drip from turning into a proper flood. If the leak persists despite your best efforts, it is time to admit that the internal washer has perished or the valve itself is simply beyond a simple fix. In those cases, don’t be a hero; call in a proper plumber before you end up with a damp patch on your carpet that no amount of drying will fix.
There is a certain satisfaction in looking at a radiator that is finally quiet and dry, knowing you didn’t have to pay a call-out fee just to tighten a nut. We often think of our homes as these massive, complicated machines, but most of the time, they just need a bit of steady attention and common sense. Taking care of these small things keeps the house running and, more importantly, keeps us in control of our own little corners of the world. It might not be as grand as restoring a dry stone wall, but it certainly makes for a much warmer winter.
Frequently Asked Questions
If I’ve tightened the nut and it’s still weeping, does that mean I’ll need to replace the whole valve or just the internal washer?
If you’ve given the gland nut a proper turn and it’s still weeping, you’ve likely reached the end of what a bit of muscle can do. Most of the time, it’s just a perished washer—a tiny bit of rubber that’s gone hard after twenty years of service. You can usually swap that out without replacing the whole unit. However, if the valve body itself is pitted or corroded, don’t bother tinkering; just get a new one.
Is it worth trying to fix a leak on a radiator that’s part of an old gravity-fed system, or am I just inviting a bigger headache?
Now, if you’re dealing with an old gravity-fed system—the kind you’ll find in most of the mid-Victorian terraces around here—you have to tread carefully. If it’s just a loose nut or a perished washer, go ahead and have a go. But if the valve itself is pitted or the pipework is corroded, leave it be. Those old systems don’t take kindly to being poked, and a small drip can quickly become a systemic headache.
How much pressure should I actually see on the boiler gauge once I’ve finished tightening things up, and what if it drops again tomorrow?
Once you’ve finished, your gauge should ideally settle between 1 and 1.5 bar—that’s the sweet spot for most systems I’ve surveyed. If it’s sitting at zero, you’ll need to top it up using the filling loop. Now, if that needle starts dropping again by tomorrow morning, don’t ignore it. It means you haven’t found the true culprit, and you likely have a leak elsewhere that needs a proper look.