I was out by the old stone wall behind the rectory last Tuesday, trying to prune back some overgrown privet, when my bypass loppers decided they’d had enough. Instead of a clean snip, the blades just crushed the stems into a pulpy mess, leaving me standing there with a sore wrist and a pile of ruined shrubbery. It’s a common mistake to think you need to go out and buy a brand-new set of shears every time the cutting gets sluggish, but the truth is much simpler. Most folks struggle because they haven’t mastered how to sharpen garden tools properly, treating it like a chore rather than a bit of essential maintenance.
In the following pages, I’m going to show you how to get those edges back to a professional standard without needing a workshop full of expensive machinery. I’ll walk you through the exact way I use a simple whetstone and a bit of oil to fix my secateurs, and I’ll explain why avoiding the electric grinders is often the best way to save your equipment from unnecessary damage. No fancy jargon here—just the practical, honest methods I’ve used for thirty years to keep my kit working as well as it did the day it left the shop.
Table of Contents
- Step-by-Step Instructions
- Honing Garden Shears for a Cut That Doesnt Bruise
- The Right Way of Using a Whetstone for Garden Tools
- A few bits of advice from a man who’s spent too much time on his knees
- A few final thoughts before you head back to the shed
- ## A bit of steel and a bit of patience
- A bit of care goes a long way
- Frequently Asked Questions
Guide Overview
Tools & Supplies
- Bypass Pruners (handheld cutting tool)
- Loppers (long-handled cutting tool)
- Spade or Shovel (digging tool)
- Mill file (1 medium size)
- Sharpening stone or whetstone (1 unit)
- Metal file (1 medium size)
- Lubricating oil or WD-40 (1 small bottle)
- Protective gloves (1 pair)
Step-by-Step Instructions
- 1. First, you need to get your tools clean, and I don’t mean just a quick wipe with a rag. If there is dried mud or sap clinging to the metal, your sharpening stone won’t be able to do its job properly, and you’ll just end up smearing gunk around the edge. I usually take a stiff brush and some warm soapy water to the blades, making sure to scrub away any grit that might scratch the steel while you’re working.
- 2. Once they are bone dry, you need to find your stone. I’ve found that a decent diamond file is a godsend for the heavy-duty stuff like spades or loppers, but for your finer pruning shears, a whetstone is the way to go. If you’re using a whetstone, make sure you soak it in a bit of water first—you don’t want it running dry halfway through the job, or you’ll ruin the stone as much as the tool.
- 3. Now, you have to find the bevel, which is that angled edge where the cutting happens. For most garden shears, this is usually around a 20-degree angle. I always tell people to hold the tool at a consistent slant; if you wobble, you’ll create a wavy edge that will never cut straight again. It’s a bit like trying to level a dry stone wall—if your foundation is off, the rest is just a mess.
- 4. Start your strokes from the base of the blade and move steadily toward the tip. You want to use light, even pressure rather than leaning into it like you’re trying to push a heavy door. I tend to do about ten strokes on one side, then flip it over and do the same on the other. You aren’t trying to grind the metal away; you are simply refining the edge back to its original shape.
- 5. As you work, keep an eye out for the “burr.” This is a tiny, rough lip of metal that forms on the opposite side of the edge you are sharpening. You can feel it with your thumb (carefully, mind you) as you move along the blade. When you feel that slight ridge, it’s a sign that you’ve actually reached the metal and are doing the job right.
- 6. Once you’ve got the edge feeling keen, take a fine-grit stone or even a bit of very fine sandpaper to lightly remove that burr. This is the step most people skip, but it’s the difference between a tool that snags on a rose stem and one that glides through like butter. It’s a bit of extra effort, but it’s worth it when you’re out in the garden at six in the morning.
- 7. Finally, don’t just chuck them back in the shed. Wipe the blades down with a bit of linseed oil or even just a light coating of vegetable oil to prevent rust. I’ve seen far too many good bypass pruners turned to orange flakes because they were left damp in a dark toolbox overnight. A little bit of oil goes a long way in making a tool last another decade.
Honing Garden Shears for a Cut That Doesnt Bruise
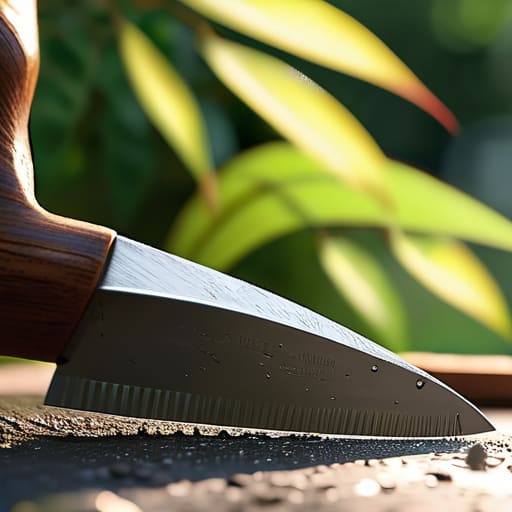
Now, if you’re working with bypass pruners—the ones that act more like scissors than a heavy-duty lopper—you have to be a bit more delicate. I’ve seen too many people treat them like a piece of scrap iron, and before you know it, they’re crushing the stems rather than slicing them. When you’re honing garden shears, the goal is to maintain that razor-thin edge that allows for a clean, surgical snip. If you find the blades are starting to feel a bit “toothy” or uneven, I find that using a whetstone for garden tools provides a much more controlled finish than a coarse file ever could.
It isn’t just about the sharpness, though. I remember a particularly old set of shears I valued in a cottage near Salisbury back in ’94; they were pitted with age because the previous owner hadn’t bothered with a proper garden tool care routine. Once you’ve finished your sharpening, don’t just toss them back in the shed. A quick wipe with a bit of linseed oil is the best way of preventing rust on metal tools during those damp Hampshire winters. It only takes a minute, but it saves you a great deal of frustration come springtime.
The Right Way of Using a Whetstone for Garden Tools
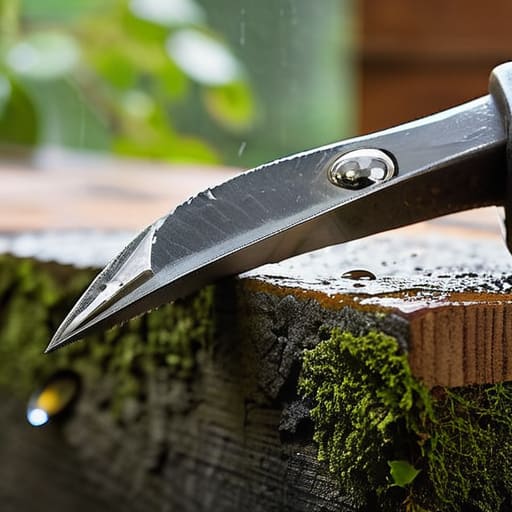
Now, if you’ve moved past the basic filing and you’re looking for a truly professional edge, you’ll want to get serious with a whetstone. I remember my old mentor, a man who could make a blunt spade sing, always insisted that using a whetstone for garden tools was the only way to achieve a finish that doesn’t tear at the plant tissue. You can’t just hack away at it; you need a steady hand and a bit of patience. Start by soaking your stone in water for about ten minutes—I usually do this while I’m putting the kettle on—and ensure you’re working at the correct angle. If you go too steep, you’ll just round off the edge, and you’ll be right back where you started.
The real trick is maintaining a consistent stroke. I find that moving the blade across the stone in a smooth, sweeping motion—much like how we used to level a site—is far better than any frantic scrubbing. It’s also worth remembering that once you’ve finished your sharpening, you must address preventing rust on metal tools before you head back inside. A quick wipe with a bit of linseed oil after you’ve used the stone makes all the difference, especially with the damp Hampshire air we get this time of year.
A few bits of advice from a man who’s spent too much time on his knees
- Don’t go chasing every little nick with a stone; if you’re just looking to tidy up a blade that’s lost its edge but isn’t chipped, a simple metal file will do the job in half the time.
- Always keep an eye on your angle, and I mean really look at it; if you’re working at a different slope than the original bevel, you’ll end up with a tool that’s more frustrating than a blocked drain.
- A bit of oil goes a long way in preventing that orange rust from creeping in over the winter, so give your blades a quick wipe with some linseed oil before you tuck them away in the shed.
- Be careful not to overdo it with the heavy-duty grinders; I’ve seen many a lad turn a perfectly good spade into a piece of scrap metal because he thought more speed meant a better edge.
- Check the handles as often as you check the blades, because a loose trowel or a cracked wooden spade handle is a much quicker way to ruin a morning than a blunt edge ever will be.
A few final thoughts before you head back to the shed
Don’t wait until the tool is fighting you to get it sorted; a bit of regular oiling and a quick pass on the stone keeps things moving much smoother than trying to fix a blunt edge mid-pruning.
Always check your blades for nicks or cracks before you start sharpening, as there’s no sense in polishing up a piece of metal that’s likely to snap when you’re halfway through a rose bush.
Respect the angle of the bevel, because if you go guessing at it, you’ll end up with a tool that’s more frustrating than a delayed bus on a rainy Tuesday.
## A bit of steel and a bit of patience
I’ve seen many a well-tended garden ruined by a pair of blunt shears that don’t so much cut the stem as crush it; you can have the finest soil in Hampshire, but if your tools are fighting you every step of the way, you’re only doing the work twice.
Gordon Ellery
A bit of care goes a long way
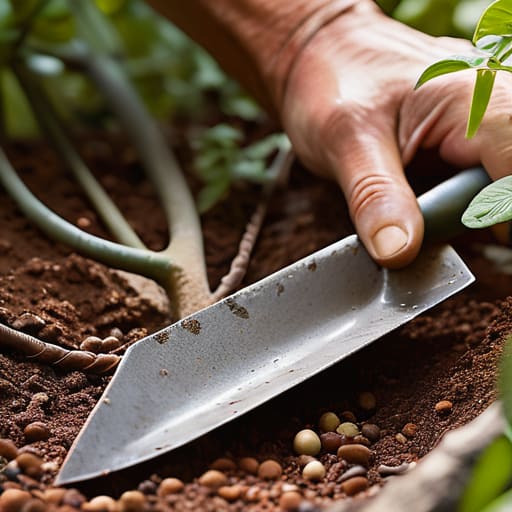
It isn’t a complicated business once you’ve got the hang of it, but it does require a bit of patience. Whether you are working a whetstone across a spade or carefully honing the blades on your secateurs, the principle remains the same: respect the edge. I have seen far too many people try to force a blunt tool through a stubborn root, only to end up with a mangled stem and a sore wrist. Remember to clean off the grit before you start, keep your movements steady, and always check that your angles are consistent. If you take ten minutes to do it properly now, you won’t be fighting your equipment when the spring planting actually arrives.
At the end of the day, looking after your tools is much like looking after a cottage; if you ignore the small cracks and the loose tiles, the whole thing eventually falls into disrepair. There is a certain quiet satisfaction in pulling a well-maintained pair of shears from the shed and knowing they will perform exactly as they should. It is about more than just efficiency; it is about taking pride in the things we use to tend our small corner of the world. A sharp tool makes the work lighter, the garden healthier, and quite frankly, it makes the whole afternoon much more pleasant.
Frequently Asked Questions
Is it worth trying to sharpen my old, rusted shears, or should I just bite the bullet and buy a new pair?
I’ve seen plenty of old shears in my time, often tucked away in damp potting sheds since the late seventies. If it’s just surface rust, don’t bin them; a bit of fine sandpaper and some oil will bring them back to life. But if the steel is pitted or the pivot is loose, you’re fighting a losing battle. Save your money and buy a proper new pair—life’s too short for tools that fight you.
How often should I actually be doing this—is once a season enough, or am I waiting too long?
It really depends on how much you’re using them. If you’re just tidying up the flowerbeds once a month, a quick check every spring and autumn is plenty. But if you’re out there every weekend hacking away at the brambles or pruning the hedge, you’ll notice the edge going dull much sooner. I usually check my shears after any heavy session; it’s better to spend five minutes honing them now than fighting a blunt blade in July.
If I’ve accidentally ground down the metal too much, is there any way to save the tool or is it past its best?
It’s a common enough mistake, usually born from a bit too much enthusiasm with a coarse file. If you’ve taken too much metal away, you haven’t necessarily ruined it, but you’ve certainly changed the job. You’ll likely need to regrind the entire bevel to restore the correct angle—a bit of a chore, mind you. If the blade is too thin to hold an edge, then it’s time to retire it to the scrap heap.