I was halfway through a cup of tea in my kitchen last Tuesday when the lamp on the sideboard gave a final, pathetic flicker and died. Most people would have reached for the phone to call an electrician or, worse, headed straight to the shops to buy a brand-new lamp, but that’s a waste of good money. After thirty years of surveying properties—most of which were built well before the advent of modern safety standards—I’ve learned that a faulty lead is rarely a death sentence for an appliance. Learning how to wire a plug is one of those small, vital skills that keeps a home running without constantly relying on someone else’s schedule.
I’m not going to give you a lecture on theoretical physics or throw a load of jargon at you that only a textbook would understand. Instead, I’ll walk you through the process exactly as I do it in my own workshop: simple, steady, and safe. I’ll show you how to strip the casing without nicking the copper and, more importantly, how to ensure those tiny screws are actually doing their job. If you follow these steps, you’ll have that lamp working again before the kettle has even boiled.
Table of Contents
- Step-by-Step Instructions
- Stripping Wire Insulation Without Making a Mess
- Securing Live Neutral and Earth Wires for Good
- A Few Bits of Advice from Someone Who’s Seen Too Many Scorched Sockets
- A few things to remember before you plug it in
- ## A Word of Caution for the DIY Set
- A Final Check Before You Plug In
- Frequently Asked Questions
Guide Overview
Tools & Supplies
- Wire strippers for removing insulation
- Screwdriver (flathead or Phillips) to secure terminals
- Replacement plug (1 unit)
- Electrical cable (length as required)
Step-by-Step Instructions
- 1. First things first, you’ll need to get the casing open. Most modern plugs have a little screw on the back, though some of the newer, cheaper ones require you to pry the two halves apart with a flat-head screwdriver. Just be careful not to crack the plastic; I’ve seen more than one person ruin a perfectly good plug because they were being too heavy-handed.
- 2. Once you’ve got the guts of the plug exposed, you’ll see three different coloured wires. You’ll want to strip about an inch of the outer insulation off the main cable using a wire stripper or a sharp knife. Be careful here—if you cut into the copper itself, you’re going to have a weak connection, and a weak connection is just a recipe for heat.
- 3. Now, look at the individual wires. You’ve got the Brown (Live), the Blue (Neutral), and the Green and Yellow striped one (Earth). You’ll need to strip about half an inch of the plastic coating off the end of each individual wire to reveal the copper. Give each wire a little twist with your fingers so the strands stay neat and don’t fray out like a bad rug.
- 4. It’s time to get them into their proper homes. The Brown wire goes into the terminal marked ‘L’ for Live, the Blue goes into ‘N’ for Neutral, and that Green and Yellow Earth wire must go into the top terminal, marked with the little symbol that looks like an upside-down T. If you get these mixed up, you aren’t just making a mistake; you’re making a hazard.
- 5. Take your screwdriver and tighten those little terminal screws down. You want them firmly seated against the copper, but don’t go at it like you’re trying to drive a nail into a piece of oak. If the wire can wiggle when you give it a tiny tug, it’s not tight enough. A loose wire is how you get those nasty little sparks.
- 6. Before you snap the cover back on, take a quick look at the “cord grip.” This is that little plastic bar at the bottom of the plug that clamps down on the outer sheath of the cable. Make sure the grip is holding onto the sturdy outer jacket of the wire, not the delicate coloured bits inside. If it’s only holding the coloured wires, the whole thing will pull right out the back the moment you trip over the cord.
- 7. Finally, put the casing back together and replace the screw. If it’s one of those newer “clip-on” models, just make sure the two halves click together properly so there are no gaps. Give the cable a gentle pull to make sure everything stays put, and if it feels solid, you’re ready to plug it in and get back to your tea.
Stripping Wire Insulation Without Making a Mess
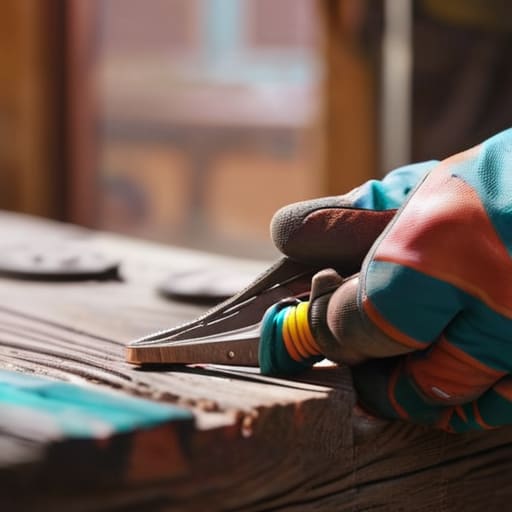
Now, this is where most people lose their patience. You’ve got your wire strippers in one hand and a bit of copper in the other, and suddenly you’ve either bitten too deep into the copper or you’ve left a chunk of plastic still clinging to the metal. I remember a particularly stubborn extension lead back in ’94—old wiring, much thicker than what you see in the shops today—and I spent twenty minutes just trying to get a clean bit of metal showing. If you aren’t careful when stripping wire insulation, you’ll end up with a frayed mess that won’t sit right in the terminal.
The trick is to be gentle. You aren’t trying to saw through the cable; you’re just nudging the casing aside. Once you have the live, neutral and earth wires exposed, make sure the copper is bright and straight. If the strands are splayed out like a burst hedge, twist them tight between your thumb and forefinger. You want a neat, tidy bundle before you even think about tightening terminal screws, otherwise, you’ll have a loose connection that’s liable to run hot. It’s better to take your time now than to be calling an electrician because you’ve made a mess of a five-pound job.
Securing Live Neutral and Earth Wires for Good
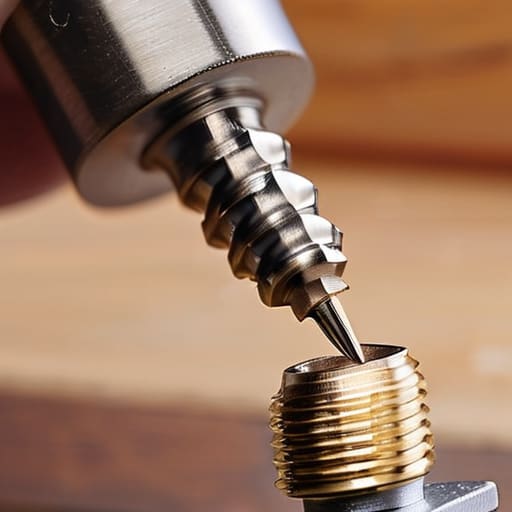
Once you’ve got those wires stripped back properly, it’s time for the business end of the three pin plug assembly. Now, I’ve seen more house fires started by a loose connection than I have by lightning strikes, so don’t go rushing this. You need to feed the live, neutral, and earth wires into their respective terminals, making sure the copper is tucked neatly under the plate. When you’re tightening terminal screws, give them a firm turn, but don’t go at them like you’re trying to crack a walnut. You want them snug enough that a gentle tug won’t budge the wire, but not so tight that you strip the thread entirely.
While you’re down there, do take a moment to check your colours. The brown goes to live, blue to neutral, and that green-and-yellow earth wire needs to be secure. If you’ve got a particularly thin wire, I always suggest using an earth sleeve connection to keep things tidy and safe. Finally, before you snap the cover on, double-check that you’ve fitted the correct fuse amperage for the appliance. A three-amp fuse for a lamp is fine, but trying to run a kettle on it will just leave you sitting in the dark.
A Few Bits of Advice from Someone Who’s Seen Too Many Scorched Sockets
- Check your wire gauge before you start; there’s no sense in trying to cram a heavy-duty appliance lead into a tiny, flimsy plug meant for a bedside lamp.
- Make sure that little bit of copper is actually tucked inside the terminal clamp and not just sitting underneath it, otherwise you’ll have a loose connection that’ll get hot enough to melt the casing.
- Always, and I do mean always, ensure the green and yellow earth wire is secured to that central brass pin—I’ve seen plenty of DIY jobs where the earth wire was left dangling like a loose thread.
- Give every single wire a gentle, firm tug once the screw is tightened; if it moves even a millimetre, it isn’t safe and you need to start that connection again.
- Don’t go overdoing it with the pliers when stripping the insulation; if you nick the copper strands inside, you’ve weakened the whole line and you’re better off cutting it back and starting fresh.
A few things to remember before you plug it in
Don’t be in a rush to get the kettle on; if those copper strands aren’t tucked neatly into the terminal and the screw is tight enough to hold, you’re just inviting a fire.
Always double-check that your colours match up—brown to live, blue to neutral, and that green-and-yellow earth wire must be secure, or you’ll have more than a flickering lamp to worry about.
If the casing feels flimsy or the wires look like they’ve seen better decades, don’t bother trying to fix it; just bin the plug and buy a new one for the sake of a few pounds.
## A Word of Caution for the DIY Set
I’ve seen more singed carpets in this county from a poorly tightened screw than I have from actual lightning strikes, so if you find yourself wrestling with a wire that won’t sit straight, don’t just force it; step back, have a tea, and do it properly the first time.
Gordon Ellery
A Final Check Before You Plug In
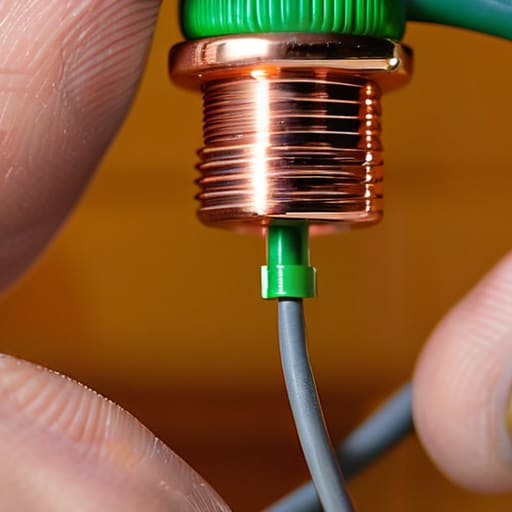
Once you have the wires tucked in, don’t just rush to the socket. Take a proper look at what you’ve done. Ensure those copper strands are neatly seated within the terminals and that the outer sheath of the cable is gripped firmly by the cord grip—not just dangling there. If the screws are tight and the insulation isn’t frayed or pinched, you’ve done the hard part. I’ve seen many a DIY job go wrong because someone was too impatient to double-check the earth wire connection, and in a house built in the 1930s like mine, you simply cannot afford to take chances with the grounding.
There is a particular sort of satisfaction that comes from fixing something with your own two hands rather than waiting three weeks for a contractor to find a gap in his diary. It isn’t just about saving a few quid on a call-out fee; it’s about understanding your own home. When you know how the bits and pieces work, you stop being a tenant in your own house and start being its caretaker. So, if you’ve followed these steps, stand back, give yourself a nod of approval, and enjoy the fact that you’ve kept the lights on properly.
Frequently Asked Questions
What should I do if the wires are too short to reach the terminals properly?
Now, if you find yourself staring at wires that are a fraction too short to reach the terminal screws, don’t go pulling on them. I’ve seen plenty of folks try to stretch a connection, and that’s how you end up with a loose contact and a singed plug. If they’re truly too short, you’re better off getting a new length of cable. It’s a ten-minute job, and it beats the alternative.
How can I tell if I've accidentally nicked the copper while stripping the plastic back?
You’ll see it immediately if you’ve been a bit too heavy-handed with the pliers. If the copper looks frayed, like a bit of old rope, or if you’ve sliced a thin notch into the metal itself, you’ve nicked it. That little cut is a weak point; under load, it can heat up or snap. If it isn’t smooth and shiny, don’t bother trying to force it in. Just snip it off and start again.
Is it worth buying a proper tester, or can I just rely on the appliance working to know I've done it right?
Now, don’t go being too confident just because the lamp flickers on. I’ve seen plenty of a “working” plug that’s actually a ticking time bomb because the earth wire is loose or swapped. If you’ve got a few extra quid, buy a basic socket tester; it’s a small price for peace of mind. If not, at least double-check your connections one last time. Relying on luck is how you end up calling an electrician on a Sunday.