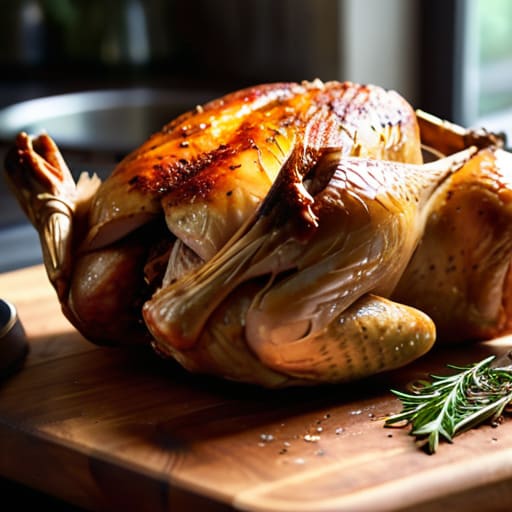
You don’t need a dozen sprigs of rosemary or a kitchen full of expensive gadgets to master the art of the Sunday dinner. I spent thirty years looking at the structural integrity of Victorian terraces, and I can tell you that most of the advice you find online about how to roast a chicken is built on a very shaky foundation. People will tell you to baste it every ten minutes or use a thermometer that costs more than a decent bottle of red, but they’re usually just adding unnecessary complication to a simple process. In my experience, if you spend more time fussing with the bird than you do letting the oven do its job, you’re likely to end up with something dry enough to require a glass of water with every bite.
I’m not here to give you a recipe that requires a degree in culinary arts; I’m here to give you the method I’ve used every Sunday since I moved into the cottage back in ’94. I’ll show you how to get that skin perfectly crisp and the meat just right, without any of the fluff or expensive nonsense. If you want to know the honest way to do it, I’ve done the walking and the tasting, and I’m telling you: it’s much simpler than they make it out to be.
Table of Contents
- Recipe Instructions
- Mastering the Dry Brining Chicken Technique for Real Results
- Finding the Right Oven Temperature for Roasting Without the Fuss
- Five things I’ve learned from decades of Sunday lunches
- Three things to remember before you turn the oven on
- ## The truth about the bird
- A final word on the matter
- Frequently Asked Questions
Recipe Details
Ingredients
- 1 whole chicken (approx. 4 lbs)
- 3 tablespoons unsalted butter, softened
- 1 tablespoon kosher salt
- 1 teaspoon cracked black pepper
- 1 whole head of garlic, halved
- 1 lemon, halved
Recipe Instructions
Step 1
Start by taking the bird out of the fridge at least half an hour before you intend to cook it. I’ve seen too many people try to shove a cold chicken straight into a hot oven, and it results in meat that is stubbornly tough in the middle. You want it to sit on the counter for a bit so the temperature evens out, much like letting a house settle before you start the heavy renovations.
Step 2
Get your oven up to 200°C—or 180°C if you’re using a fan oven—and make sure the rack is in the middle. While that’s heating, pat the skin bone-dry with some kitchen paper. If the skin is damp, you aren’t roasting it, you’re steaming it, and nobody wants a soggy bird sitting on their Sunday plate.
Step 3
Rub a generous amount of softened butter or olive oil all over the skin, including under the wings if you can reach them without making a mess. Season it heavily with sea salt and cracked black pepper. I always tell people that if you think you’ve used enough salt, you’ve likely underestimated the requirement by half.
Step 4
Place the chicken in a roasting tin, ideally nestled among some halved onions, carrots, and a few cloves of garlic. This isn’t just for flavour; the vegetables act as a natural trivet to keep the bird from sitting in its own juices. It should take roughly 20 minutes for every 500 grams, plus an extra 20 minutes at the end. I’ve timed it enough times over the years to know that patience is your best tool here.
Step 5
Once the timer goes off, don’t be in such a rush to carve it that you ruin the whole effort. Take the bird out and let it rest on a warm plate for at least fifteen minutes. This allows the juices to redistribute through the meat; if you cut into it immediately, all that goodness will run out onto the board, and you’ll be left with a dry, disappointing carcass.
Mastering the Dry Brining Chicken Technique for Real Results
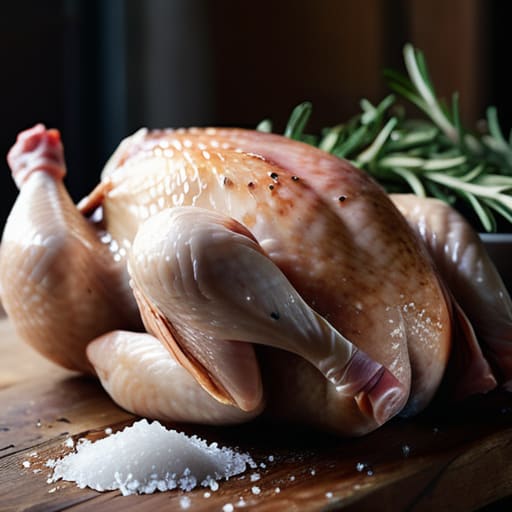
Now, if you want to move beyond just “cooking” and actually start mastering the bird, you need to look at the dry brining chicken technique. I first picked this up years ago while surveying an old farmhouse near Salisbury; the previous owner swore by it, and after testing it myself, I can’t go back. Essentially, you salt the bird well in advance—at least twelve hours if you can manage it—and leave it uncovered in the fridge. This does two things: it draws the moisture in so the meat stays seasoned to the bone, and it dries out the skin. When that bird finally hits the heat, you get a crackle that would make a professional chef nod in approval.
While you’re at it, don’t neglect the aromatics. I’ve found that the best herbs for chicken seasoning are usually the ones growing in your own garden, like rosemary or sage, tucked right under the skin. Once the bird is out, don’t you dare throw away those pan drippings for flavor. I’ve spent forty years looking at old kitchens, and the best ones always had a way of turning those juices into a proper gravy.
Finding the Right Oven Temperature for Roasting Without the Fuss
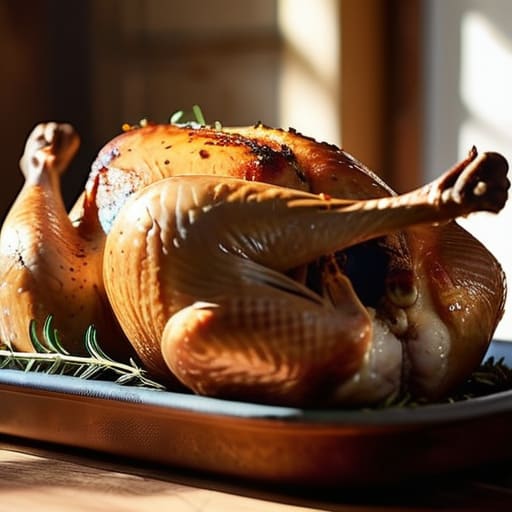
Now, I’ve seen plenty of people turn a perfectly good bird into something resembling a piece of seasoned timber because they can’t get the heat right. Most modern ovens are fairly reliable, but they aren’t perfect. If you’re looking for that balance between a golden, crisp skin and meat that hasn’t turned to sawdust, I usually find that a steady oven temperature for roasting of around 200°C (or 400°F for those using the American dials) is the sweet spot. I remember a kitchen in a 19th-century cottage near Salisbury that had an oven so temperamental you could cook a cake or burn a loaf in the same twenty minutes, but these days, consistency is your best friend.
The real trick, though, isn’t just the heat; it’s knowing when to stop. Don’t go by the clock—clocks lie, but physics doesn’t. You need to check the internal temperature for cooked chicken with a thermometer to ensure you’ve hit 75°C at the thickest part of the thigh. If you pull it out just a minute early and let it rest on the counter, the juices redistribute. If you wait until it looks “done” in the oven, you’ve likely missed your window for juicy chicken breast tips.
Five things I’ve learned from decades of Sunday lunches
- Don’t be in such a hurry to get it in the oven; if the bird is still cold from the fridge, the skin will never crisp properly, so let it sit on the counter for at least forty minutes to take the chill off.
- If you’re using a roasting tin, make sure it’s heavy-duty; thin trays warp under heat, and you want that fat to render down into the juices, not pool in a shallow puddle that steams the meat.
- I’ve seen too many people try to carve a bird the moment it comes out of the heat, but if you don’t let it rest for fifteen minutes on a warm plate, all that goodness runs straight onto the board and leaves you with dry meat.
- Use a bit of lemon and a few sprigs of thyme tucked under the skin rather than just throwing them in the pan; it keeps the aromatics close to the breast meat where you need them most.
- Always check the temperature at the thickest part of the thigh, not the wing, and if you don’t have a thermometer, give it a firm poke; you want resistance, not the softness of a ripe peach.
Three things to remember before you turn the oven on
Don’t skimp on the salt; if you’ve gone to the trouble of dry brining, make sure that seasoning has had enough time to actually get under the skin.
Trust your thermometer over the timer, because every oven in this county behaves a bit differently, regardless of what the manual says.
Let the bird rest for at least fifteen minutes once it’s out; if you cut into it too soon, you’re just watching all that hard work run off the plate.
## The truth about the bird
I’ve spent thirty years looking at the structural integrity of flint and limestone, and I can tell you that a roast chicken is much the same; if you don’t respect the foundation—the seasoning and the heat—the whole thing will fall apart before it even reaches the table.
Gordon Ellery
A final word on the matter
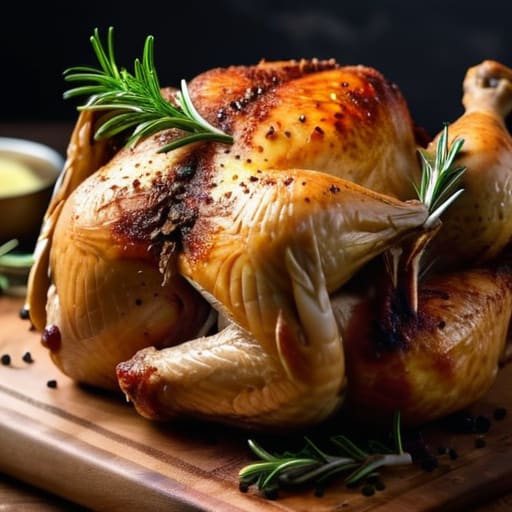
At the end of the day, getting a proper roast chicken on the table comes down to a few simple, unshakeable principles. You don’t need a degree in culinary arts; you just need to respect the bird. That means taking the time to dry brine the skin so it actually crisps up, rather than steaming in its own moisture, and ensuring you don’t go turning the oven dial up to a hundred just to save ten minutes. I’ve spent thirty years looking at the structural integrity of flint and brick, and I can tell you that a good foundation is everything. The same applies here: if you get the temperature right and the seasoning deep, the rest of the process tends to take care of itself.
There is something deeply satisfying about a meal that doesn’t rely on fancy gadgets or complicated sauces to hide a lack of substance. A well-roasted bird, perhaps served with a few potatoes that have soaked up the juices in the bottom of the pan, is the very definition of village hospitality. It isn’t about being a chef; it’s about the quiet competence of providing something real for your family or your neighbours. So, don’t fret if your first attempt isn’t quite as tidy as a freshly pointed garden wall. Just keep at it, keep the heat steady, and remember that the best things in life are usually the simplest ones.
Frequently Asked Questions
If I haven't had time for the dry brine, can I still get a decent result with just a bit of butter and salt?
You certainly can. I’ve spent many a Sunday afternoon when the garden work has run late, and I don’t expect you to be any different. If you haven’t had twenty-four hours for a dry brine, don’t fret. Just pat the skin bone-dry with a bit of kitchen paper—moisture is the enemy of crispness—then rub your butter and salt in well. It won’t be quite as deep, but it’ll do the job.
What's the best way to tell if the bird is actually done without constantly poking it with a thermometer?
Look, I’ve spent enough time in kitchens to know that poking a bird every five minutes just lets the heat escape. If you want to skip the thermometer, wait until the juices run clear when you pierce the thickest part of the thigh. If they’re pink, give it ten more minutes. Also, keep an eye on the drumstick; when the joint loosens slightly and the skin pulls back from the bone, you’re nearly home.
Is it worth the extra effort to truss the chicken, or am I just making more work for myself?
I’ve spent enough time looking at lopsided chimney stacks to know that if the foundation isn’t straight, the whole thing looks a bit off. It’s the same with a bird. If you don’t truss it, the wings flop out and the breast dries out before the legs are even cooked. It takes five minutes with some butcher’s twine, but it ensures the heat hits everything evenly. It’s worth the effort, I promise.