I was standing in my back garden last Tuesday, staring up at the old Bramley near the old stone wall—the one I spent three days rebuilding back in ’09—and I realised something. Most people think that if they aren’t being aggressive with the shears, they aren’t doing it right, but that’s a load of nonsense. In my thirty years of looking at property and land, I’ve seen more trees ruined by over-enthusiastic pruning than by neglect. If you’re staring at your branches wondering how to prune an apple tree without killing the very thing you’re trying to feed, you aren’t alone, and you certainly don’t need a degree in arboriculture to get it right.
I’m not going to give you any of that glossy, textbook rubbish that assumes you have a team of professionals on hand. Instead, I’ll tell you exactly what I do when I’ve got my ladder out and a sharp pair of bypass loppers in hand. We’ll go over the specific cuts that encourage fruit rather than just more wood, how to spot the dead wood that needs to go, and how to shape the tree so it doesn’t become a tangled mess by next summer.
Table of Contents
- Step-by-Step Instructions
- The Best Time for Apple Tree Pruning and Sap Flow
- Removing Dead Wood From Apple Trees for Health
- A few things I’ve learned from more than a few bruised shins and sore arms
- A Few Things to Keep in Mind Before You Start
- ## A Lesson from the Orchard
- A Final Word Before You Put the Shears Away
- Frequently Asked Questions
Guide Overview
Tools & Supplies
- Bypass Pruners for small branches and twigs
- Loppers for medium-sized branches
- Pruning Saw for thick limbs and trunk cuts
- Disinfectant spray for tools (1 bottle)
- Tree sealant or wound dressing (1 container)
- Gardening gloves (1 pair)
Step-by-Step Instructions
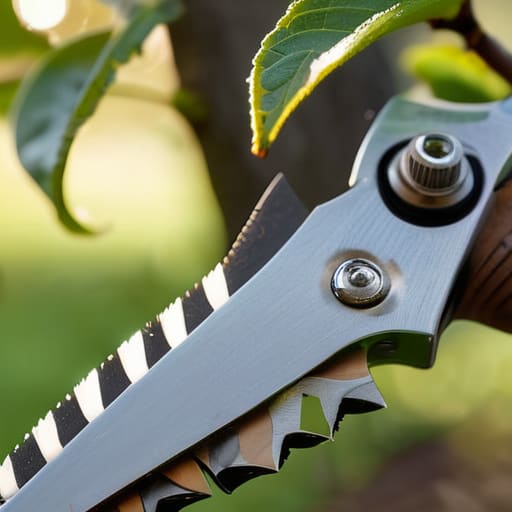
- 1. Before you even pick up the shears, you need to get your tools in order. I’ve seen too many people try to hack away with a blunt pair of kitchen scissors or a rusted lopper they found in the shed, and it does nothing but tear the bark and invite disease. Find a sharp pair of bypass secateurs and a sturdy saw for the thicker bits; you want a clean, surgical cut that heals quickly once the weather turns.
- 2. Timing is everything, and if you miss the window, you’ve wasted your breath. You want to get this done in late winter, ideally while the tree is still dormant but before the sap starts running in earnest. If you prune too late in the spring, you’ll find yourself dealing with a sticky mess and a tree that’s more interested in growing leaves than producing anything worth eating.
- 3. Start by clearing out the “three Ds”: anything that is dead, damaged, or diseased. I spent an hour last Tuesday looking at a specimen over by the old rectory, and it’s clear that if you don’t remove the rot early, it’ll move through the whole trunk before you can say Jack Robinson. Cut these branches back right to the healthy wood, making sure you aren’t leaving any stubby bits behind.
- 4. Next, you need to look at the “water sprouts.” These are those thin, whip-like shoots that grow straight up towards the sky like little green rockets. They look healthy enough, but they are absolute energy thieves; they suck the life out of the tree without ever giving you a single piece of fruit in return. Snip them off at the base so the tree can focus its strength on the branches that actually matter.
- 5. Now, you want to open up the centre of the tree to let the light in. An apple tree shouldn’t be a dense, dark thicket; it needs air to circulate through the middle to prevent the damp from settling. Aim to create an open, vase-like shape by thinning out some of the inward-growing branches. If the sun can’t reach the inner fruit, you’ll end up with apples that are small, sour, and quite frankly, disappointing.
- 6. Watch your angles when you make your final cuts. Never cut flush against the main trunk, and don’t leave a long protruding nub. You want to cut just above a bud that is facing outwards, away from the centre of the tree. This ensures the new growth goes in the right direction and keeps that lovely open structure we were aiming for.
- 7. Finally, once you’ve finished your work, take a moment to clear away the debris. Don’t just leave the clippings in a pile at the foot of the tree, as that’s just a five-star hotel for pests and fungal spores. Bag them up and get them out of the garden, leaving your tree clean, tidy, and ready for the spring.
The Best Time for Apple Tree Pruning and Sap Flow
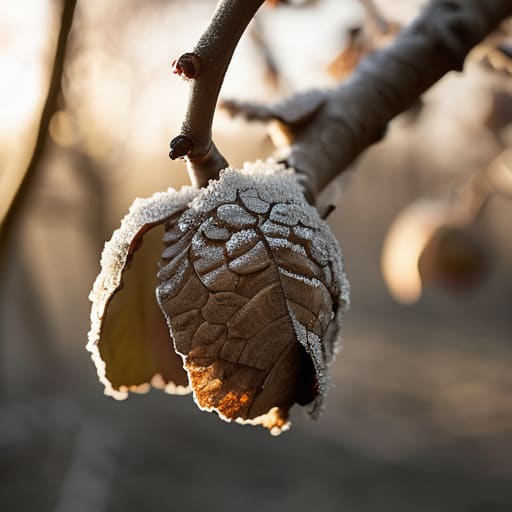
Now, you can’t just wander out into the garden whenever the mood strikes you; timing is everything. If you go out in the height of spring, you’ll find yourself fighting a losing battle against the sap. I’ve seen many a well-meaning neighbour try to tidy up their orchard in April, only to watch the liquid lifeblood of the tree leak from every cut. Understanding sap flow and pruning timing is the difference between a clean heal and a weeping mess. Ideally, you want to get your work done while the tree is dormant—late winter is your best bet, just before the buds begin to swell.
That said, if you spot a branch that’s gone brittle or is clearly rotting, don’t wait for the frost to clear. Removing dead wood from apple trees can be done any time of year because, well, dead wood isn’t going anywhere. Just make sure you have your sharpest secateurs handy; blunt blades are a recipe for tearing the bark rather than slicing it. A clean cut is what allows the tree to seal itself up properly against the damp Hampshire winters.
Removing Dead Wood From Apple Trees for Health
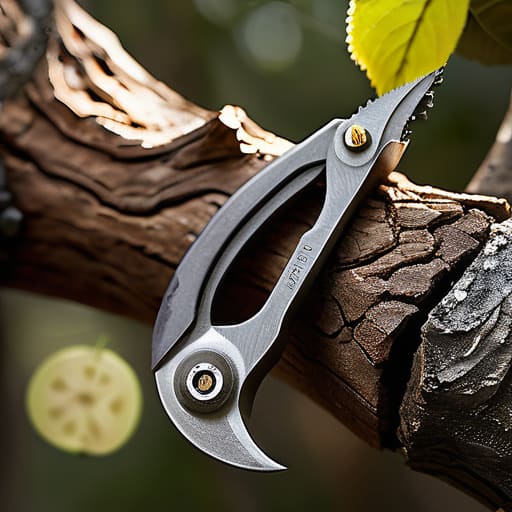
Now, before you get stuck into the more delicate shaping of the branches, you must deal with the rot. I’ve spent many a Saturday morning poking at limbs that look perfectly fine from the garden path, only to find they are hollowed out and brittle once you get a pair of secateurs on them. Removing dead wood from apple trees isn’t just about tidying up; it’s about stopping decay from creeping into the healthy, living tissue. If you leave a dead branch hanging there, it becomes a doorway for fungi and pests that don’t care much for your harvest.
When you find a limb that’s gone, don’t just hack it off at the surface. You need to cut back to where the wood is still firm and healthy, ideally just outside the branch collar. I always keep a sharp set of pruning tools for fruit trees in my belt—specifically a good bypass lopper for the thicker bits—because a jagged, crushed wound is just as bad as no cut at all. It’s a bit of a chore, but if you want to keep the tree’s energy focused on the fruit rather than fighting off infection, you can’t skip this bit.
A few things I’ve learned from more than a few bruised shins and sore arms
- Keep an eye on the light. If you let the centre of the tree get too thick with branches, you’re just growing a leafy mess that hides the fruit; you want the sun to reach the middle so the apples actually ripen instead of staying sour and green.
- Watch out for the “water sprouts.” You’ll see them shooting straight up like thin, frantic little whips—they’re thieves that suck energy away from the fruit-bearing wood, so snip them off as soon as you spot them.
- Don’t be afraid to thin out the “suckers” coming from the base. I’ve seen many a garden ruined by a tree that spends all its strength growing roots from the ground up rather than branches out from the trunk.
- Mind your angles. When you make a cut, don’t leave a blunt end sticking out like a sore thumb; aim for a slight slant just above a bud so the rain runs off rather than sitting there and rotting the wood.
- Less is often more. I once saw a neighbour go a bit mad with the shears in late February and end up with a skeleton of a tree; just take what needs taking and leave enough structure to support the weight of a good crop come September.
A Few Things to Keep in Mind Before You Start
Don’t get ambitious with the shears; I’ve seen many a well-meaning neighbour take too much off at once, only to find they’ve left the tree looking like a skeleton by mid-summer.
Keep your eyes peeled for those crossing branches that rub against each other, as that’s how you invite rot into the heart of the tree.
Make sure your tools are actually sharp and clean, because dragging a blunt, rusty blade through a fresh cut is a quick way to invite disease into the wood.
## A Lesson from the Orchard
“I’ve spent many a Saturday morning squinting up into a canopy of branches, and if there is one thing I’ve learned, it’s that an apple tree isn’t something you just ‘manage’—it’s something you have to listen to. If you’re too timid with the shears, you’ll end up with a tangled mess of wasted energy; if you’re too heavy-handed, you’ll regret it come next spring. It’s a bit like fixing a dry stone wall: you have to know which stones are holding the weight and which ones are just in the way.”
Gordon Ellery
A Final Word Before You Put the Shears Away
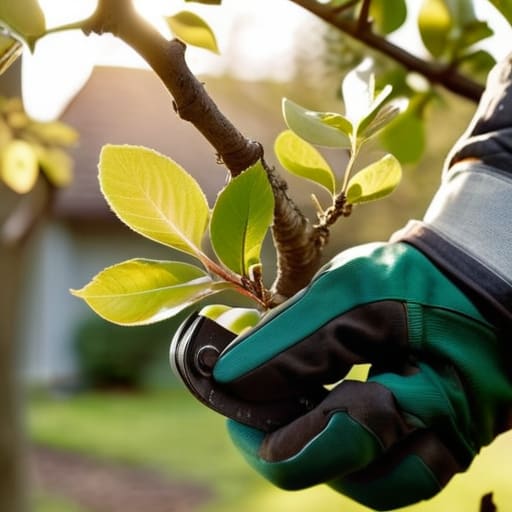
Once you have cleared out that dead wood and managed to get your timing right with the sap, the hard part is largely behind you. Just remember that pruning isn’t about a single dramatic event; it is a bit of a slow conversation between you and the tree. Keep an eye on the light coming through the branches and make sure you aren’t leaving the centre too crowded, or you’ll find yourself fighting a losing battle against mildew come July. If you have followed the steps, cleared the crossing branches, and kept your cuts clean, you have done more than enough to set the stage for a productive season. It is about balance and airflow, nothing more and nothing less.
At the end of the day, there is a certain quiet satisfaction in looking at a tidy orchard and knowing you’ve done right by it. I’ve spent many a Saturday afternoon in gardens from here to Salisbury, and I can tell you that the best trees aren’t the ones that look perfect on day one, but the ones that are cared for consistently. A tree is a long-term investment, much like the stone walls I spend my weekends fussing over. It takes patience, a bit of elbow grease, and the willingness to get your hands dirty. So, put the tools in the shed, have a cup of tea, and wait for the fruit; it will be well worth the effort.
Frequently Asked Questions
If I’ve missed a branch or cut it a bit too close to the main trunk, is the tree going to die, or can I just leave it be?
Don’t panic; I’ve seen far worse during my years surveying old timber-framed cottages. If you’ve missed a branch, just get back up the ladder when the weather clears. As for cutting too close to the trunk, the tree won’t drop dead overnight, but you’ve left a wound that won’t heal properly. It’s like a bad crack in a flint wall—it invites rot. Keep an eye on it for any dark, soft spots.
I’ve got a few smaller trees in the back garden that don't seem to produce much; does a heavy prune help them fruit better, or am I just making things worse?
Now, don’t go getting over-ambitious with the shears just yet. I’ve seen many a well-meaning neighbour take a saw to a small tree in a fit of enthusiasm, only to end up with nothing but a stick. A heavy prune can actually shock a smaller tree into survival mode rather than fruit mode. It’s better to thin out the middle to let the light in. If you cut too much, you’re just cutting away next year’s crop.
Do I need to use a specific kind of sealant on the cuts to stop rot, or is that just something people do to make a job look more professional than it needs to be?
I’ve seen plenty of people slathering wound paste on every little snip, and frankly, it’s mostly a waste of time. If you’ve made a clean cut with sharp shears, the tree knows what to do. Most of those commercial sealants just trap moisture against the wood, which is a recipe for the very rot you’re trying to avoid. Unless you’re dealing with a massive, structural limb, leave the cuts bare and let the air do the work.