I was sitting in the kitchen last Tuesday, looking at a packet of those expensive, store-bought liquid stocks, and I couldn’t help but scoff. They’ve got more salt and stabilizers in them than a coastal road in mid-winter, and they certainly don’t taste of anything real. People seem to think that learning how to make stock from bones requires some sort of culinary degree or a kitchen full of gadgets you’ll never use. It’s a bit like those modern housing developments popping up near Salisbury; they look fine on a brochure, but there’s no soul in the structure. You don’t need a fancy pressure cooker or a list of exotic herbs that cost more than the meat itself to get it right.
I’ve spent thirty years looking at the bones of buildings, so I know a thing or two about what makes a solid foundation. Making a proper stock is no different. I’m going to show you exactly how to do it using nothing more than a heavy pot, some scraps from the butcher, and a bit of patience. I won’t waste your time with fluff; I’ll tell you which bones to grab and exactly how long to let them simmer until the liquid is right.
Table of Contents
Roasting Bones for Flavor the Foundation of a Real Kitchen
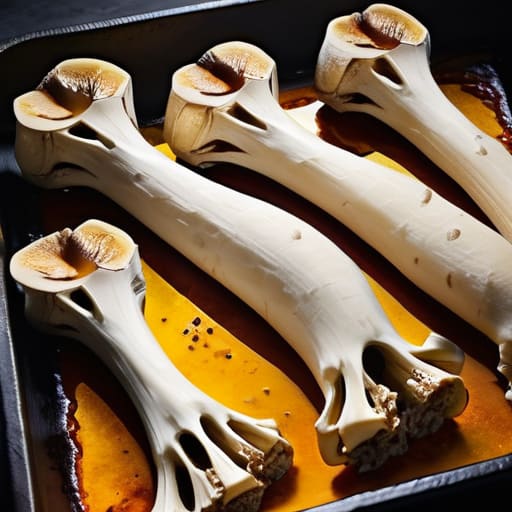
Now, don’t go making the mistake of tossing those bones straight into a pot of cold water. I’ve seen plenty of people do that, and they end up with a grey, cloudy liquid that tastes of nothing much at all. If you want a stock that actually has some backbone, you have to start with the oven. I usually spread my marrow bones out on a heavy baking tray and get them into a hot oven—around 200°C—until they turn a deep, golden brown. Roasting bones for flavor is the only way to trigger that Maillard reaction, which is just a fancy way of saying it develops the rich, toasted notes you’re after.
While they’re browning, keep an eye on them. You aren’t looking for charcoal, just a proper, even colour. Once they’ve been in long enough to smell wonderful, move them to your pot. This step is vital for proper collagen extraction from bones later on; if you don’t build that foundation of flavour early, no amount of simmering will fix it. It’s a bit more effort than the quick methods, but as I always say, you can’t shortcut a job that requires patience.
Kitchen Scraps Utilization Finding Value in What Others Waste
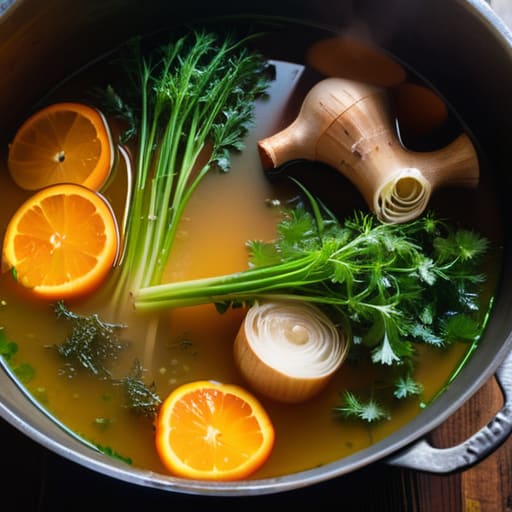
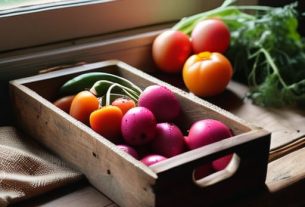
I’ve always felt that throwing away vegetable peelings or those woody herb stalks is a bit like leaving a perfectly good piece of flint in the field just because you don’t want to bend down and pick it up. It’s a waste of good material. When I’m clearing out the fridge, I don’t see rubbish; I see the building blocks for something substantial. If you’ve got the ends of some carrots, a lonely onion skin, or even the tough tops of leeks, toss them into the pot alongside your roasted marrow bones. This kind of kitchen scraps utilization is what separates a decent meal from one that actually has some soul behind it.
One thing I learned during my years valuing old properties is that the best foundations are often hidden. The same applies here. If you want to get the most out of your bones, you need to consider the chemistry of it all. Adding a splash of apple cider vinegar or a bit of lemon juice provides those necessary acidic components for mineral extraction, helping to draw out the goodness from the marrow. It isn’t just about making a liquid; it’s about ensuring you’ve squeezed every bit of value out of what you already have in the larder.
A Few Bits of Advice from My Own Kitchen
- Don’t go skimping on the acid; a splash of cider vinegar or even a bit of cheap red wine helps pull the goodness right out of the marrow and into the liquid.
- Watch your heat like you’re watching the weather forecast for a village fete; if you let it boil vigorously, you’ll end up with a cloudy, greasy mess instead of a clear, clean stock.
- Keep an eye on the vegetables you add, particularly the onions and carrots; if they sit in there for twenty-four hours, they’ll turn to mush and make the whole thing taste a bit muddy.
- If you’re using beef bones, make sure you’ve scrubbed away any bits of grey gristle first, otherwise you’ll spend the next three days tasting nothing but old fat.
- Store your finished batches in small, manageable jars rather than one large pot; it’s much easier to defrost a pint for a Tuesday night risotto than it is to deal with a whole gallon of leftovers.
Three Things to Remember Before You Start
Don’t be tempted to rush the process; a proper stock needs time to develop, much like the slow settling of a good foundation.
Keep a close eye on your heat when roasting, as a burnt bone will ruin the entire batch with a bitter aftertaste you can’t fix.
Use what you have on hand, from marrow bones to those vegetable ends sitting in the bottom of the drawer, because nothing of value should go to waste.
## The Patience of the Pot
You can’t rush a proper stock any more than you can rush the curing of a stone wall; you have to let the time do the heavy lifting, sitting there until the liquid is deep, rich, and carries the weight of everything you’ve put into it.
Gordon Ellery
A Bit of Patience and a Full Freezer
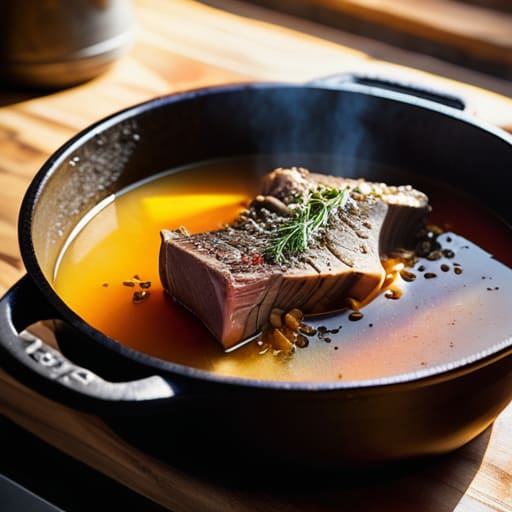
When you pull that pot off the stove, you’ll see it’s a different kettle of fish than those salty cubes you find in the supermarket aisles. We’ve covered the essentials: you can’t skip the roasting if you want that deep, mahogany colour, and you shouldn’t be so quick to toss those vegetable ends into the bin. It really comes down to respecting the ingredients and understanding that good things take time. Whether you are using beef marrow bones from the butcher or the leftover scraps from a Sunday roast, the principle remains the same. Just remember to strain it well through a fine sieve—I’ve spent many a morning cleaning up spilled stock after a rushed job—and get it into the fridge or freezer immediately. If you do it right, you’ll have a liquid gold that stays good for weeks.
I often think that making stock is a bit like maintaining a stone wall or a draughty cottage; it requires a bit of graft and a lot of patience, but the results stand the test of time. There is a quiet sort of satisfaction in knowing exactly what has gone into your cooking, without the hidden additives or the chemical aftertaste. It’s about slowing down just a little bit in a world that seems determined to rush everything. So, don’t be put off by the extra washing up or the hours spent by the stove. Once you taste the difference in a simple soup or a risotto, you’ll find you can never quite go back to the easy way again.
Frequently Asked Questions
How long do I actually need to leave the pot on the stove before the stock is ready to use?
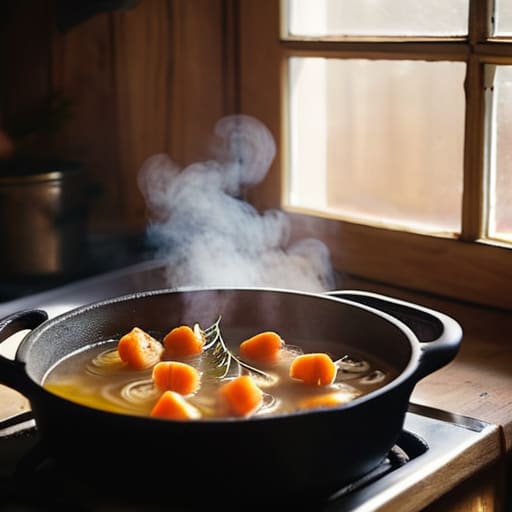
Now, don’t go looking for a stopwatch. If you’re using beef or marrow bones, you’re looking at a minimum of six to eight hours on a very low simmer. If it’s chicken, you might get away with four. I always say you’ll know it’s ready when the liquid has reduced slightly and turned that deep, amber colour you see in the old cookbooks. If it’s still thin and pale, it simply hasn’t done its job yet.
Is there a difference in the final taste if I use beef bones instead of chicken, or does it all even out?
There’s a world of difference, to be honest. Using beef bones is like building a stone wall with heavy granite; it’s deep, dark, and carries a weight that sits in the back of your throat. Chicken is much lighter, more of a subtle backdrop for a Sunday roast. You can’t swap one for the other and expect the same result. If you want a rich gravy for a pie, go beef. For a light soup, stick to chicken.
Can I keep the leftover bones in the freezer for a few weeks, or will they go off before I get around to making the stock?
You can certainly keep them in the freezer. I’ve had a bag of marrow bones sitting in my freezer since the Michaelmas term, and they’re as good as new. Just make sure you wrap them tightly in a freezer bag so they don’t pick up the scent of whatever else is in there. They’ll stay perfectly fine for a few months, though I wouldn’t let them sit for a year—nothing’s good for you indefinitely.