I remember standing in my kitchen back in ’84, trying to follow one of those fancy, overblown recipe books that insisted you needed a chilled marble slab and a specific type of imported flour just to get a decent crust. It was a load of nonsense, if you ask me. I spent forty minutes wrestling with dough that ended up as tough as a piece of weathered flint from the dry stone wall I was repairing in the garden. Most people make the mistake of thinking that learning how to make shortcrust pastry requires a degree in culinary arts or a bank balance to match, but that’s just a way to make a simple thing feel much harder than it actually is.
I’m not here to sell you on expensive gadgets or complicated techniques that leave your kitchen looking like a flour bomb went off. What I want to do is give you the straight talk on getting it right every single time, using nothing more than what you’ve likely already got in the cupboard. I’ve spent enough years watching people struggle with crumbly, greasy messes to know that success is all about the temperature of your hands and a bit of patience. If you follow my lead, you’ll have a proper, reliable crust that won’t let you down when it matters.
Table of Contents
The Rubbing in Method Why Your Hands Matter Most
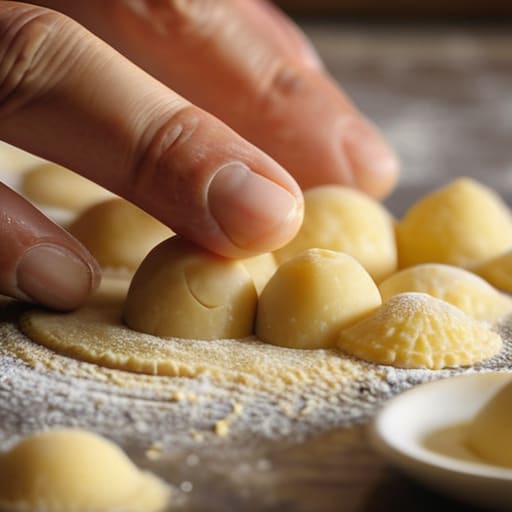
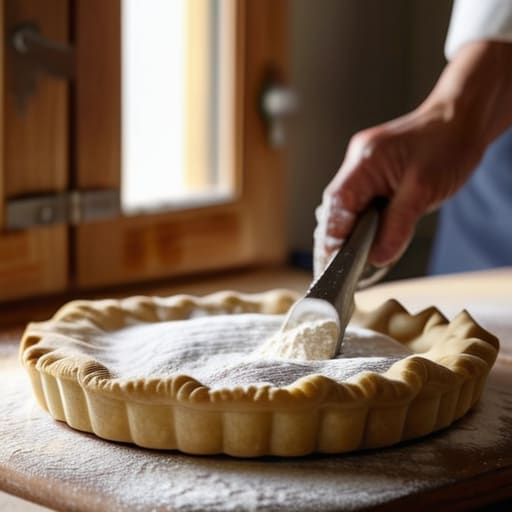
Now, most people think you need a fancy electric mixer to get the job done, but I’ve always found that’s a shortcut to a heavy, leaden crust. The real secret lies in the rubbing in method, and frankly, your fingertips are better tools than any gadget sitting in a cupboard. You want to use the tips of your fingers to work the fat into the flour until it looks like fine breadcrumbs. I remember watching my mother do this every Sunday; she’d say if you see chunks of butter the size of marbles, you’ve been too lazy, but if it looks like wet sand, you’ve been too frantic.
The goal here is to achieve that specific flaky vs shortcrust texture balance where the fat stays in tiny, distinct pockets. If your hands are too warm, or if you linger too long over the bowl, that butter starts to melt. Once it melts, you lose the structure, and you’ll end up with a dough that refuses to hold its shape in the oven. It’s a bit like repairing a dry stone wall—if you don’t get the placement of the small bits right at the start, the whole thing will eventually sag.
All Purpose Flour vs Pastry Flour Choosing the Right Foundation
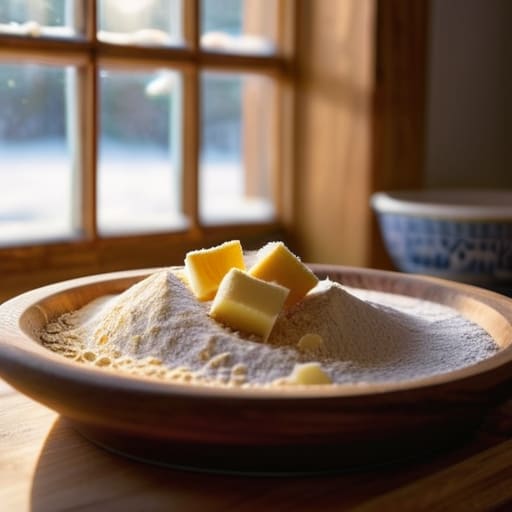
Now, I often get asked at the village coffee mornings whether you can just reach for whatever bag is sitting in the pantry. The short answer is yes, but the long answer depends on whether you want a crust that shatters or one that feels like chewing on a piece of old leather. If you are looking at all-purpose flour vs pastry flour, the real difference is the protein content. Most of the flour we get at the local shop is all-purpose, which is fine for most things, but it has a bit more “strength” to it. That strength is great for a loaf of bread, but in a tart, it can lead to a tougher result if you aren’t careful.
If you can find a dedicated pastry flour, use it; it’s finer and helps achieve that delicate, melt-in-the-mouth flaky vs shortcrust texture we all aim for. However, if you are stuck with the standard stuff, don’t fret. Just be gentler with your hands. The goal is to avoid developing too much gluten, which is the main culprit behind preventing pastry shrinkage in the oven. If you overwork the dough, it’ll pull away from the sides of your tin like a tenant fleeing a bad landlord.
Five Things I’ve Learned from Too Many Failed Pies
- Keep your fat stone-cold. I once tried to make a quiche on a Tuesday afternoon when the kitchen was running a few degrees too warm, and the result was less ‘flaky pastry’ and more ‘greasy biscuit’. If the butter starts to feel soft between your fingers, put the bowl in the fridge for ten minutes before you carry on.
- Don’t be a glutton for punishment with the flour. Once you’ve added your water, use a knife or a fork to bring it together rather than your hands. If you knead it like you’re working a piece of dough for a bakery in Salisbury, you’ll develop the gluten and end up with a crust that’s tough enough to dent a tooth.
- Measure your water with a light touch. It’s easy to get carried away, but you only want enough to bind the crumbs into a cohesive mass. I’ve seen plenty of beginners turn their pastry into a sticky porridge because they thought more liquid meant a better result; it doesn’t.
- Let the dough rest, and I mean actually rest. Wrap it in some cling film and leave it in the fridge for at least half an hour. It gives the gluten a chance to relax and the moisture time to even out. If you try to roll it out immediately, it’ll just spring back at you like a stubborn piece of old timber.
- Avoid the temptation to roll it too thin. A shortcrust is meant to have some substance to it, especially if you’re putting a heavy meat filling in a pie. If you roll it out until it’s translucent, you’re asking for a structural failure halfway through the bake, and nobody wants a soggy bottom sitting on their dinner plate.
Three Things to Remember Before You Start
Keep your fat cold; I’ve seen enough melted butter turn a decent pastry into a heavy, greasy mess to know that if the kitchen is warm, you’d best work quickly.
Don’t overwork the dough once the water goes in; you want it just combined, not kneaded like a loaf of bread, otherwise you’ll end up with something tough enough to chip a tooth.
Use whatever flour you have in the cupboard if you must, but if you can get your hands on something with a lower protein content, your crust will thank you for it.
A Lesson in Temperature
I’ve seen plenty of people rush through a recipe only to end up with a crust that’s as tough as a wet boot; if you let that butter soften before it hits the flour, you’ve already lost the battle, so keep your hands quick and your kitchen cool.
Gordon Ellery
A Final Check Before You Bake
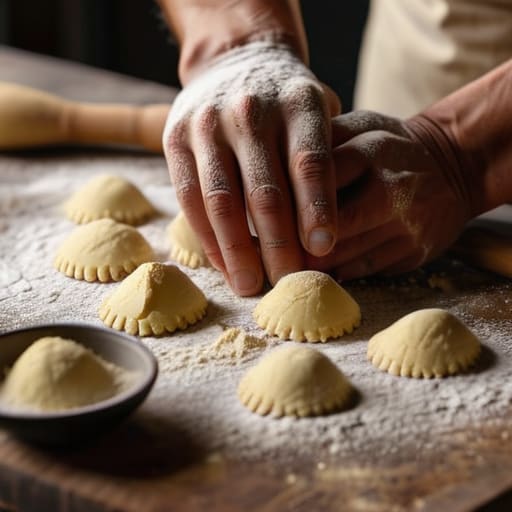
When you finally get to the bench, just remember that it all comes down to temperature and touch. I’ve seen plenty of folks rush the process, using flour that’s too heavy or letting the butter sit out until it’s practically soup, and they end up with a crust that’s more like a cracker than a pastry. Stick to the basics: use the right flour, keep your fat cold, and don’t overwork that dough once the water hits it. If you follow those steps, you won’t find yourself staring at a split base or a greasy mess when you pull your tart out of the oven. It is a bit like fixing a dry stone wall; if you try to force the pieces together too quickly without respecting the material, the whole thing will eventually slump and fail.
At the end of the day, there is a particular sort of satisfaction in making something from scratch that doesn’t come from a plastic packet in the supermarket aisle. Whether you are filling it with seasonal berries or a savoury quiche for the village fête, a bit of effort goes a long way. Don’t be discouraged if your first attempt looks a little rustic or uneven—I certainly struggled with my first few batches back in the seventies. The most important thing is that it tastes of real ingredients and honest work. So, get your apron on, clear a bit of space on the counter, and give it a go. You might find it’s the most rewarding bit of business you do all week.
Frequently Asked Questions
Is there any point in using chilled flour, or is it just one of those things people say to make it sound more complicated than it is?
Now, I’ve heard that one quite a bit at the parish hall meetings—people trying to make a simple bake sound like rocket science. To be blunt: no, you don’t need to chill your flour. It’s a bit of nonsense. What you actually need to worry about is the butter. If that gets soft while you’re working, you’re in trouble. Keep the flour in the cupboard and the butter in the fridge, and you’ll be fine.
What on earth do I do if I’ve gone a bit too heavy-handed with the water and the dough feels more like porridge than pastry?
Now, don’t go chucking more flour in just yet; that’s how you end up with a heavy, leaden crust that’ll sit in your stomach like a brick. If it’s looking more like porridge than dough, spread it out thin on a cool worktop. Let it air out for ten minutes to let some moisture evaporate. If it’s still a mess, you’re better off starting again—I’ve wasted enough flour in my time to know when a cause is lost.
Can I get away with using salted butter, or am I going to end up with a crust that tastes like a bag of crisps?
You can get away with it, but I wouldn’t recommend it. I once tried salted butter for a savoury quiche near Salisbury, and the crust ended up tasting more like a packet of salted crisps than a proper pastry. If you must use it, cut your added salt by at least half. Personally, I stick to unsalted; it gives you much better control, and you can always add a pinch of sea salt later if it needs it.