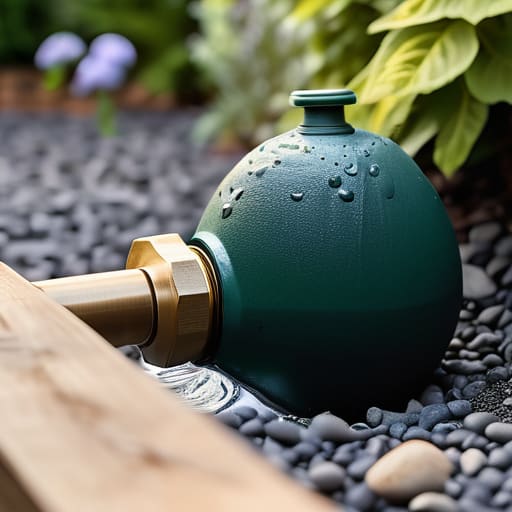
I was standing in my back garden last Tuesday, staring at a particularly stubborn patch of parched lawn near the old stone wall—which, mind you, was built around 1890—and realized I’d been doing things the hard way for years. Most people think that learning how to install a water butt is all about buying the prettiest plastic tank you can find at the garden centre, but that’s a recipe for a muddy mess. If you don’t get the base level right, you’ll end up with a heavy, lopsided container that either leaks or simply refuses to flow, leaving you staring at a dry tap and a very frustrated garden.
I’ve spent enough time surveying properties and wrestling with drainage to know that a bit of proper groundwork saves a lot of heartache later on. In this guide, I’m going to walk you through the actual, unvarnished process of getting it done right the first time. I’ll show you how to pick a spot that won’t sink, how to deal with a dodgy downpipe, and exactly how much gravel you’ll need to keep things steady. No fluff, just the practical steps to ensure your water collection actually works when the summer heat hits.
Table of Contents
- Step-by-Step Instructions
- Leveling a Water Butt Base for a Steady Reliable Finish
- A Proper Downpipe Diverter Installation That Wont Leak
- A few bits of advice from someone who’s spent too much time getting soaked
- A few things to remember before you finish
- ## A bit of common sense
- A final word on the matter
- Frequently Asked Questions
Guide Overview
Tools & Supplies
- Spirit level to ensure a flat surface
- Shovel or spade for leveling ground
- Drill with appropriate bit size
- Water butt (1 unit)
- Stand or base blocks (1 set)
- Rainwater diverter kit (1 kit)
- Tap and connector (1 set)
- Gravel or paving slabs (for base)
Step-by-Step Instructions
- 1. First things first, you need to find the right spot. I’ve seen too many people plonking a tank on uneven grass, only to have it tilt and spill half its contents during a heavy downpour. You want a patch of ground that is firm and level, ideally right next to a downpipe. If you’re placing it on soil, I’d suggest digging out a small area and filling it with a bit of hardcore or some paving slabs to create a solid foundation.
- 2. Once you’ve picked your spot, you’ll need to deal with the downpipe. Most people try to just shove the spout into the pipe, but that’s a recipe for a blocked gutter and a damp wall. You’ll need to buy a downpipe diverter kit from the local hardware shop. It’s a simple bit of plastic that intercepts the water flow. You’ll have to saw a section out of your existing pipe—measure twice, cut once, as my old mentor used to say—and slot the diverter in.
- 3. Now, don’t go thinking you can just leave the water to run wild. You’ll need to connect the diverter to the water butt using the flexible hose that comes in the kit. Make sure the connection is tight and secure. If you’re feeling particularly cautious, a bit of waterproof sealant around the joins won’t hurt, though a well-fitted kit usually does the job without any fuss.
- 4. Before you let the heavens open, check the overflow. Most decent butts come with an overflow outlet, and if you’re placing yours near the house, you really ought to use it. I usually recommend a small length of garden hose attached to that outlet, directed away from your foundations. I spent enough years surveying houses to know that a bit of constant water pooling near a brick wall is a one-way ticket to subsidence.
- 5. If you’ve got a particularly large tank—the sort that holds a thousand litres or more—it’s worth considering a stand. A heavy-duty water butt stand does more than just look tidy; it uses gravity to your advantage. The higher the tank, the better the pressure when you’re trying to fill a watering can or a bucket. Just ensure the stand is sitting on that level base we talked about in step one.
- 6. Finally, give it a test run. Wait for a bit of rain or, if you’re impatient like me, take the garden hose up to the gutter and let it run. Watch the joints, watch the base, and most importantly, watch the overflow. If everything stays dry where it should be dry, you’re sorted. You’ve just saved yourself a fair bit of money on the water bill and done your garden a kindness.
Leveling a Water Butt Base for a Steady Reliable Finish
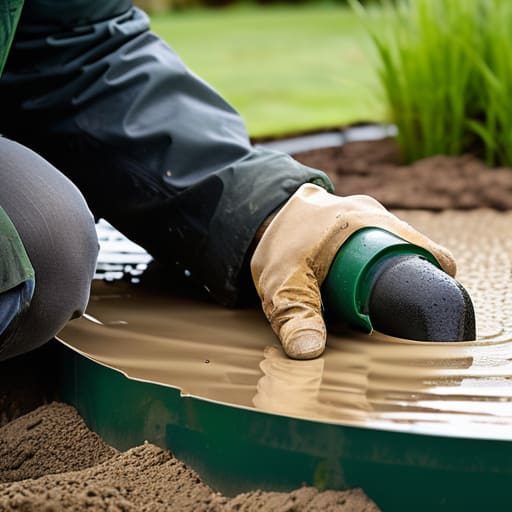
Now, if you try to set that tank directly onto soft earth or a patch of uneven lawn, you’ll find yourself in a bit of a mess come next winter. Once that barrel is full, it’ll weigh well over two hundredweight, and if the ground has shifted or subsided—which it tends to do in our clay-heavy soil—the whole thing will start to tilt. I’ve seen more than one poorly placed tank tip over and spill its contents across a patio, which is a right nuisance to clean up. When leveling a water butt base, I always suggest a solid foundation of paving slabs or a dedicated plastic stand. If you’re using slabs, make sure they are sitting on a thin, firm bed of sharp sand to ensure they don’t wobble.
It isn’t just about stability, though; it’s about ensuring your rainwater harvesting system setup actually works with gravity. If the base is even slightly off-kilter, the connection to your downpipe might pull or leak over time. I’ve spent far too many afternoons tightening connections that had worked themselves loose because the tank was leaning. Take the extra twenty minutes now to get it dead level; your future self will thank you when the autumn rains arrive.
A Proper Downpipe Diverter Installation That Wont Leak
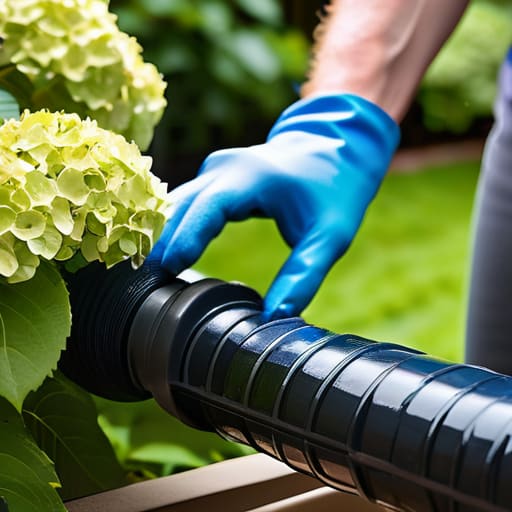
Now, this is where most people lose their patience. You can have the sturdiest base in the county, but if the connection to the guttering is rubbish, you’ll spend more time mopping up puddles than you will watering the hydrangeas. When you get to the downpipe diverter installation, don’t just hack at the plastic with a handsaw and hope for the best. I’ve seen far too many DIY jobs where the diverter is sitting at a jaunty angle, causing water to bypass the tank entirely and run straight down the brickwork. Take your time with the cut; a clean, square edge is the only way to ensure a tight fit.
Once the diverter is in, pay close attention to the seal. If the kit comes with a rubber washer, make sure it isn’t perished or twisted, as a tiny gap is all it takes to turn your garden into a bog. It’s a vital part of a proper rainwater harvesting system setup, and getting it right means you won’t be chasing leaks every time there’s a heavy downpour. If you find the fit is a bit loose, a small amount of silicone can do wonders, but don’t overdo it—you still want to be able to maintain it later.
A few bits of advice from someone who’s spent too much time getting soaked
- Don’t go skimping on the tap. I’ve seen plenty of people install a cheap, flimsy plastic one only to find it snaps off the first time they try to fill a watering can. Get a proper brass tap; it’ll last longer than the plastic tank itself.
- Keep an eye on the overflow. If you don’t have a way for the water to escape when the tank is full—either through a dedicated overflow pipe or a bit of space at the top—you’ll end up with a miniature lake forming around your house foundations, and that’s a headache nobody needs.
- Watch out for the algae. If you buy one of those translucent green tanks, the sun will get in and turn your water into a swamp within a month. Stick to dark colours or opaque plastic; it keeps the light out and the water much cleaner for the roses.
- Think about where you’ll stand. It sounds simple, but if you place the butt in a tight corner or behind a heavy shrub, you’ll find it’s a nightmare to get a large water butt or a heavy bucket into position once the season turns. Give yourself a bit of elbow room.
- Check your downpipe height. If your guttering sits a good metre or two above the ground, you’ll need a stand or a bit of extra pipework to bridge the gap. Don’t just hope it’ll reach; I’ve seen enough DIY jobs go wrong because someone forgot to account for the vertical distance.
A few things to remember before you finish
Don’t skimp on the base; if that tank isn’t sitting on a level, solid surface, the weight of the water will eventually make it tilt, and a tilting water butt is a recipe for a very wet garden.
Check your seals twice—there’s nothing more frustrating than spending a Saturday afternoon on a DIY job only to find it’s weeping from the diverter the first time the heavens open.
Keep the area around the downpipe clear of brambles or heavy debris, otherwise you’ll find your new system is doing more work clearing blockages than actually catching rain.
## A bit of common sense
“You can buy the fanciest plastic tank in the garden centre, but if you haven’t spent the time getting the base level and the diverter snug, you’re just buying an expensive way to make your patio a swamp.”
Gordon Ellery
A final word on the matter
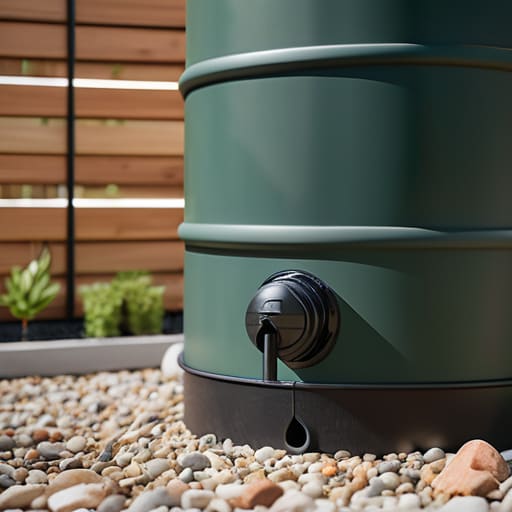
Once you have the base sitting level on some solid paving or a tidy gravel patch, and that diverter is tucked neatly into the downpipe without a drip in sight, the hard part is behind you. It isn’t rocket science, but if you’ve rushed the groundwork or failed to tighten those seals, you’ll spend more time mopping up puddles than you will saving water. Just remember to check the connections after the first heavy downpour; I’ve seen plenty of a homeowner’s pride washed away by a poorly seated washer or a bit of loose grit. If you take the time to do it properly now, you won’t be out there in the rain fixing it again in six months’ time.
At the end of the day, a water butt is more than just a bit of plastic sitting by the side of the house. It is a small, sensible way of looking after your patch and making sure nothing goes to waste. There is a particular satisfaction in watching the rain fill the tank, knowing you’ve set it up with a steady hand and a bit of common sense. It’s these little bits of maintenance—the things that keep a garden thriving and a house running smoothly—that truly make a place feel like home. Now, if you’ll excuse me, I think I’ve earned a cup of tea.
Frequently Asked Questions
Is it worth putting a tap on the butt, or will it just end up leaking and making a mess of the patio?
It’s a fair question. I’ve seen plenty of patio slabs in the village stained by a slow, weeping tap that no one bothered to fix. If you get a decent brass one and don’t over-tighten the washer, it’s worth its weight in gold for the flower beds. But if you’re the type to leave it half-turned, you’ll be cleaning silt and algae off your paving by July. Get a proper one, or don’t bother.
How do I stop the mosquitoes or debris from getting into the tank if I don't have a proper lid?
If you’re working with an open tank, you’ll find it becomes a breeding ground for mosquitoes or a collection point for autumn leaves within a week. I’ve seen enough stagnant water to know it’s a nuisance. The simplest fix is a bit of fine plastic mesh—the kind you’d use for window screens. Stretch it tight over the top and secure it with a heavy-duty bungee or a few jubilee clips. It keeps the debris out and the bugs away.
Can I connect more than one downpipe to the same water butt, or will it overflow too quickly during a heavy downpour?
You certainly can, but you have to be sensible about it. I’ve seen a few folks try to link three different gutters to one small tank, only to find themselves standing in a puddle after a typical Hampshire cloudburst. If you’re connecting more than one, make sure the butt is large enough—ideally 200 litres or more—and ensure your overflow pipe is properly routed away from the house foundations. Don’t let a heavy rain turn your garden into a pond.