I was standing in the hallway of a mid-Victorian terrace in Amesbury last Tuesday, staring at a patch of wall that looked less like a feature and more like a topographical map of the Andes. The homeowner had spent a small fortune on high-end emulsion, but because they’d skipped the sanding and the priming, the new colour was bubbling away like a bad batch of stew. It’s a common mistake, and frankly, it’s a waste of good money. Most people think you just slap a bit of colour on a flat surface and call it a day, but if you want to learn how to paint a room properly, you have to accept that the work starts long before the brush ever touches the plaster.
I’m not here to sell you on fancy gadgets or expensive designer tins that promise magic. What I want to do is give you the unvarnished truth about the prep work, the right tools for the job, and how to avoid those dreaded streak marks that make a room look cheap. Whether you are tackling a small scullery or a large drawing room, I’ll walk you through the steps I’ve used over forty years of looking at walls. We’ll get it done right the first time, so you aren’t back on your hands and knees again in six months.
Table of Contents
- Step-by-Step Instructions
- Mastering Wall Surface Preparation Steps and Patching Holes
- The Essential Painting Tools List for a Clean Finish
- A Few Hard-Won Lessons from the Trenches
- A Few Final Thoughts Before You Open the Tin
- ## The Truth About a Good Finish
- A Final Look Before the Dust Settles
- Frequently Asked Questions
Guide Overview
Tools & Supplies
- Paint roller and tray for large surfaces
- Angled sash brush for cutting in edges
- Painter's tape for clean lines
- Drop cloths to protect flooring
- Interior paint (1-2 gallons per room)
- Painter's tape (1-2 rolls)
- Sandpaper (fine grit for smoothing walls)
- Spackle (small tub for hole repair)
Step-by-Step Instructions
- 1. You can’t just crack a tin and start swinging a brush; you have to clear the decks first. Move the heavy furniture to the centre of the room and cover it with some old sheets—don’t bother with those thin plastic ones from the hardware shop, as they tend to stick to the wood if you get a drip on them. I’ve seen more ruined coffee tables than I care to count because someone thought they could skimp on the protection. Clear everything off the skirting boards and the windowsills, too.
- 2. Now, this is where most people lose their patience and, subsequently, their money: the prep work. Take a damp cloth and wipe down the walls to get rid of the dust and cobwebs. If you’re in one of those older cottages—the sort built well before the 1950s—you’ll likely find some hairline cracks in the plaster. Don’t just paint over them; they’ll reappear like a bad memory. Use a bit of filler, sand it down until it’s perfectly flush, and wipe the dust away again.
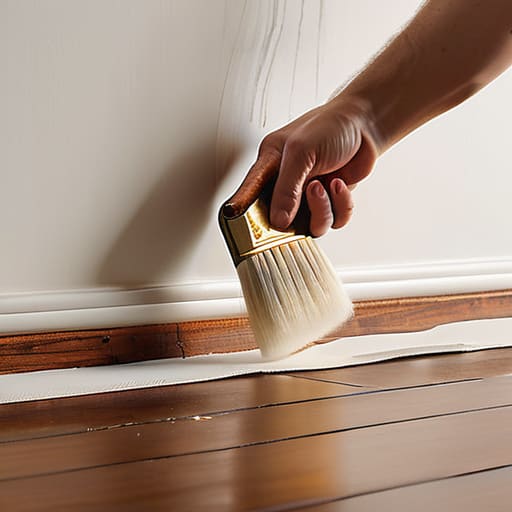
- 3. Once the walls are clean and smooth, you need to get your edges right. This is the bit that requires a steady hand and a bit of focus. Use a small, angled brush to “cut in” around the ceiling line, the corners, and the skirting boards. It’s a tedious job, and your shoulder might ache a bit, but if you don’t get the edges precise now, you’ll spend the rest of the afternoon trying to fix them with a roller, and you’ll only make a mess of it.
- 4. Before you touch the big roller, check your plaster. If you’re working in a room that’s seen better days, or if you’ve recently patched up some holes, you’ll need a decent quality primer or a mist coat. I’ve valued plenty of properties where the paint was peeling off in sheets simply because the owner tried to put expensive emulsion directly onto unprimed, thirsty plaster. It’s a waste of good paint, and it won’t stick.
- 5. When you move to the main walls, work in sections about a metre wide. Don’t try to do the whole wall in one go like you’re racing a clock. Load your roller properly—not so much that it’s dripping, but enough to feel the weight of it—and use a “W” or “M” motion to distribute the paint. This ensures you aren’t leaving those dreaded unpainted streaks that show up when the afternoon sun hits the wall at an angle.
- 6. If you find you need a second coat—and let’s be honest, you almost always do—wait until the first one is truly dry. You can tell by the way the light reflects off it; if it looks tacky or dull in the wrong places, give it more time. I usually wait at least four hours, though if it’s a damp Tuesday in Hampshire, you might want to give it until the next morning.
- 7. Finally, don’t go rushing to peel the masking tape off while the paint is still soaking wet. I’ve seen many a beginner make the mistake of pulling it back too early, only to find they’ve taken the fresh paint right along with it. Wait until it’s tacky or nearly dry, pull the tape away at a sharp angle, and you’ll find your lines are as straight as a surveyor’s level.
Mastering Wall Surface Preparation Steps and Patching Holes
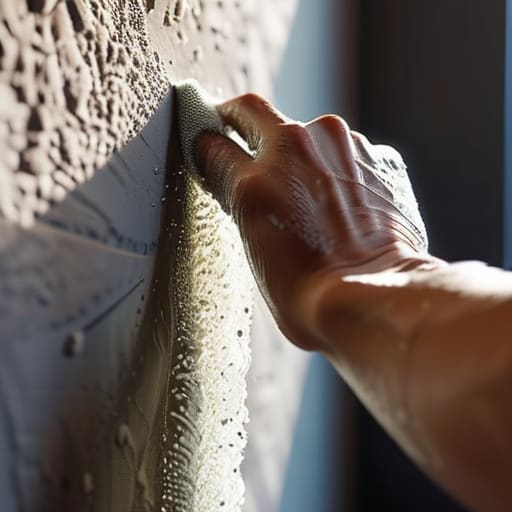
Now, if you think you can just roll a bit of colour over a dusty wall and call it a day, you’ve clearly never tried to fix a mistake in a room with high ceilings. I’ve seen plenty of DIY enthusiasts skip the wall surface preparation steps only to find that their new coat of Magnolia looks like it’s sitting on top of sandpaper. You need to get down there with a damp cloth and a bucket. If there’s grit or cobwebs left behind, the paint won’t bond, and you’ll be peeling it off in strips before the next Michaelmas.
When it comes to how to patch wall holes—whether it’s from a stray picture hook or a bit of subsidence that’s been bothering a cottage since the late seventies—don’t just slap the filler in and hope for the best. Use a small putty knife, press it in firm, and then scrape it back flush. If you leave a mound, even the best light will catch it. Once it’s dry, give it a quick sand. It’s tedious, I know, but it’s the only way to ensure the wall looks like a solid surface rather than a patchwork quilt.
The Essential Painting Tools List for a Clean Finish
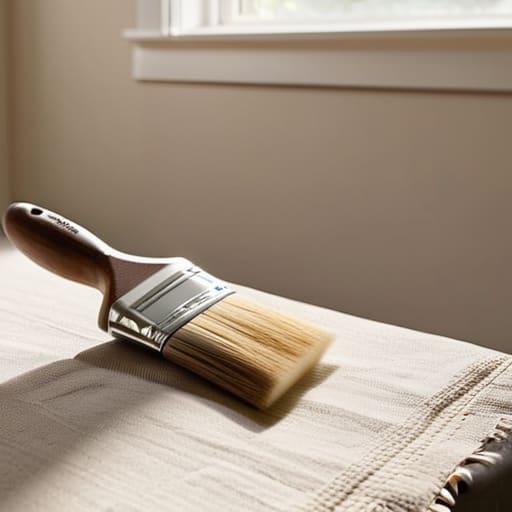
Now, before you head down to the hardware shop, let me save you a bit of frustration. I’ve seen many a well-meaning neighbour buy the cheapest brushes available, only to find the bristles shedding into the wet emulsion like autumn leaves in a gale. If you want a smooth finish, you need a proper essential painting tools list that prioritises quality over price. Get yourself a decent synthetic brush for the edges and a medium-pile roller; anything too fluffy will leave a texture that looks more like a pebbledash wall than a clean interior.
I also can’t stress enough the importance of having a sturdy drop cloth—not that thin plastic sheeting that clings to your ankles—to ensure you’re preventing paint drips and splatters on the floorboards. While you’re at it, grab a small tray for your cutting-in work. I’ve learned the hard way that trying to paint a whole room from one large, heavy tray is a quick way to end up with a sore back and a mess on the skirting boards. It’s the small, right tools that make the difference between a job that looks professional and one that looks like it was done in a hurry.
A Few Hard-Won Lessons from the Trenches
- Don’t go skimping on the masking tape. I’ve seen many a well-meaning neighbour try to save a few quid on the cheap stuff, only to end up with a jagged line along the skirting board that looks like it was cut with a blunt spoon. Get the blue painter’s tape, pull it back while the paint is still slightly tacky, and you’ll save yourself an hour of swearing later.
- Watch your edges. Most people rush straight in with the big roller because they want to get the job done before tea, but if you don’t “cut in” around the ceiling and the corners first, you’ll end up with those dreadful streaks where the roller couldn’t reach. Do the edges properly, let them settle just a touch, and then bring the roller in.
- Mind the light. I always tell people to check their work with a torch or by standing at an angle to the wall. You’ll be amazed at how a patch looks perfectly fine from the doorway, but once you catch the afternoon sun hitting it at a slant, you’ll see every single uneven roller mark.
- Stop trying to cover everything in one go. If you’re working on an older property—and let’s face it, most of us are—the plaster is rarely as flat as it was in 1995. Two thin, even coats are worth infinitely more than one thick, heavy layer that ends up sagging and dripping down the wall like a melted candle.
- Keep your tools tidy as you go. If you leave a brush sitting in a half-dried puddle of paint, you’ve effectively turned it into a club. If you’re taking a break for lunch, wrap your brushes and rollers tightly in a bit of cling film; it keeps the air out and means you won’t be scrubbing them clean halfway through the afternoon.
A Few Final Thoughts Before You Open the Tin
Don’t skimp on the prep work; I’ve seen many a fine Edwardian terrace ruined by a rushed job, and you’ll spend more time fixing mistakes than you would have spent filling the holes properly in the first place.
Invest in a decent brush and a proper roller rather than the cheapest bits from the supermarket, because a tool that holds paint evenly is the difference between a professional finish and a patchy mess.
Take your time and work with the light; if you try to rush a coat just to get to tea, you’ll be seeing those uneven streaks every time the sun hits the wall from the west.
## The Truth About a Good Finish
I’ve spent thirty years looking at the bones of houses, from the 1740s cottages in the valley to the more recent builds on the edge of town, and I can tell you this: a room doesn’t look good because of the colour you pick off a fancy swatch; it looks good because you didn’t take a shortcut on the sanding. You can buy the most expensive tin of paint in the shop, but if you haven’t put the work into the prep, you’re just paying to highlight your own laziness.
Gordon Ellery
A Final Look Before the Dust Settles
Now, once you have finished that final pass with the roller and the edges look as sharp as a new lease, don’t just toss your brushes in the sink and call it a day. I’ve seen far too many people rush the finish, only to realize three days later that they left a smudge on the skirting or a drip near the ceiling rose. Remember, the secret isn’t in the expensive tins of pigment you buy at the hardware shop; it is in the meticulous preparation and the patience to let each coat dry in a room with a bit of airflow. If you’ve done the sanding right and kept your tools clean, you won’t be revisiting those same mistakes when the morning light hits the walls.
At the end of the day, a room isn’t just four walls and a ceiling; it is the backdrop to everything we do, from Sunday morning coffees to the quiet evenings spent reading by the fire. When you step back and look at that fresh coat of paint, don’t just see the colour—see the effort you put into making your home feel right. There is a particular kind of satisfaction in knowing you didn’t cut corners, and that pride of ownership is worth much more than a quick job. So, put the ladder away, grab a cup of tea, and actually enjoy the space you’ve worked so hard to refresh.
Frequently Asked Questions
How much of a difference does it actually make to use a high-end brush versus the cheap ones from the local DIY shop?
I’ve spent thirty years looking at finishings, and I’ll tell you this: those cheap, bristly brushes from the discount bin are a recipe for a headache. They shed hairs into your wet paint like a Golden Retriever in summer, and they leave tracks that’ll drive you mad. A decent, high-end brush holds more paint and lays it down smooth. It’s worth the extra few pounds to avoid spending your Sunday sanding out mistakes.
If I’ve got a bit of dampness or a patch of peeling plaster from an old leak, can I just paint over it, or am I asking for trouble?
If you paint straight over damp or peeling plaster, you aren’t just asking for trouble; you’re asking for a mess that’ll cost twice as much to fix later. I’ve seen enough Victorian masonry to know that moisture is a patient enemy. You must find the source, dry it out completely, and scrape back to a solid surface first. If you don’t, that new coat will bubble and flake within a month.
When exactly should I stop painting and let the first coat dry—is it a matter of hours, or do I need to wait until the next day?
Now, don’t be tempted to rush it. I’ve seen too many folks slap a second coat on while the first is still tacky, only to end up pulling the paint right off the wall with the roller. You’ll want to wait at least four hours, though if it’s a damp Tuesday in Wiltshire, give it until the next morning. If you can press your thumb against the wall without leaving a mark, you’re safe.