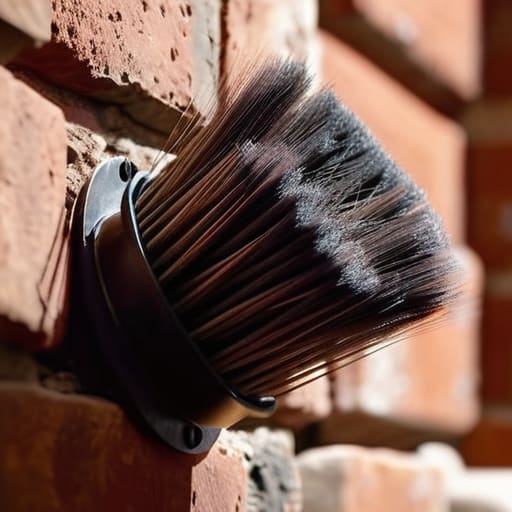
I remember standing on a ladder outside Miller’s cottage—a lovely little flint-walled thing built around 1840—feeling the damp chill of a November morning settle into my bones. I had spent three hours trying to brush out a stubborn clog, only to realise I’d been using the wrong tool for the job and making a right mess of the hearth. Most people think you just need a stiff brush and a bit of elbow grease to figure out how to clean a chimney, but if you don’t understand the airflow or the specific type of soot buildup you’re facing, you’re likely just pushing the problem deeper into the flue.
I’m not going to give you a glossy, professional brochure version of this; I’m going to tell you how it actually works when you’re the one holding the brush. In the following sections, I’ll walk you through the exact kit you need, how to protect your living room from a soot explosion, and the specific signs that tell you it’s time to put the brush down and call in a specialist. It’s about doing the job properly so you can enjoy a warm fire without worrying about the safety of your home.
Table of Contents
- Step-by-Step Instructions
- The Right Chimney Sweep Equipment for a Safe Home
- Essential Chimney Soot Removal Tools You Actually Need
- Five things I’ve learned from years of looking up flue liners
- A few things to remember before you start
- ## A word of caution from the ladder
- A final word before you strike a match
- Frequently Asked Questions
Guide Overview
Tools & Supplies
- Chimney brush (sized to flue diameter)
- Extension rods (to reach full flue height)
- Shop vacuum (high-powered with HEPA filter)
- Drop cloths (to protect flooring)
- Flashlight (to inspect flue interior)
- Dust masks/Respirators (1-2 units)
- Safety goggles (1 pair)
- Heavy-duty trash bags (1 roll)
- Painter's tape (1 roll)
Step-by-Step Instructions
- 1. First things first, you need to seal the hearth. I’ve seen more living rooms ruined by a fine layer of black soot than I care to count, and once that dust gets into your carpets, it’s a nightmare to shift. Drape a heavy-duty plastic sheet over the fireplace and use masking tape to secure it around the edges; you want to create a bit of a tight seal so the air pressure doesn’t just blow the mess into the next room.
- 2. Now, you’ll need to gather your kit, and don’t go thinking a kitchen sponge will do. You need a proper chimney brush—one that matches the diameter of your flue—and a long, sturdy rod that you can add to as you go. I usually keep a few spare lengths in the shed, much like my old surveying equipment, because if you underestimate the height of your stack, you’ll find yourself halfway through the job with a very short stick and a very dirty face.
- 3. Put on your protective gear before you even touch the brush. I’m talking about a decent pair of goggles and a mask that actually fits; breathing in old creosote is not something to trifle with, especially if you’ve got sensitive lungs. I’ve spent enough time in dusty old cottages to know that once that soot is airborne, it stays in your system for a good while if you aren’t careful.
- 4. Start from the top if you can reach it, but most of us will be working from the bottom up. Insert the brush into the flue and begin a series of vigorous up-and-down strokes. You aren’t just tickling the walls; you need to physically scrape that buildup loose. It’s hard, repetitive work, similar to trying to level a dry stone wall on a steep slope, but you’ll know you’re making progress when the brush starts coming back up looking a bit more heavily laden.
- 5. Once you’ve worked the brush through the entire length of the chimney, you’ll have a pile of debris sitting on the hearth. Use a small hand brush or a vacuum with a specialist HEPA filter to clear away the fallen soot. Don’t just use a standard domestic vacuum, or you’ll likely find the soot has bypassed the filter and blown straight out the exhaust, leaving you with a house that looks like it’s been through a coal mine.
- 6. Before you go lighting a fire to celebrate, take a torch and look up the flue. You want to make sure there aren’t any large chunks of soot or debris left hanging near the top that might fall and block the airflow later. If you can see the light at the top and the walls look relatively clear, you’ve done a decent enough job for a DIY effort, though I’d still suggest a professional check every few years just to be on the safe side.
The Right Chimney Sweep Equipment for a Safe Home
Now, don’t go thinking you can just grab a standard household broom and call it a day. I’ve seen plenty of folks try to DIY their way through a winter, only to end up with more mess on their rug than they ever cleared from the flue. If you are serious about cleaning a wood stove flue, you need a proper set of rods—the kind that screw together—and a heavy-duty brush sized specifically for your liner. If the brush is too small, you’re just moving the dust around; if it’s too large, you’ll be fighting the masonry all afternoon.
I always tell the younger lot at the parish meetings that the best bit of kit isn’t the brush, but the vacuum. You need a shop vac with a high-quality HEPA filter, or you’ll simply be redistributing fine black dust into every corner of your living room. While you’re at it, keep a sturdy flashlight handy for a quick flue inspection checklist every few months. It’s much easier to spot a crack or a blockage now than when you’re staring at a smoky ceiling in the middle of January.
Essential Chimney Soot Removal Tools You Actually Need
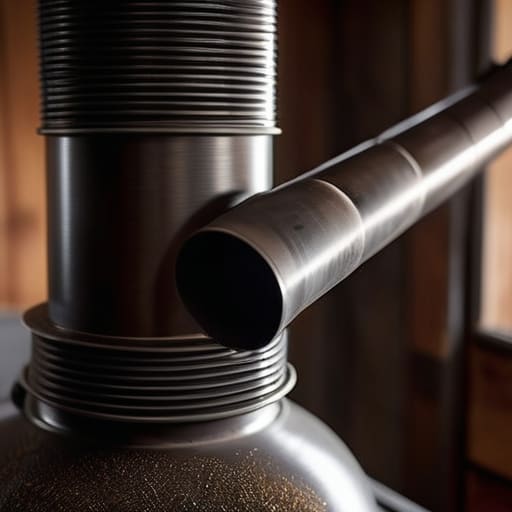
Now, don’t go thinking you can just grab a standard household vacuum and call it a day. I’ve seen plenty of folks try that, only to end up with a living room that looks like a coal mine exploded in it. If you are serious about cleaning wood stove flue passages, you really need a dedicated HEPA-filtered vacuum designed for fine particulates. Standard filters will just blow that black dust right back out through the exhaust, coating your curtains and your lungs in the process.
I also wouldn’t skimp on the brushes. Most people grab the first nylon thing they see, but if you’ve got a masonry flue in an older cottage—the kind built back in the late Victorian era—you’ll likely need a stiff wire brush to get through the stubborn layers. It’s a bit of a chore, but it is the most effective way for preventing chimney fires caused by thick, oily deposits. I always tell the new residents down at the lane: invest in the right kit once, rather than spending three weekends trying to fix a mess you’ve made of your hallway.
Five things I’ve learned from years of looking up flue liners

- Don’t skimp on the drop cloths. I once saw a neighbour try to sweep with just a bit of old newspaper, and let me tell you, that fine black soot gets into the grain of floorboards in a way that no amount of scrubbing will ever truly fix. Cover everything from the hearth to the skirting boards.
- Check the flue liner for cracks before you even start brushing. If you’re dealing with an older cottage—and we have plenty of those around here, most dating back to the mid-Victorian era—the masonry can be brittle. A crack in the liner is a direct ticket for carbon monoxide to enter your living room.
- Always work from the top down if you can manage it. It’s a bit more of a climb, and if you’ve got a ladder that’s seen better days, take your time, but getting the bulk of the debris out from the roof level prevents it from all settling in the bend of the chimney breast.
- Keep an eye on your brush size. You want something that fits snugly against the sides of the flue without getting wedged tight. If the brush is too small, you’re just moving the soot around like a dusty breeze; if it’s too big, you’ll be fighting it the whole way up.
- Once you’ve finished the physical cleaning, do a visual inspection with a torch. Shine it right up into the throat of the chimney. You aren’t looking for perfection, just making sure there isn’t a stray bit of bird’s nest or a chunk of old mortar sitting there waiting to cause a blockage.
A few things to remember before you start
Don’t skimp on the prep; covering your furniture with heavy-duty plastic is the only way to ensure you aren’t breathing in soot dust for the next fortnight.
If you see cracks in the flue or the masonry looks particularly crumbly, put the brush down and call a professional—it’s not worth risking a chimney fire for the sake of a bit of DIY.
Keep a regular schedule, ideally once a year before the heating season kicks in, because a clean chimney is just as vital to a safe home as a sturdy, well-maintained roof.
## A word of caution from the ladder
I’ve spent thirty years looking at damp walls and cracked lintels, and I can tell you that a chimney buildup isn’t just a nuisance; it’s a ticking clock. You can buy all the fancy brushes in the world, but if you don’t get that soot cleared out before the first frost hits, you aren’t just risking a smoky living room—you’re risking the very bones of your home.
Gordon Ellery
A final word before you strike a match
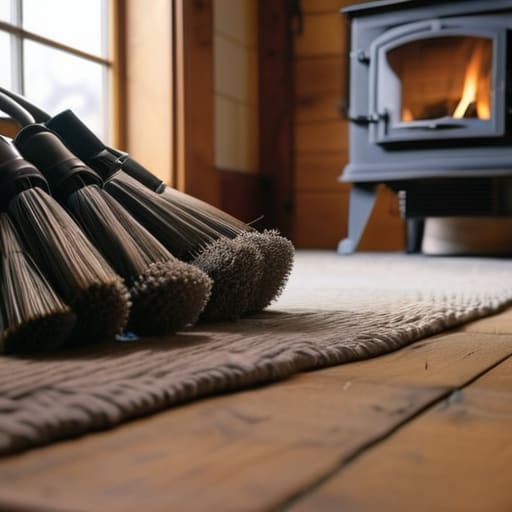
At the end of the day, cleaning a chimney isn’t about having the fanciest kit from a high street shop; it is about the fundamentals. You need the right brushes, a sturdy vacuum with a proper filter, and the sense to know when a job is becoming more than one person should handle. Whether you are tackling a small hearth in a cottage built around 1840 or a larger flue in a mid-century semi, remember that thoroughness is your best friend. Don’t skip the inspection of the masonry or the cap, and for heaven’s sake, don’t forget to protect your carpets. If you’ve done the work properly, you’ll have cleared the soot, checked the structural integrity, and most importantly, ensured your home remains safe from the dangers of a blocked flue.
There is a particular kind of satisfaction that comes from looking up at a clean, clear chimney stack and knowing the work is done right. It is more than just maintenance; it is about looking after the bones of your house so it stays standing for the next generation. We spend so much time worrying about the paintwork or the garden, but the things that truly keep a village home warm and secure are often the things we can’t see from the driveway. Do the job well, do it safely, and then sit back by a clear fire knowing you’ve done your part to keep the hearth steady.
Frequently Asked Questions
How often should I actually be doing this—once a year, or only when the smoke starts coming back into the living room?
If you’re waiting until the smoke curls into the living room, you’ve waited far too long. That’s not a maintenance schedule; that’s a fire hazard. I’ve seen enough scorched lintels in my time to know that soot builds up steadily. Aim for once a year, ideally in the late summer before the heating season kicks in. It’s much cheaper to pay for a sweep in August than a specialist in January.
If I see a crack in the masonry while I'm up there, is it a simple fix or am I looking at a costly structural repair?
Now, don’t panic just yet. If it’s a hairline crack in the mortar, a bit of repointing should see you right—something I’ve seen on many a cottage built in the late Victorian era. But if that crack is wider than a ten-pence piece or running through the actual bricks, you’re looking at something more serious. In that case, stop climbing and call a structural surveyor. It’s better to pay for an expert now than a new chimney later.
Is it worth hiring a professional sweep for the heavy lifting, or can a person with a bit of grit and the right brush really do it themselves?
Look, I’ve seen plenty of a man with a bit of grit tackle a job, but I’ve also seen the mess they leave behind. If you’ve just got a light dusting of ash, a DIY approach with a good brush is fine. But if that flue hasn’t been touched since the late nineties, call a professional. A proper sweep has the industrial vacuums to stop soot from coating your living room rug. It’s worth the coin.