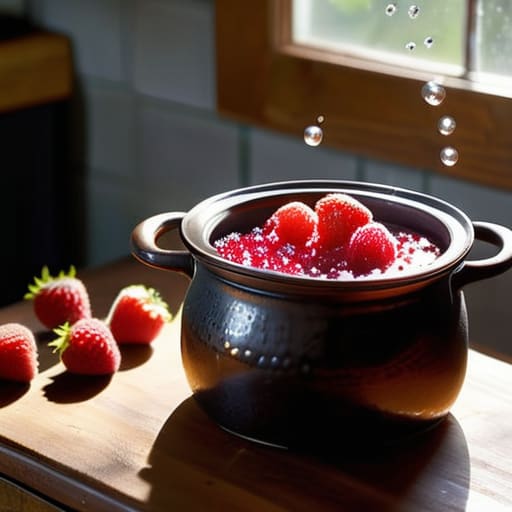
I remember standing in my kitchen back in ’84, staring at a pot of raspberry preserves that had turned into something resembling industrial-grade glue. I’d followed a recipe from a glossy magazine that suggested I needed a specialized thermometer, three different types of pectin, and a level of patience usually reserved for saints. It was a complete waste of good fruit and a good afternoon. People make learning how to make jam out to be some high-stakes laboratory experiment, but if you ask me, that’s just a way to make a simple task feel unnecessarily daunting.
I’m not here to sell you on fancy equipment or expensive additives you’ll only use once. What I want to do is show you the practical reality of getting it right, based on years of trial, error, and the occasional burnt spoon. I’ll walk you through the actual physics of the boil and how to tell if it’s set without needing a degree in chemistry. If you want the honest truth on how to make jam that actually tastes like the summer it came from, then you’ve come to the right place.
Table of Contents
Choosing Acidic Fruit for Setting and Better Flavor
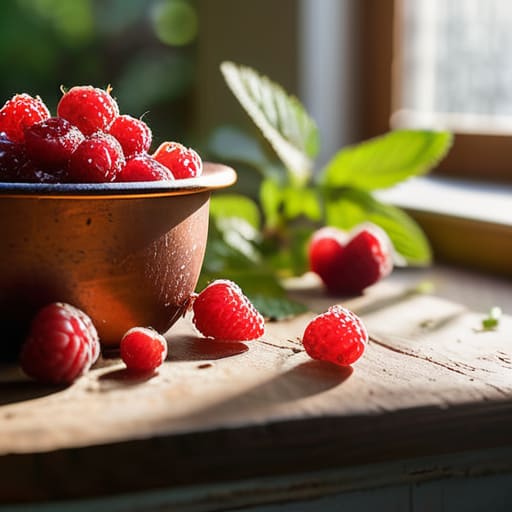
Now, if you’re heading out to the garden or the local allotment, don’t just grab whatever looks prettiest in the basket. I’ve seen too many folks try to make a batch with fruit that’s gone soft or lacks a bit of “bite.” For a proper set, you really need to be looking for acidic fruit for setting. It isn’t just about the taste; pectin—that’s the natural glue that holds your preserves together—needs that acidity to do its job. If you’re working with something lower in acid, like certain peaches or overly ripe strawberries, you’ll find yourself staring at a pot of warm syrup rather than a firm preserve.
I always tell the younger ones at the parish meeting that the sugar to fruit ratio is important, but it won’t save you if the fruit itself is lacking character. A bit of lemon juice is a fine safety net, but nothing beats starting with a sharp, bright berry. I remember a summer back in ’84 when the raspberries were particularly tart; that batch stayed perfectly clear on the shelf for months. If you want a preserve that actually holds its shape when you spread it on a scone, mind your acidity.
The Right Sugar to Fruit Ratio for Success
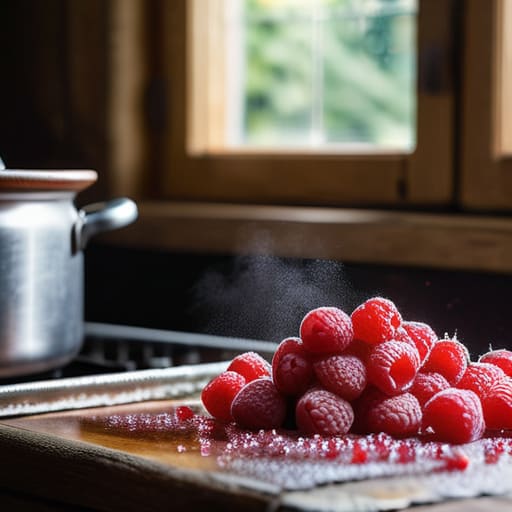
Now, this is where most people lose their nerve, and quite frankly, it’s where I’ve seen the most waste in my kitchen. You can have the finest summer raspberries from the allotment, but if you don’t get the sugar to fruit ratio right, you aren’t making preserves; you’re just making expensive fruit soup. I usually stick to a rule of thumb: one kilogram of fruit to one kilogram of sugar. It sounds heavy-handed, but sugar isn’t just for sweetness; it’s a functional ingredient in natural fruit preservation methods. It binds with the pectin to create that structure we’re all after.
I’ve seen folks try to cut corners by halving the sugar to be “healthy,” but I’ll tell you straight: you’ll end up with a runny mess that won’t sit right in the jar. If you’re unsure, you’ll need to get serious about testing jam consistency using the cold plate method. Drop a dollop on a chilled saucer; if it wrinkles when you push it with your finger, you’re golden. If it runs like water, you’ve been too stingy with the crystals and need to get back to the stove.
A Few Hard-Won Lessons from My Own Kitchen Counter
- Don’t go skimping on the pectin if you’re using softer fruits. I once tried a batch of damson jam back in ’94 using fruit that hadn’t quite hit its peak, and it ended up more like a purple soup than a preserve. If the fruit is low on natural pectin, you’ll need to add a bit of store-bought or use a bit of lemon juice to ensure it actually holds its shape on your toast.
- Watch the pot like a hawk once it starts to boil. It’s easy to wander off to check the post or see if the dry stone wall in the garden needs another look, but that’s how you get a burnt bottom. Once that sugar starts to bubble vigorously, you need to stay right there with your spoon in hand.
- Get your jars properly sterilized before you even think about filling them. I’ve seen too many people take a shortcut here, only to find a layer of mould on the surface a week later. Run them through a hot wash or a quick stint in a warm oven; it’s a ten-minute job that saves you a lot of heartache and wasted fruit.
- Use the cold plate test instead of relying on a timer. Every stove is different, and every batch of fruit has its own temperament. Put a small saucer in the freezer before you start, and when you think the jam is ready, drop a spoonful onto the cold plate. If it wrinkles when you push it with your finger, it’s done. If it runs, give it another five minutes.
- Don’t be afraid of the skin. When I was working on property valuations, I learned that the details matter, and the same goes for jam. If you’re using currants or even certain types of plums, that skin carries much of the colour and the setting power. Don’t spend all your time peeling things until you’ve lost the very essence of what makes the jam look and taste right.
A Few Things to Remember Before You Turn the Heat On
Don’t go skimping on the pectin; if you’re using fruit that’s a bit too ripe or lacks that natural tang, you’ll find yourself with a pot of fruit soup rather than a proper preserve.
Keep a close eye on the temperature, as a sudden boil-over is a messy business that’ll take half an hour to scrub off the range, and you don’t want to burn the bottom while you’re distracted.
Test your set with a cold spoon or a small plate from the freezer, because I’ve learned the hard way that what looks thick in the pot often turns out quite runny once it’s actually cooled in the jar.
The Patience of the Pot
You can follow every measurement in a book, but jam isn’t something you rush; it’s something you watch. I’ve spent many a Tuesday afternoon staring at a copper pan, waiting for that precise moment when the bubbles change from thin and watery to heavy and slow, because if you pull it off the heat a minute too soon, you’re just making expensive fruit syrup.
Gordon Ellery
The Final Spoonful
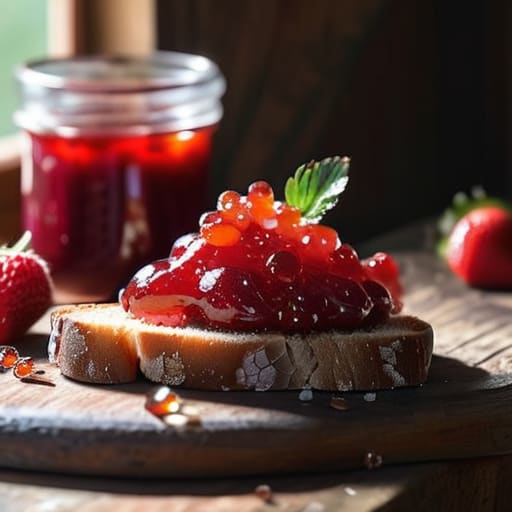
So, if you have the right balance of fruit acidity and you haven’t gone skimping on the sugar, you have already won half the battle. It isn’t about fancy equipment or expensive jars; it is about the patience to watch the temperature and the sense to know when the pectin has finally done its job. I’ve seen plenty of people rush the process, only to end up with a runny mess that won’t hold a toast slice. Just remember to test your set properly before you start the cleaning up. If you follow these steps, you’ll avoid the sticky disappointment that comes from guesswork, and you’ll have a pantry full of something far better than anything you’ll find on a supermarket shelf.
At the end of the day, making jam is a bit like restoring an old dry stone wall or fixing a leaky roof; it requires a steady hand and a bit of respect for the materials you’re working with. There is a particular kind of satisfaction in seeing a row of jars sitting on the larder shelf, knowing you put them there yourself. It is more than just preserving fruit; it is about capturing the season before it slips away. I’ll likely be sitting by my own stove this afternoon with a batch of damson, and I suggest you do the same. There is nothing quite like the smell of warm fruit to make a house feel like a home.
Frequently Asked Questions
How do I know if the jam is actually ready to set without just waiting for it to go cold?
The Plate Test is the only way to be sure. I don’t bother with fancy thermometers; I just pop a small saucer in the freezer before I even start the stove. When you think it’s done, dollop a bit of hot jam onto that chilled plate. Push it with your finger—if it wrinkles up like an old man’s brow, it’s set. If it runs like water, give it another five minutes.
Can I use fruit that’s gone a bit soft or mushy, or does it have to be perfectly firm?
Don’t you worry about a bit of softness. In my thirty years, I’ve learned that perfection is often overrated. If a peach has gone a little bruised or a strawberry is looking a bit slumped, it’s actually ideal for jam. The breakdown helps release the juices and that lovely colour. Just make sure you pick out any bits that have actually gone mouldy; once that starts, the whole batch is a write-off.
What’s the best way to clean and prepare the jars so they don't go mouldy in the cupboard?
Don’t just rinse them in the sink and call it a day. I’ve seen enough jars in the back of pantry cupboards to know that a bit of residue is an invitation for mould. You need to boil them—properly. Get your jars and lids in a large pot of water, bring it to a rolling boil, and let them sit for ten minutes. Dry them thoroughly on a clean tea towel before you even think about filling them.