
I was standing in a field just outside of Chawton last Saturday, staring at a collapsed section of boundary that looked more like a pile of rubble than a proper structure, when I realised something. Most people think that learning how to repair a dry stone wall is about strength or having the most expensive tools in the shed, but they couldn’t be more wrong. It is actually about patience and gravity. I’ve spent many a damp morning with my knees sinking into the Wiltshire clay, learning the hard way that if you try to rush a repair or force a stone where it doesn’t want to sit, the whole thing will simply give up the ghost by the next heavy frost.
In this guide, I’m going to skip the fancy architectural jargon and tell you exactly how I do it. I’ll walk you through the honest, bone-tiring reality of selecting your foundation stones, finding the right “hearting” to fill the gaps, and ensuring your coping stones are set so they won’t budge. This isn’t a polished textbook; it is a practical look at how to repair a dry stone wall using nothing but common sense and a bit of elbow grease.
Table of Contents
- Step-by-Step Instructions
- Selecting Appropriate Stone Shapes From the Grit and the Dirt
- Rebuilding Collapsed Stone Walls With Real Structural Integrity
- Five things I wish I’d known before my first collapse
- A few things to remember before you pack up the tools
- ## The truth about the foundation
- A final word on the work
- Frequently Asked Questions
Guide Overview
Tools & Supplies
- Hammer or Mallet for shaping and tapping stones
- Crowbar or Pry bar for moving heavy stones
- Spirit level to check wall stability
- Gloves for hand protection
- Matching stones for filling gaps and structural repairs
- Smaller rubble or "hearting" stones for filling the wall core
Step-by-Step Instructions
- 1. First things first, you need to clear the debris away from the base of the collapse. I’ve spent more than one Saturday morning picking through nettles and loose shale just to see what I was actually dealing with. You can’t just start piling stones on top of old, settled rubble; you have to get down to the original footing to see if the ground underneath has actually shifted or if it’s just a case of a few loose stones sliding out.
- 2. Once you’ve cleared the mess, you need to sort your stones into piles. I don’t care how much your back aches, don’t skip this. You need your large, heavy “foundation” stones in one pile, your flat “hearting” stones in another, and your long, straight “through-stones” in a third. If you try to build a wall by just grabbing whatever is closest to your boot, you’ll find yourself fighting the gravity of the whole structure by lunchtime.
- 3. Start rebuilding from the bottom up, and pay particular attention to the “footing” stones. These should be the largest, heaviest bits you have, and they need to be seated firmly into the earth. If the base isn’t level and solid, the rest of the wall is nothing more than a very expensive pile of rocks waiting to fall over the first time we get a heavy frost.
- 4. As you build the layers upward, you must use “through-stones” every meter or so. These are the long stones that span the entire width of the wall, from one face to the other. They act like a tie, pinning the two sides together. I’ve seen plenty of walls in the local lanes that look fine from the road, but because the builder forgot the through-stones, the whole thing eventually bulges and gives way.
- 5. Now, this is where most people get lazy, but it’s the most important bit: the hearting. As you lay your face stones, you must fill the hollow gap in the middle with smaller, angular stones. Don’t just throw them in; you want them to interlock tightly. If you leave big air pockets in the centre, the wall will eventually settle and collapse inward, leaving you right back where you started.
- 6. Finally, you need to “pin” the gaps. Take those smaller, irregular shards of stone and tap them into the crevices between the larger blocks using a hammer or a heavy piece of flint. This stops the larger stones from wobbling. It’s tedious work, and your fingers will be numb by the end of it, but a well-pinned wall is what makes the difference between a professional job and something that looks like a garden feature.
Selecting Appropriate Stone Shapes From the Grit and the Dirt
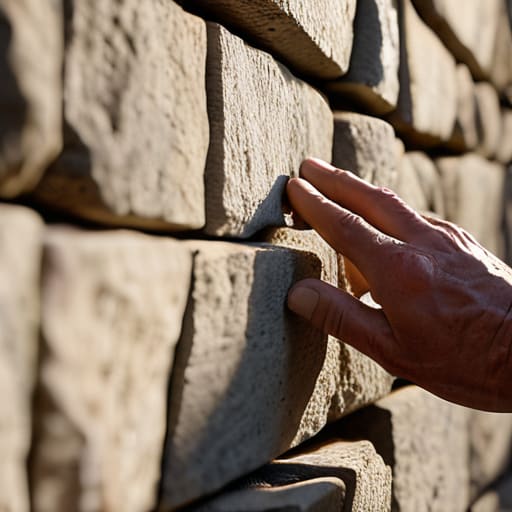
Now, don’t go thinking you can just grab whatever’s lying in the ditch and hope for the best. I’ve seen plenty of folks try to patch a gap with round, river-smoothed cobbles, only to find the whole section sliding apart by Christmas. When you’re selecting appropriate stone shapes, you’re looking for “hearting” and “faces” that actually want to sit together. You want stones with flat, broad sides that can lean into one another. If a stone looks like it wants to roll, it’s probably better suited for a garden ornament than a structural repair.
I spent most of last Tuesday digging through a pile of rubble near the old mill—built, mind you, around 1840—trying to find the right pieces for a fallen stretch. You have to look for the “through-stones,” those long, heavy bits that span the entire width of the wall. Without them, you aren’t really rebuilding collapsed stone walls; you’re just making a very expensive pile of gravel. A good through-stone acts like a tie-rod in a house, locking the two faces together and ensuring the structural integrity of stone walls remains intact for the next generation.
Rebuilding Collapsed Stone Walls With Real Structural Integrity

When you are faced with the task of rebuilding collapsed stone walls, the temptation is to start stacking immediately from where the rubble lies. I’ve seen many a well-meaning neighbour do just that, only to find the whole section slumped back into a heap after the first heavy frost. If the ground has shifted—which it often does in these clay-heavy parts of the valley—you cannot simply build on top of the mess. You must dig down to find firm footing. Proper dry stone walling foundation repair means clearing away the silt and loose earth until you hit something solid, often creating a shallow trench to act as a footing.
Once you have a steady base, the real work begins with the hearting. You can’t just leave a hollow gap in the middle; that is where the structural integrity of stone walls fails. Every time I set a large face stone, I make sure to pack the interior with smaller, angular shards. This creates a tight, interlocking core that prevents the larger stones from wobbling. It is a slow process, and your back will certainly feel it by tea time, but it is the only way to ensure the wall stands for another fifty years.
Five things I wish I’d known before my first collapse
- Watch your feet and your back. I’ve spent forty years looking at property, but nothing prepares you for the weight of a good-sized foundation stone. If you try to manhandle a piece that’s too heavy, you’ll be spending your Sunday in a darkened room with a hot water bottle rather than finishing the job.
- Don’t go looking for perfection. You won’t find stones that look like they belong in a magazine. You’re looking for “hearting”—those smaller, irregular bits that fill the gaps in the middle. If you leave big hollows inside the wall, the frost will get in there come January and push the whole thing outward like a slow-motion explosion.
- Gravity is your only real supervisor. Every stone you place needs to be “one over, two under.” If you stack them directly on top of one another like a game of children’s blocks, the first heavy rain will turn your hard work into a pile of rubble in the lane.
- Mind the batter. A wall shouldn’t stand perfectly vertical like the new-builds over in the valley; those are always a bit too proud and prone to leaning. A proper wall needs a slight inward slope—the batter—so that the weight of the stones is constantly pushing the structure back toward its own centre.
- Respect the footing. I’ve seen many a man start halfway up a bank only to realise he’s built on top of soft topsoil. If you haven’t cleared the ground down to something firm, you might as well be building on a sponge. Dig down until you hit something that doesn’t budge when you step on it.
A few things to remember before you pack up the tools
Don’t try to rush the job or cheat the foundation; if the footing isn’t solid and level in the earth, the whole thing will be leaning like a drunk at the village fete by next spring.
Always keep your heart in the heavy lifting but your eyes on the small stuff, because it’s the tiny pinstones wedged into the gaps that actually stop the big ones from shifting.
Remember that a wall is a living thing that moves with the seasons, so build it with enough grit and proper layering to handle a hard frost without cracking.
## The truth about the foundation
You can spend all day worrying about how the top layer looks to the passer-by, but if you haven’t spent the morning getting those foundation stones seated firmly into the earth, you aren’t building a wall—you’re just making a pile of rocks that’ll be back in the ditch by next February.
Gordon Ellery
A final word on the work
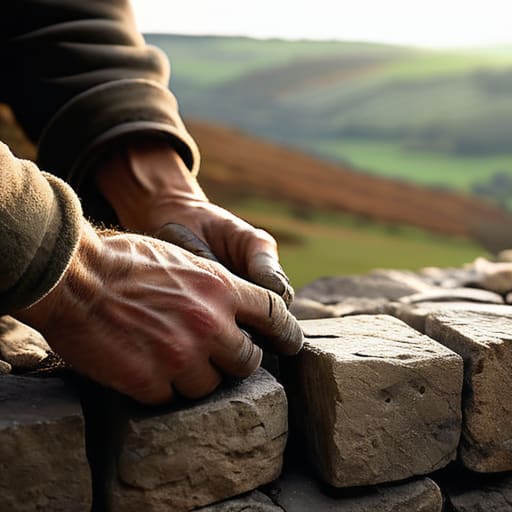
At the end of the day, mending a wall isn’t about rushing through a checklist to get back to the kettle. It comes down to three things: finding those heavy foundation stones that won’t budge, ensuring your hearting is packed tight so the middle doesn’t hollow out, and having the patience to let the stones find their own natural seat. I’ve seen many a wall fail because someone tried to force a square peg into a round hole or, worse, neglected the footing because the sun was going down. If you get the base stones seated properly and keep your batter consistent, you aren’t just stacking rocks; you are building something that can withstand a Hampshire gale or a Wiltshire frost.
There is a particular kind of quiet satisfaction that comes when you step back, wipe the grit from your palms, and look at a line that holds true. These walls have been part of our landscape since long before I started surveying houses in the seventies, and they will likely be here long after I’ve put my tools away for good. We are merely the temporary custodians of these boundaries. By taking the time to do it right, you aren’t just fixing a fence; you are preserving the character of the lanes we all call home. It’s hard work, and your back will certainly feel it tomorrow, but it is work that actually matters.
Frequently Asked Questions
How do I know when a wall is truly beyond repair and actually needs a complete rebuild rather than just a bit of patching up?
It comes down to the foundation. If you’re patching a bulge and the base stones have shifted more than a couple of inches, or if the footings have been washed out by the heavy rains we had last November, you’re just playing a losing game. I’ve seen plenty of folks try to “mend” a wall only to have it belly out again by spring. If the core is hollowed out, pull it down and start again.
If I’m working on a wall that’s part of a boundary between two properties, do I need to worry about the specific way the stones are laid for legal or surveyor reasons?
Look, from a surveyor’s perspective, the law doesn’t care if your stones are flush or if you’ve used a bit too much hearting. As long as the wall stays upright and doesn’t lean into your neighbour’s garden, you’re fine. However, if it’s a boundary wall, keep it tidy. You don’t want a dispute starting because your repair looks like a pile of rubble leaning against their prize roses. Build it right, and no one will complain.
What on earth do I do about the weeds and the moss that have taken root in the cracks once I've finished the repairs?
Now, don’t go reaching for the heavy-duty weedkiller just yet; you’ll do more harm than good to the surrounding soil. If you’ve done the wall right, the gaps should be tight. For the stubborn bits, a stiff wire brush and a bit of elbow grease usually does the trick. If the moss is particularly thick, a light spray of vinegar can help, but leave it be. A little bit of green adds character, provided it isn’t lifting the stones.