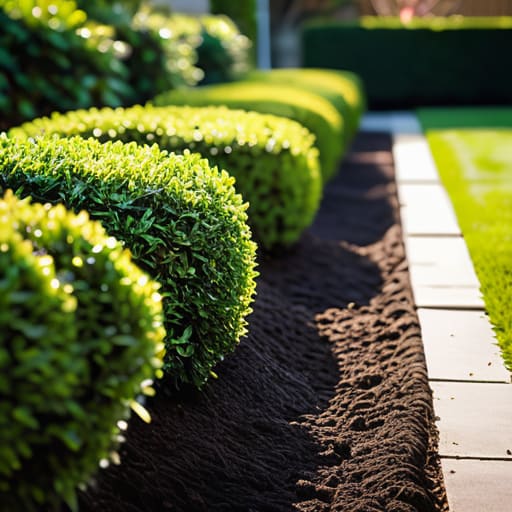
I spent most of Tuesday morning wrestling with a stubborn Hawthorn specimen near the old boundary wall—a structure, I might add, that was built around 1840 and has seen better days. It reminded me of a mistake I saw a young couple make down the lane last spring; they thought they could just stick a few saplings in the ground, give them a quick drink, and call it a day. They were wrong. If you want to learn how to plant a hedge that actually survives its first winter and doesn’t end up looking like a collection of lonely sticks, you have to respect the soil and the spacing. A hedge isn’t just a bit of greenery; it is a living boundary that needs a proper foundation if it’s ever going to knit together.
In the following pages, I’m going to skip the fancy garden centre jargon and tell you exactly what works. I’ll walk you through choosing the right species for our local Hampshire clay, how to avoid the common pitfall of planting too shallow, and the proper way to secure them so they don’t blow over in the first autumn gale.
Table of Contents
- Step-by-Step Instructions
- Choosing Your Green Boundary Privet vs Beech Hedge
- The Groundwork Soil Preparation for Hedging and Planting Depth
- Five things I’ve learned from a lifetime of getting my hands dirty
- Three Things to Remember Before You Pick Up the Spade
- More Than Just a Row of Sticks
- A Little Patience and a Lot of Grit
- Frequently Asked Questions
Guide Overview
Tools & Supplies
- Shovel or spade for digging trenches or holes
- Measuring tape to ensure straight lines and spacing
- Garden trowel for smaller planting tasks
- Hedge plants or saplings (quantity depends on hedge length)
- Compost or organic matter (2-3 bags)
- Mulch (1-2 bags to retain moisture)
Step-by-Step Instructions
- 1. First, you need to decide exactly where that line is going to sit. Don’t just eyeball it from the kitchen window; get a length of string and a few wooden pegs out there. If you’re planting against a boundary wall, leave at least twelve inches of breathing room so the roots don’t end up fighting the masonry for space. I’ve seen too many people cram hedge plants right up against a flint wall only to find the dampness from the stone kills the stems within two seasons.
- 2. Once the line is marked, you have to get stuck into the digging. You aren’t just making little holes for each plant; you need to dig a continuous trench about 18 inches deep and 18 inches wide. If your soil is that heavy, grey clay we see around parts of Wiltshire, you’ll want to break up the bottom with a garden fork to make sure the water can actually drain away. A hedge sitting in a puddle is just a slow way to grow rot.
- 3. Before you put a single plant in the ground, check the nursery stock. I’ve spent thirty years looking at property, and I can tell you that a neglected garden starts with neglected plants. Avoid anything that looks spindly or has leaves turning yellow at the edges. You want plants that look sturdy and well-established; if they look like they’re struggling in the pot, they’ll struggle in your soil, too.
- 4. Now, it’s time for the actual planting. Place your plants in the trench, spaced about 40 to 60 centimetres apart depending on the species. If you’re doing a mixed hedge—which I generally recommend for the birds—don’t put all the Hawthorn in one clump and the Beech in another. Intermingle them so the hedge looks natural and provides a continuous screen rather than a series of separate bushes.
- 5. Backfill the trench with a good quality soil, ideally mixed with some well-rotted compost. Don’t just throw the dirt back in; you want to give them a bit of a head start. Once the soil is in, firm it down with your heel—not too hard, mind you, we aren’t building a road—just enough to remove the air pockets that can dry out the roots.
- 6. You’ll need to get some bamboo canes and some soft twine out. Even a well-planted hedge can get knocked about by a stiff breeze coming off the downs. Stake them in a staggered pattern along the line and tie the plants to the canes using a loose figure-eight knot. If you tie them too tight, the stem will just choke as it grows, and you’ll end up with a crooked, stunted mess instead of a straight boundary.
- 7. Finally, give them a proper soak. If you’re planting in late autumn or early spring, a heavy watering immediately after planting is essential to settle the soil around the roots. I always tell the younger lot: a hedge is a long-term commitment, much like a mortgage. You can’t just set it and forget it; you need to keep an eye on them for at least the first two years until they’ve truly taken hold.
Choosing Your Green Boundary Privet vs Beech Hedge
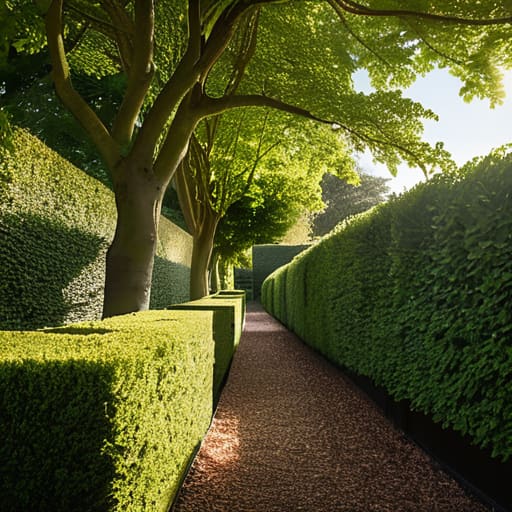
Now, you’ll find that most folks in the village eventually narrow it down to the old debate of privet vs beech hedge. I’ve seen both sides of the fence—literally. If you’re looking for something that’ll grow fast and forgive a bit of neglect, privet is your best bet. It’s a hardy little thing, though it can look a bit scrubby if you aren’t diligent with your hedge maintenance and pruning. On the other hand, if you want that classic, stately look that holds its leaves through the winter, beech is the way to go. Just keep in mind that beech can be a bit more particular about its footing; it won’t be nearly as forgiving if you’ve botched the initial soil preparation.
One thing I’ve learned from thirty years of looking at boundaries is that a beech hedge looks magnificent in November, but it demands a bit more respect during a dry spell. You’ll find yourself watering young hedge plants much more frequently in those first two summers than you would with a privet. It’s a bit of a trade-off: ease of growth versus sheer character.
The Groundwork Soil Preparation for Hedging and Planting Depth

Before you even think about picking up a spade, you need to look at what you’re actually working with. I’ve seen plenty of folks rush into this in late spring, only to watch their saplings wither by July because the ground was too baked and hard. While you can get away with a bit of flexibility, the best time of year to plant hedges is almost always late autumn or early spring, when the soil is moist but not sodden. If you’re working with that heavy, grey clay we see around parts of Wiltshire, you’ll need to dig in some organic matter—well-rotted manure or compost—to stop those roots from feeling like they’re trapped in a brick.
When it comes to the actual digging, don’t be tempted to just nip a shallow slit into the turf. Proper hedge planting depth and technique requires a trench or a hole that is at least twice the width of the root ball. You want the plant sitting firm, not perched on top like a cork in water. If you leave too much air around those roots, they’ll dry out before they ever catch hold. I always tell the younger ones: if the hole doesn’t look a bit excessive when you’re finished, you haven’t gone deep enough.
Five things I’ve learned from a lifetime of getting my hands dirty
- Don’t go skimping on the mulch. I’ve seen plenty of people plant a perfectly good beech hedge only to watch it wither by July because they thought a bit of rain was enough. Spread a thick layer of well-rotted compost or bark around the base to keep the moisture where it belongs—in the roots.
- Watch your spacing like a hawk. If you plant them too close together, you’ll end up with a tangled mess that’s impossible to prune; too far apart, and you’ll be staring at gaps for five years. For most standard hedging, aim for about three or four plants per metre to ensure they knit together properly.
- Give them a proper drink, but don’t drown them. It’s easy to get carried away with the hose, but you want to soak the soil deep down so the roots actually go looking for it. A slow, steady soak is much better than a quick splash that just runs off the surface.
- Stake them if the wind is a factor. If you’re planting on an exposed corner—like that bit of land near the old mill that catches everything from the west—you’ll need a sturdy stake. If the stem wobbles too much in the wind while it’s trying to establish, it’ll never get the strength it needs.
- Be patient with the pruning. I know you want that tidy, square look immediately, but if you hack at them too early, you’ll just be stressing the plant. Let them get a bit leggy first; they need that initial growth to build the framework before you start shaping them into a proper boundary.
Three Things to Remember Before You Pick Up the Spade
Don’t rush the decision on species; a privet hedge is easy enough to manage, but if you want something with a bit more character and better shelter for the birds, a beech hedge is worth the extra bit of effort in the spring.
The digging is the most important part—if you don’t get the soil right and ensure you’re planting at a proper depth, you’ll spend the next three years fighting a losing battle against wilted stems and shallow roots.
Remember that a hedge is a long-term commitment to the landscape, not just a quick fix for a boundary, so plan for how much space it will actually take up once it’s had a decade to settle in.
More Than Just a Row of Sticks
You can buy the cheapest saplings in the nursery tray and stick them in the ground, but if you don’t take the time to settle them into the soil properly, you aren’t planting a hedge—you’re just providing a temporary snack for the local rabbits.
Gordon Ellery
A Little Patience and a Lot of Grit

Now, if you’ve followed the steps, you’ve done the heavy lifting. You’ve chosen between the quick privacy of privet or the sturdy, copper-coloured charm of beech, and you’ve spent the morning getting your hands into the soil to make sure those roots have a proper home. It isn’t just about sticking a stick in the ground and walking away; it’s about the preparation and the placement that determines whether you’ll have a hedge in three years or a row of dead twigs by next spring. Keep a close eye on them for the first season, especially if we get a dry spell like we did back in ’76, and make sure you’re watering them more often than you think is necessary.
At the end of the day, a hedge is a bit like a good village committee—it takes time to find its feet and start working together. You won’t see the results tomorrow morning, but if you give them the space to knit together, you’ll eventually have a boundary that feels like it has always been there. There is a particular satisfaction in looking out at a living wall that you put in with your own two hands, knowing it will outlast us both. It’s more than just gardening; it’s about putting down roots and making a house feel like a permanent part of the landscape.
Frequently Asked Questions
How often do I actually need to prune them once they've taken root, and is there a specific time of year to avoid?
Once they’ve settled in, you’ll want to prune them once a year to keep them tidy, though a quick clip in mid-summer can help shape them if they’re getting unruly. Aim for late summer or early autumn for the main trim. Whatever you do, don’t go hacking at them in late autumn or winter; you’ll just be cutting into dormant wood and inviting a bit of rot. Keep it simple and stay consistent.
If I've got a particularly shallow or stony bit of ground, should I be digging in more compost or just sticking to the standard method?
If you’re dealing with stony ground—the sort you’ll find near the old quarry lane—don’t just dump compost on top and hope for the best. It’ll wash away in the first autumn gale. You need to dig it in. Mix a good amount of well-rotted compost directly into that stony soil to improve the structure. If it’s truly shallow, you might even need to build a slightly raised bed to give those roots room to breathe.
How long will it take before I can actually rely on the hedge for privacy, or am I looking at several years of waiting?
Now, don’t go expecting a privacy screen by next summer. If you’ve gone with privet, you might get some decent density in three or four years, provided you don’t let it get leggy. If you’ve opted for beech, you’re looking at closer to five or six before it truly knits together. It’s a bit like a new roof; you can see it’s there, but you wouldn’t trust it in a gale just yet.