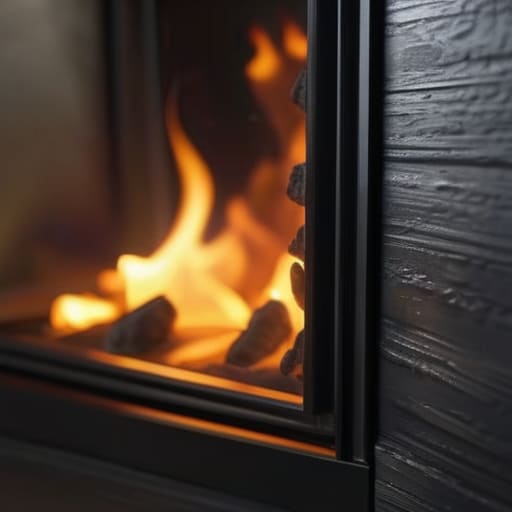
I was halfway through my second cup of tea last Tuesday when I noticed the glass on my stove—the old cast iron one I had installed back in ’94—had gone almost entirely opaque with soot. Most people think you need some expensive, chemical-laden spray from a high street shop to fix it, but that’s a load of nonsense that usually just leaves a greasy film behind. The truth about how to clean a wood burner is much simpler, and frankly, much cheaper, than the adverts would have you believe. It’s less about fancy products and more about having the right bit of grit and a bit of elbow grease to do the job properly.
In the following notes, I’m going to walk you through the exact method I use every Sunday evening to keep my hearth tidy. I won’t be wasting your time with complicated gadgets; instead, I’ll show you how to handle the ash, clear the soot without making a mess of your rug, and ensure your flue stays clear. It is honest, practical advice for keeping your home warm and your stove looking as good as the day it was built.
Table of Contents
- Step-by-Step Instructions
- Gathering Your Wood Burner Cleaning Supplies and Getting Stuck in
- Removing Creosote Buildup Before the Frost Sets in
- A few bits of hard-won wisdom from the hearth
- A few final thoughts before you put the kettle on
- A bit of grit for a warm hearth
- A bit of elbow grease for the winter ahead
- Frequently Asked Questions
Guide Overview
Tools & Supplies
- Ash shovel or scoop for removing debris
- Vacuum with HEPA filter for fine dust
- Soft brush for cleaning glass
- Damp cloth for wiping surfaces
- Newspaper or cardboard for floor protection
Step-by-Step Instructions
- 1. Before you even think about opening the door, you must ensure the fire is completely out and cold. I once saw a man in Upper Clatford try to sweep out a stove while the embers were still glowing, and he ended up with a singed eyebrow and a very messy kitchen floor. Wait until the metal is cool enough to touch comfortably, otherwise, you’ll be dealing with more than just ash.
- 2. Get your tools ready before you start the heavy lifting. You’ll need a sturdy ash bucket—one with a tight-fitting lid to stop the dust from drifting into your tea—a small hand shovel, and a vacuum cleaner with a HEPA filter if you have one. If you’re using a standard vacuum, be warned that the fine ash can easily clog the bags and ruin the motor, so use it sparingly.
- 3. Open the door wide and use your shovel to scoop the bulk of the ash into your bucket. Don’t try to be too delicate here; the goal is to get the heavy debris out of the grate quickly. I always suggest doing this near the hearth rather than carrying a half-full bucket across the rug, as a single slip can turn your living room into a grey wasteland.
- 4. Once the main pile is gone, it’s time to tackle the glass. This is where most people get it wrong by using harsh chemicals. Instead, take a piece of damp newspaper or a specialized wood burner cleaner and rub it directly onto the soot marks. It takes a bit of elbow grease, but you’ll find that the acidity in the paper does a much better job of lifting the black film than any expensive spray from the supermarket.
- 5. Now, take a soft cloth and wipe down the internal metal surfaces. You aren’t looking for a mirror finish—this is a stove, not a piece of fine silver—but you want to remove any flaking residue that might fall onto your floor when you next light a fire. If you notice any cracks in the firebricks lining the back, make a note of them; they aren’t a crisis yet, but they are something to keep an eye on.
- 6. Check the door seal, or the gasket, to make sure it is still sitting tight against the frame. If the seal is perished or brittle, your stove won’t draw air correctly and you’ll end up with a smoky room. I’ve seen many a lovely Victorian cottage suffer because a homeowner neglected a simple rubber seal, and it’s a far cheaper fix than replacing a whole stove.
- 7. Finally, give the hearth a thorough sweep with a damp cloth to pick up the microscopic dust that escaped. Once the area is tidy, you can close the door and rest easy knowing that your next fire will burn clean and bright, rather than choking the room with old soot and unnecessary smoke.
Gathering Your Wood Burner Cleaning Supplies and Getting Stuck in
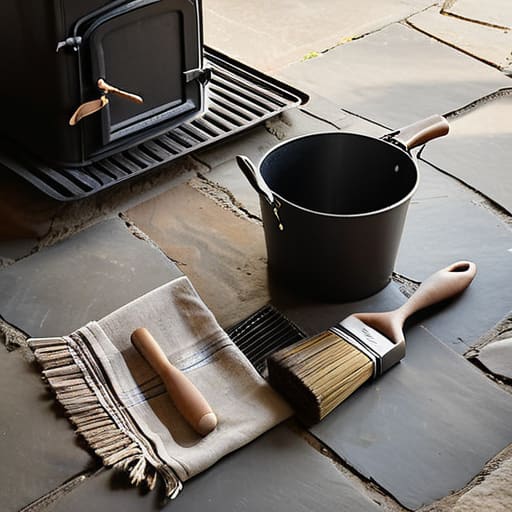
Before you go dragging everything out of the scullery, you ought to get your wood burner cleaning supplies sorted in one place. I’ve learned the hard way—usually after a bit of a spill on a flagstone floor—that hunting for a rag halfway through the job is a recipe for a mess. You’ll want a sturdy bucket for the ash, a stiff-bristled brush, and a damp cloth. If you’re tackling the glass, don’t reach for the harsh chemical sprays you’d use on a kitchen worktop; a bit of damp newspaper or a dedicated paste is much kinder to the pane.
It is also worth keeping a mental note of your wood stove safety tips before you even strike a match. Never attempt to clear out the ash while the iron is still radiating heat, as the sudden draft can send a cloud of grey dust right into your lungs. While you’re down there, have a squint up the throat of the stove to check for any heavy removing creosote buildup might require. If you see thick, tarry patches, it’s a sign you’re burning damp wood, and that’s a conversation for your chimney sweep, not a DIY afternoon.
Removing Creosote Buildup Before the Frost Sets in
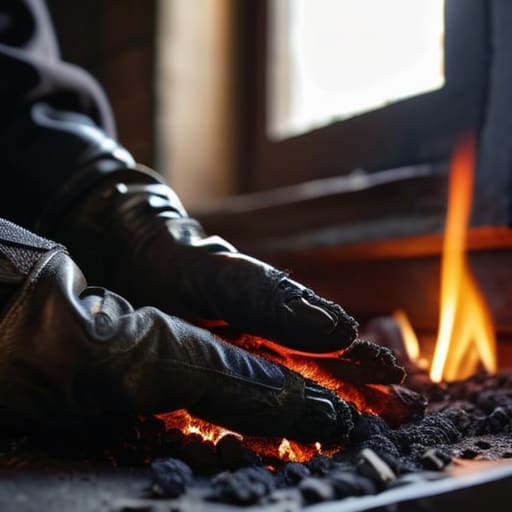
Now, if you’ve been burning anything other than seasoned oak—perhaps some leftover pallet wood or damp logs from the edge of the woods—you’ll likely find a thick, black, tar-like substance clinging to the inside of the flue. That’s creosote, and it isn’t just an eyesore; it’s a genuine fire hazard. I remember a particularly nasty chimney fire back in ’94 over in Netheravon, and it’s a terrifying thing to witness. Removing creosote buildup is a bit more involved than just sweeping out the ash, but it is essential for maintaining wood burning efficiency and, more importantly, keeping your roof from catching fire.
If the buildup is heavy, you might need a dedicated chimney brush on a long pole, though I’ve found that a good, thorough sweep once a year usually does the trick for most of our smaller cottages. While you’re up there, keep an eye on the masonry; I’ve seen plenty of old chimneys where the mortar has crumbled away since the mid-Victorian era. It’s best to tackle this before the first frost hits and the temperature drops, as a clean chimney draws air much better when the weather turns foul.
A few bits of hard-won wisdom from the hearth
- Don’t go skimping on the ash pan; I’ve seen many a well-meaning neighbour try to sweep it out while the embers are still glowing, only to end up with a singed rug and a very long conversation with the fire brigade.
- Get yourself a proper ash vacuum if you can manage it, because a standard domestic one will choke on the fine dust faster than a tractor in a flooded lane, and you’ll be left with a mess that’s more trouble than it’s worth.
- Keep an eye on your flue; if you notice the smoke isn’t rising quite as straight as it did back in October, it’s likely a buildup of soot that needs a professional sweep before the real cold snap hits us.
- Always keep a small bucket of sand or water tucked away nearby, not because I expect you to have a mishap, but because being prepared is half the battle when you’re dealing with real fire.
- When you’re polishing the glass, use a damp piece of newspaper rather than those expensive chemical sprays you see in the supermarkets; it’s an old trick, but it leaves the pane clearer than any fancy bottle ever could.
A few final thoughts before you put the kettle on
Don’t let the ash build up too high; I’ve seen enough people struggle with a clogged grate to know that a bit of regular clearing saves a lot of heartache when the temperature drops.
Keep a close eye on that glass, because once the creosote starts to bake on, you’ll be spending your Saturday mornings scrubbing instead of enjoying your tea.
Always check your flue and the surrounding masonry while you’re at it—it’s much easier to spot a loose brick or a failing seal now than when you’re staring at a smoky living room in mid-January.
A bit of grit for a warm hearth
You can buy all the fancy polish in the world, but if you haven’t taken the time to scrape the heavy ash out from the very bottom of the grate, you’re just putting a bit of makeup on a tired face; a clean stove isn’t about looking pretty for the neighbours, it’s about making sure that fire actually holds its heat when the frost settles on the lanes.
Gordon Ellery
A bit of elbow grease for the winter ahead
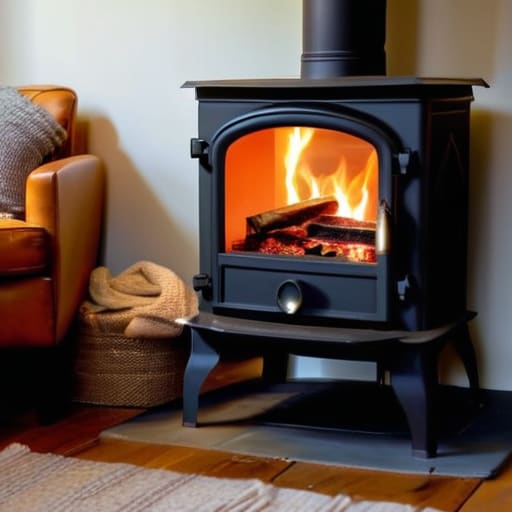
Once you’ve cleared the heavy ash and tackled that stubborn creosote, you’re largely on the right side of things. It isn’t just about making the hearth look tidy for when guests come round for tea; it is about ensuring the flue is clear and the glass stays transparent enough to actually enjoy the glow. Remember, if you’ve been diligent with the ash pan and have kept a close eye on the buildup during those damp autumn weeks, you won’t find yourself scrambling at midnight when the first proper frost hits the valley. A well-maintained stove is a predictable one, and in my experience, predictability is a virtue when the temperature starts to drop.
There is a particular kind of satisfaction in a job well done, especially when it involves something as tactile as a wood burner. I often find that the time spent scrubbing the iron or sweeping the hearth provides a moment of quiet reflection that you just don’t get from staring at a screen. We spend so much of our lives looking after things that are digital and fleeting, but there is something deeply grounding about tending to the hearth that keeps a home warm. It’s more than just maintenance; it is about looking after the very heart of your house so that it can, in turn, look after you through the long, cold months.
Frequently Asked Questions
How often should I actually be cleaning the glass, or can I just leave it until it gets too cloudy to see the flames?
Now, don’t go waiting until you can’t see the embers to get to it. If that glass gets thick with soot, you’re likely burning wood that’s too damp, and that’s a recipe for a smoky room. I usually give mine a quick wipe every few days if we’re using it nightly. It’s much easier to clear a light film with a bit of damp ash than to scrub away a stubborn, baked-on crust later.
Is there a particular way to clear out the ash without making a complete mess of the hearth rug?
Now, if you try to sweep that ash straight into a dustpan, you’ll find it’s more like a fine grey mist that settles on every inch of your rug. I’ve spent far too many afternoons vacuuming soot out of woollen weaves. Best thing is a small, handheld shop vac if you have one. If not, use a damp cloth to wipe the edges of the hearth first; it keeps the dust from dancing.
Should I be worried if I see a bit of soot buildup around the door seal, or is that just part of the job?
Don’t go losing sleep over a bit of dust, but don’t ignore it either. A light dusting of soot is normal—it’s a wood burner, after all. However, if you see black flakes on the floor or if the soot is thick enough to smear, your seal is likely perished. I saw a cottage near Chawton last autumn with a seal so cracked it was pulling more air than a draughty window. Check the rubber; if it’s hard or split, replace it.