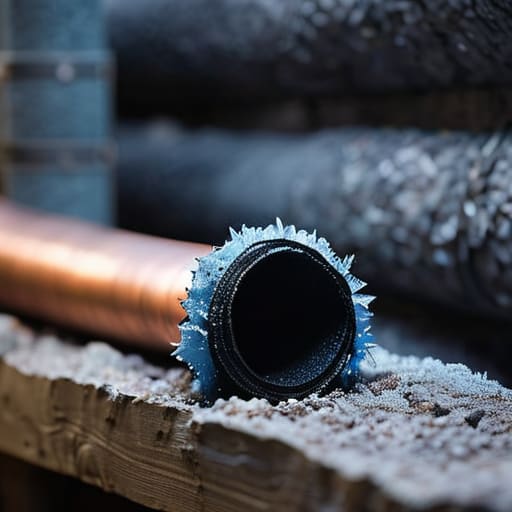
I was halfway through a cup of tea last Tuesday when I heard that tell-tale, rhythmic thwack against the floorboards in the scullery—the sound of a copper pipe expanding and contracting because the house was trying to freeze solid. Most people think that if they just turn the heating up a few degrees, they’ll stave off the damp, but that’s a costly mistake. The real secret to avoiding a midnight call-out to an emergency plumber isn’t about the thermostat; it’s about learning how to insulate pipes before the frost actually bites. I’ve spent thirty years surveying properties from here to Salisbury, and I can tell you that a bit of foam lagging is worth more than a brand-new boiler when the temperature drops below zero.
In this guide, I’m going to skip the jargon and the expensive professional nonsense. I’ll show you exactly which sections of your plumbing are the weakest links and how to wrap them up properly using nothing more than a trip to the local hardware shop. We’ll cover the right materials to use, how to secure them so they don’t slip, and where to look in those hard-to-reach corners that most people completely forget about.
Table of Contents
- Step-by-Step Instructions
- Preventing Burst Pipes in Winter Before the Damage Starts
- A Pipe Insulation Materials Guide From Someone Whos Been There
- Five things I’ve learned the hard way about keeping your plumbing intact
- A few final thoughts before you head to the DIY shop
- A bit of foresight goes a long way
- A bit of foresight goes a long way
- Frequently Asked Questions
Guide Overview
Tools & Supplies
- Utility knife for cutting insulation sleeves
- Measuring tape for accurate sizing
- Scissors for trimming tape
- Foam pipe insulation sleeves (length based on pipe footage)
- Adhesive foam tape or electrical tape for sealing seams
- Insulation sealant or spray foam (optional for gaps)
Step-by-Step Instructions
- 1. First, you’ll need to head down to the local DIY shop—though if you’re lucky, the hardware store in the next village over might still have some in stock. You’re looking for foam pipe lagging, usually sold in lengths of two metres. Make sure you measure the diameter of your pipes before you leave the house; there’s nothing more frustrating than getting home and realising the foam is too wide for a standard copper pipe, or worse, too narrow to grip it.
- 2. Once you’ve got your materials, clear the area around your pipes. I’ve seen plenty of people try to wrap insulation around a mess of old rags and dust bunnies, but you won’t get a good fit that way. Use a dry cloth to wipe down the exposed metal so the lagging sits flush against the surface. If the pipes are already damp, give them a bit of time to dry out first, otherwise you’re just trapping moisture against the metal, which is a recipe for corrosion.
- 3. Now, take your foam sleeve and slit it down the length if it hasn’t been done already. You want to slide it over the pipe carefully. If you’re working in a tight spot—like under the kitchen sink or in a cramped airing cupboard—you might find it a bit of a squeeze. Don’t force it too hard, or you’ll end up with kinks in the foam that leave gaps where the cold can sneak in.
- 4. Once the sleeves are on, you need to secure them. I find that high-quality electrical tape or even heavy-duty duct tape works well enough, but if you want to do it properly, use the plastic clips that often come in the packs. Secure them at both ends of the sleeve and at least once in the middle. You want that insulation to stay put even when the house settles or the temperature drops sharply.
- 5. Pay particular attention to the joints and the bends. This is where most people get lazy, and it’s exactly where a burst usually happens. I’ve walked through enough old cottages to know that the elbow joints are the weakest link. Use smaller offcuts of foam to wrap around the bends, ensuring there isn’t a single centimetre of bare copper showing through.
- 6. If you have any valves or meters that need to remain accessible, don’t just bury them in foam. You can still insulate them, but make sure you use a removable wrap or a bit of extra tape so you can actually get to them when the water company or the plumber needs to see them. It’s no use having a warm house if you can’t find your stopcock when a leak actually starts.
- 7. Finally, do a quick visual sweep of the whole run. Follow the pipes from the point they enter the house to where they head out towards the exterior walls. If you see any dark spots or gaps, go back and patch them up. It’s much easier to spend twenty minutes doing it right now than it is to spend two days mopping up a flood in February.
Preventing Burst Pipes in Winter Before the Damage Starts
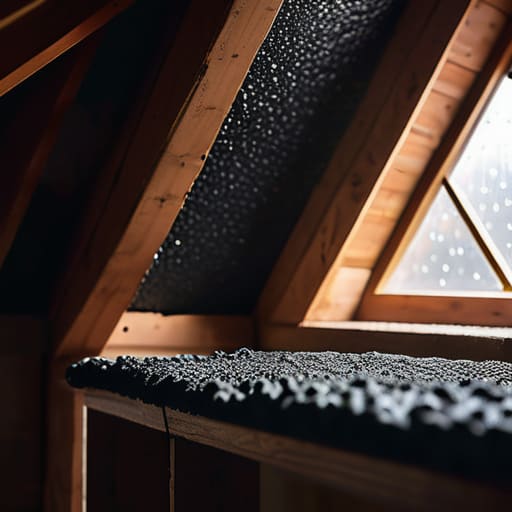
It isn’t just about the pipes you can see in the airing cupboard; it’s the ones tucked away in the unheated corners of the house. I’ve seen more damage in old cottages around the Test Valley from a single frozen copper line in the loft than from a dozen heavy storms. If you have a section of plumbing running through a cold garage or an external crawlspace, you must prioritize insulating exposed water pipes before the first frost hits. Even if you’ve already done the main runs, take a walk around your property and check those vulnerable spots.
Another thing people often overlook is the importance of maintaining a consistent temperature. If you’re planning to head away for a few days, don’t be tempted to turn the heating completely off. Leaving the system on a low, steady setting is one of those simple energy efficient plumbing tips that saves a fortune in repair bills. It keeps the water moving and the metal warm. If you do find a particularly tricky bend or a joint that’s hard to reach, don’t just hope for the best—get the right materials and do the job properly now, rather than waiting for a puddle to appear on your floorboards in January.
A Pipe Insulation Materials Guide From Someone Whos Been There
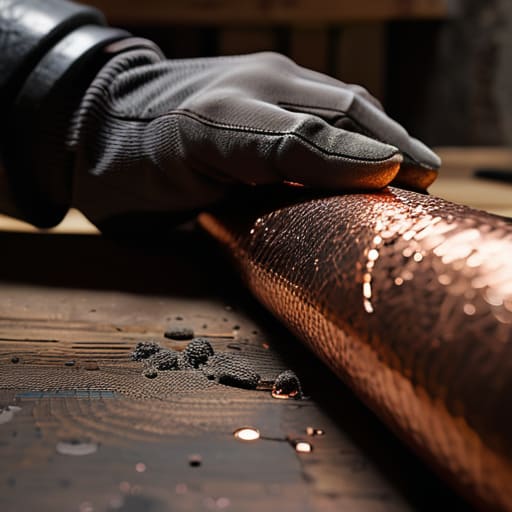
Now, if you head down to the local DIY shop, you’ll be met with a wall of options that can make your head spin. Most people reach for the cheap, black foam pipe sleeves—and they aren’t a bad shout for a quick fix. They are easy enough for a bit of foam pipe sleeves installation in a cupboard or a loft, provided you don’t mind them being a bit fiddly around the joints. However, if you’re looking at pipes in a particularly damp or drafty area, like a stone-walled outbuilding or a cellar, I’d suggest looking at something a bit more substantial, like mineral wool or even specialized rubber lagging.
I’ve seen too many folks try to save a few quid on the flimsy stuff, only to find the frost has bit right through it by February. When you’re insulating exposed water pipes, especially those running along an external wall, you want something that actually holds its shape. It’s not just about the thickness of the material; it’s about how well it stays snug against the copper. If there are gaps, the cold will find them, and as I’ve said before, a gap in your insulation is just an invitation for a headache come January.
Five things I’ve learned the hard way about keeping your plumbing intact
- Don’t just wrap the pipes you can see; if you have a crawlspace or an airing cupboard, get in there. I’ve seen many a homeowner ignore the pipes tucked away in the dark corners, only to find a damp patch on the ceiling come February.
- Make sure the insulation is snug but not strangling the pipe. If you leave gaps between the foam sleeves, the cold air will find its way in through the cracks, and you might as well not have bothered at all.
- Check your joins and valves. A common mistake is sliding the foam over the whole line but forgetting the brass fittings or the T-junctions. Those little bits of metal are often where the trouble starts, so wrap them tight with some lagging tape.
- If you’ve got a particularly exposed section, like a pipe running through an unheated garage or a shed, don’t rely on the thin foam alone. I’d suggest a bit of extra protection, perhaps even a bit of heavy-duty tape to keep the moisture out of the insulation itself.
- Keep an eye on your water meter or your flow rate after you’ve finished. It sounds a bit overly cautious, but I’d rather spend ten minutes checking my taps now than ten hours mopping up a flood because a sleeve slipped during the installation.
A few final thoughts before you head to the DIY shop
Don’t just look at the pipes you can see; if you’ve got an old cottage with exposed floorboards, it’s worth checking the ones tucked away in the crawlspace before the ground freezes solid.
Buy a bit more foam lagging than you think you need—it’s a nuisance to have to drive back to the hardware store halfway through a job because you missed a junction.
If you’re worried about a particularly cold snap, leaving a tiny trickle of water running from the tap is a better bit of insurance than any amount of expensive insulation you can buy.
A bit of foresight goes a long way
I’ve seen enough damp patches appearing on Victorian ceilings to know that a ten-pound roll of foam is a lot cheaper than a plumber’s emergency call-out on a Sunday morning.
Gordon Ellery
A bit of foresight goes a long way
At the end of the day, it isn’t about fancy-pants thermal engineering; it’s about the basics. Grab your foam sleeves, wrap those exposed copper runs in the loft or under the kitchen sink, and for heaven’s sake, don’t forget the lagging on the external taps. If you’ve taken the time to check your insulation and kept a steady trickle of water running through the pipes during those particularly biting frost alerts, you’ve already done more than most. It’s a bit of afternoon work now that saves you a frantic, expensive call to a plumber when the temperature drops below zero and the ground starts to harden.
I’ve seen too many lovely old cottages in this part of the county suffer because someone thought a bit of frost wouldn’t be an issue this year. A house is a living thing, and like anything else, it needs a bit of looking after to keep it standing strong. Taking care of these small, practical things is how we preserve our homes and keep our villages looking as they should, rather than dealing with the aftermath of a flooded hallway. It might not be the most glamorous way to spend a Saturday, but there is a particular kind of peace that comes from knowing your pipes are secure and your home is ready for whatever the weather throws at it.
Frequently Asked Questions
Do I need to take the pipes apart or drain the system before I start wrapping them?
No, you needn’t go draining the system or stripping the plumbing bare. I’ve seen enough people make a mess of things by turning off the mains unnecessarily. You can wrap those pipes while they’re live and under pressure. Just make sure the area is dry first—if you’re wrapping damp pipes, you’re just trapping moisture against the metal, and that’s a recipe for corrosion. Just slide the foam on, secure it, and get on with it.
How do I know if the insulation I've bought is thick enough for the dampness in my airing cupboard?
Now, if your airing cupboard feels a bit clammy, that’s usually a sign of poor airflow rather than just the thickness of the foam. I’ve seen plenty of Victorian cottages where the damp settles in because the insulation is too heavy and traps moisture against the masonry. Don’t just buy the thickest sleeve you can find; if it’s damp, you need something breathable. Check that the pipes aren’t sweating—if they are, the insulation isn’t the problem, the ventilation is.
If I have copper pipes that are already showing signs of green corrosion, is it safe to just cover them up?
Don’t go covering that up just yet. That green tinge—what we call verdigris—is a sign the copper is reacting to something, likely a bit of moisture or a slow leak. If you wrap foam lagging over it, you’re just trapping the damp against the metal, which is a recipe for a proper headache later. Give it a good wipe with a cloth first; if the green stays or the metal looks pitted, call a plumber.