I was halfway up the stairs in my cottage near Chawton last Tuesday—a lovely little mid-Victorian build, though the timber hasn’t aged as gracefully as the stone—when that familiar, piercing groan erupted from under my left foot. It’s that specific, sharp protest that makes you feel like a burglar in your own hallway, especially when you’re trying to sneak to the kitchen for a midnight biscuit. Most people think you need to rip up the entire carpet or call in a specialist with a heavy-duty drill to solve the problem, but they’re wrong. Learning how to fix a squeaky floorboard isn’t about a massive renovation; it’s usually just about finding where the wood has decided to stop behaving and getting it back in line.
In the following notes, I’m going to skip the expensive jargon and the “professional” nonsense that costs a fortune. I’ll show you exactly how to identify whether you’re dealing with a simple rubbing joist or a deeper structural shift, and I’ll walk you through the most reliable, low-fuss methods to silence those boards for good. Whether you have a bit of wood glue on hand or need to grab a few screws from the hardware store in town, we’ll get it sorted.
Table of Contents
- Step-by-Step Instructions
- Fixing Floorboard Friction Without Ruining the Room
- The Right Wood Glue for Floorboards and Lasting Silence
- A few things I’ve learned from decades of walking on old timber
- A Few Final Thoughts Before You Pick Up the Hammer
- A Lesson from the Joists
- A Final Word on Quiet Floors
- Frequently Asked Questions
Guide Overview
Tools & Supplies
- Screwdriver or Drill to drive screws into the wood
- Hammer to tap nails or shims into place
- Lubricant spray or Talcum powder to reduce friction
- Wood screws (small pack) to secure boards to joists
- Wood glue (small bottle) to fill gaps between boards
- Wood shims (small pack) to fill voids under floorboards
Step-by-Step Instructions
- 1. First, you need to play the detective. I don’t mean looking for fingerprints, but rather walking the floor with a heavy tread to locate the exact source of the noise. Once you think you’ve found it, try to determine if the squeak is coming from the board rubbing against another board, or if it’s the board itself rubbing against the joist underneath. I’ve found that even a small child can help point out the exact spot if you make them walk the path.
- 2. Once you’ve pinpointed the culprit, you’ll need to get some tools out. You aren’t going to need a full workshop, but a hammer, a screwdriver, and a small pack of slim wood screws are essential. If you’re dealing with an older property—and let’s face it, most of us are—the floorboards might be quite dry and brittle, so you’ll want to work with a light touch to avoid splitting the wood.
- 3. If the squeak is caused by a board rubbing against its neighbour, a bit of lubricant can go a long way. I used to use talcum powder, but these days a bit of graphite powder works much better. Sprinkle it liberally into the gap between the boards and then walk over it to work the powder down into the crevice. It’s a bit messy, but it’s a surprisingly effective way to stop that high-pitched friction noise without lifting a single nail.
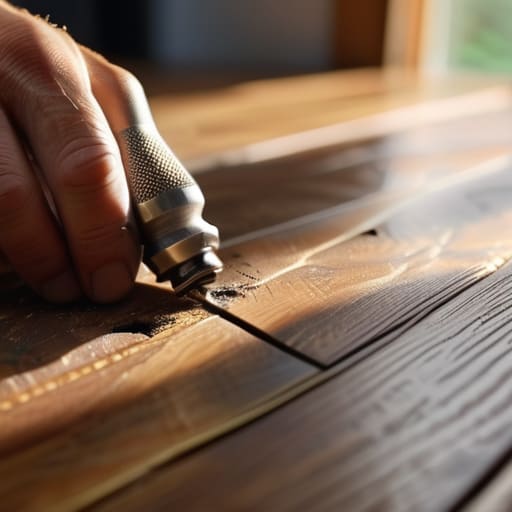
- 4. For the more stubborn ones where the board has pulled away from the timber joist, you’ll need to go in with screws. I suggest drilling a small pilot hole first; if you don’t, you’ll almost certainly split the board, and then you’re looking at a much larger job than you bargained for. Aim to drive the screw through the floorboard and directly into the meat of the joist below.
- 5. If you find that the joist has shrunk over the decades—which happens quite often in these old Hampshire cottages—there might be a gap too large for a simple screw to bridge. In that case, you can use a specialised floorboard gripper or a small wooden shim. You essentially wedge a bit of timber into the gap to tighten the connection before you drive your screw home.
- 6. Now, don’t go using massive, heavy-duty screws that look like they belong in a garden fence. You want something with a small head that can be driven slightly below the surface of the wood. Once the screw is in, you can use a bit of wood filler to cover the head, and once it’s dry, a quick sand will make the whole thing look as though it never happened.
- 7. Finally, give the area a proper test run. Walk over it with your full weight, much like you would when I’m conducting a final walkthrough of a property. If it’s silent, you’ve done the job right. If it still protests, you likely missed the joist entirely, and you’ll need to shift your aim a few inches to the left or right and try again.
Fixing Floorboard Friction Without Ruining the Room
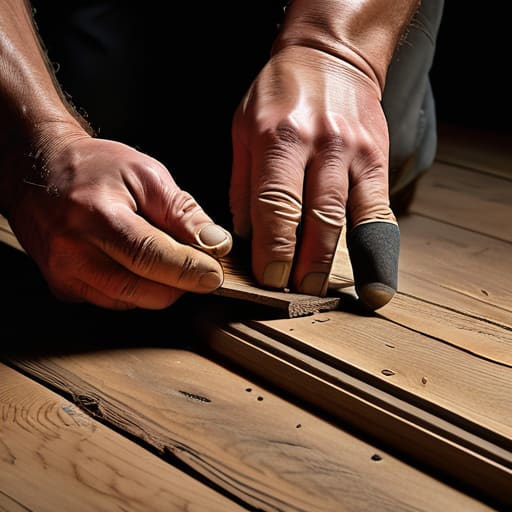
Now, if you’re dealing with a particularly stubborn board in a room with period features—say, a Victorian terrace with original pine—you have to be careful about how you approach it. I’ve seen many a well-meaning person try to force a screw through a board only to split the grain, which is a headache no one needs. If the gap between the board and the joist is wider than a pencil, you might find that a hardwood floor squeak repair kit is a more surgical way to go than heavy-handed carpentry. These kits often use a small plug to bridge the gap, which is much kinder to the timber.
Sometimes, the noise isn’t even about the board moving up and down, but rather the boards rubbing against one another. This is where fixing floorboard friction becomes the priority. I’ve found that a tiny amount of silicone lubricant for wood or even a bit of talcum powder swept into the crevices can work wonders for those high-pitched chirps. It’s a bit like greasing a hinge; it doesn’t fix the structural movement, but it stops the boards from complaining every time you walk to the kitchen for a cuppa.
The Right Wood Glue for Floorboards and Lasting Silence
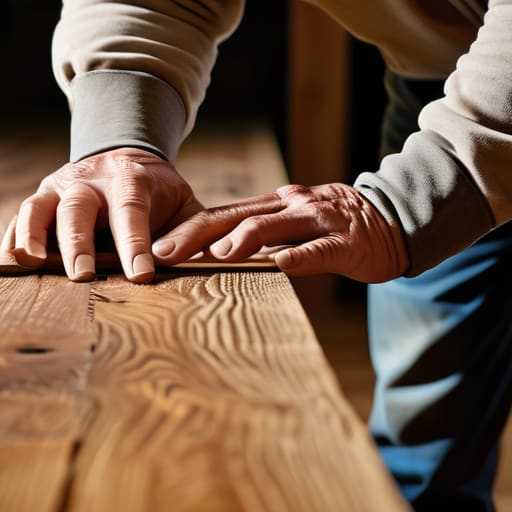
Now, don’t go running to the local DIY shop and grabbing the first bottle of PVA you see just because it says it’s for wood. I’ve seen many a well-meaning homeowner try to use standard craft glue, only to find it hasn’t got the backbone to hold up under the weight of a heavy sideboard or a briskly walking terrier. If you are looking for a permanent fix, you need a proper wood glue for floorboards that is specifically rated for high-stress, load-bearing joints. You want something that sets hard and won’t go gummy when the temperature in the hallway drops during a January frost.
If the gap between the board and the joist is a bit wider than a mere hair, a simple liquid glue might just disappear into the void without doing much. In those cases, I often find that a bit of a hardwood floor squeak repair kit—the kind that includes a thickened adhesive—is much more reliable. It stays where you put it rather than running off like water. If you’re working on older, more delicate timber, a tiny bit of silicone lubricant for wood can also help settle the friction in the joints without the permanence of a heavy adhesive, though it’s more of a temporary truce than a total peace treaty.
A few things I’ve learned from decades of walking on old timber
- Don’t just go for the first bottle of lubricant you find in the shed; if you’re using a spray, make sure it’s a dry silicone, otherwise you’ll end up with a sticky mess that attracts dust and eventually makes the floor even noisier.
- If you find yourself needing to drive a screw through the board to stop it rubbing, always drill a pilot hole first, especially in those older pine boards from the late Victorian era, or you’ll split the wood and end up with a much bigger problem than a little noise.
- Keep an eye on the humidity in the room; I’ve seen plenty of perfectly fine floors start acting up simply because the heating has been cranked up too high in the winter, causing the timber to shrink and pull away from the joists.
- When you’re working near a fireplace or a hearth, be exceptionally careful with any liquids or glues; those old floorboards are thirsty and can soak up a spill much faster than you’d expect, leaving a permanent mark on the finish.
- If you’re tackling a particularly stubborn squeak in a hallway, try to work from the corner of the room inwards; it’s much easier to manage the boards when you aren’t backing yourself into a tight spot with a toolbox in your hand.
A Few Final Thoughts Before You Pick Up the Hammer
Don’t go chasing every single creak in the house; focus your efforts on the ones that actually wake you up at night or happen in the middle of a hallway where people walk most.
If you’re using glue, less is more—you want it to seep into the gap, not end up pooling on your floorboards where it’ll only cause a different kind of headache later.
Always remember that a squeak is often just a sign of an old house settling, so if you can’t fix it with a bit of glue or a screw, don’t lose too much sleep over it.
A Lesson from the Joists
I’ve spent thirty years walking through houses—from the flint-walled cottages near the Bourne Valley to the newer builds out towards Salisbury—and if there is one thing I’ve learned, it’s that a squeak is rarely just a noise; it’s the house telling you exactly where it’s settling, and if you don’t listen to it now, you’ll be listening to it much louder in five years’ time.
Gordon Ellery
A Final Word on Quiet Floors
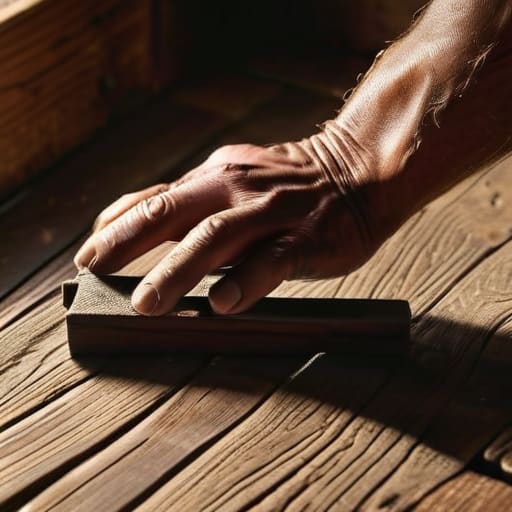
At the end of the day, whether you’ve opted for a bit of wood glue to settle a loose joint or you’ve gone the more thorough route of adding new screws to steady a shifting joist, the goal remains the same: peace and quiet. Remember that there is no one-size-fits-all fix, and sometimes a floorboard that’s been protesting since the late Victorian era—as many of the older cottages around here have been—might need a more patient touch than a quick spray of lubricant. It is all about identifying whether the noise is coming from surface friction between the boards or a deeper movement in the timber structure itself. Take your time, don’t rush the drying process, and always respect the age of the wood you are working with.
We spend so much of our lives trying to modernise our homes, often chasing the latest trends or high-tech gadgets, but there is a particular satisfaction in maintaining the character of a house that has stood for a century or more. A house isn’t just a collection of bricks and mortar; it is a living thing that settles and shifts with the seasons. Fixing a squeak is about more than just silencing a noise; it is about tending to your home and ensuring it remains a sanctuary rather than a source of irritation. Once that floor is silent again, you might find you enjoy walking through your hallway just a little bit more.
Frequently Asked Questions
If I’ve tried the glue and the screws but the floor still groans, am I looking at a joist that’s actually bowed or rotted?
If the glue and screws haven’t done the trick, you’re likely dealing with more than just surface friction. I’ve seen it many times in these older cottages: a joist that’s bowed under the weight of a century or, worse, one that’s succumbed to damp and rot. If the floor feels springy or dips when you step, get a torch and a flashlight down there. If the timber looks spongy or dark, it’s time to call a professional.
Is it worth the bother trying to fix a single board in a Victorian terrace, or am I just delaying the inevitable when the whole floor eventually needs lifting?
Look, I’ve walked through enough Victorian terraces in Salisbury to know the answer. If it’s just one board rubbing against a joist, fix it. It’s a ten-minute job and saves your sanity. But if the whole floor feels like a percussion instrument every time you head to the kitchen, you’re just putting a plaster on a broken leg. Fix the nuisance now, but keep an eye on the rest; those old timbers don’t forget.
Will driving a screw through an old pine board split the wood, or is there a trick to doing it without leaving a permanent scar on the finish?
You’re right to be cautious. That old pine, likely from the late Victorian era if it’s in one of the cottages near the mill, is far more brittle than the stuff you buy at B&Q today. If you drive a screw straight in, it’ll split like a dry twig. You must drill a pilot hole first—about the same diameter as your screw. Use a countersink bit so the head sits flush, and you won’t leave a scar.