I was sitting in the kitchen last Tuesday, trying to finish a bit of reading, when that familiar, rhythmic tink… tink… tink… started up again from the utility sink. Most people will tell you that a leak like that is a sign of a dying plumbing system or a reason to call out an expensive contractor, but that is a complete fallacy. After thirty years of surveying properties from the old flint cottages near Salisbury to the newer builds in the valley, I’ve learned that most of the time, it’s just a bit of perished rubber that’s had better days. If you are wondering how to fix a dripping tap without losing your temper or your savings, you don’t need a degree in engineering; you just need the right wrench and a bit of patience.
In this guide, I’m going to show you exactly how to get to the bottom of that nuisance. I won’t be giving you any of that polished, professional jargon that makes your head spin; instead, I’ll walk you through the proper, no-nonsense way to strip it down, swap the washer, and get your peace and quiet back. We’ll do it properly, the way it ought to be done.
Table of Contents
- Step-by-Step Instructions
- Identifying the Common Causes of Dripping Taps
- Knowing How to Turn Off Water Supply First
- A few bits of advice from someone who’s spent too much time under a sink
- A few things to remember before you start
- ## A small leak or a large lesson
- A Final Word on the Matter
- Frequently Asked Questions
Guide Overview
Tools & Supplies
- Adjustable wrench for loosening nuts
- Screwdriver to remove handle screws
- Allen key for specific handle types
- Replacement washers or O-rings (set of various sizes)
- Plumber's grease (small tube)
Step-by-Step Instructions
- 1. Before you pick up a single tool, you must turn off the water supply. I’ve seen too many well-meaning neighbours turn a simple fix into a miniature indoor lake because they forgot this bit. Look under the sink for the isolation valve; if it’s an older property—perhaps a mid-century build with the original plumbing—you might need to find the main stopcock, usually tucked away under the stairs or near the front door. Once that’s shut, open the tap to drain any remaining water from the pipes.
- 2. Now, you’ll need to get to the guts of the thing. Most taps have a decorative cap on top, often marked with a little ‘H’ or ‘C’. Use a thin flat-head screwdriver to gently pry that cap off. Be careful not to gouge the chrome; I spent years valuing houses where the previous owner had practically scratched the brasswork raw. Underneath, you’ll find a screw holding the handle in place. Unscrew it, and the handle should lift straight off.
- 3. Once the handle is out of the way, you’ll see the brass valve stem. You’ll need a spanner here—a decent, heavy one, not one of those flimsy sets from the supermarket. Grip the nut and unscrew the valve stem by turning it anti-clockwise. If it’s stuck, don’t force it with brute strength or you’ll snap the pipework; a bit of penetrating oil and a patient hand will go much further.
- 4. Most drips are caused by a perished washer. Once you’ve pulled the stem out, look at the bottom of it. You’ll see a small, circular rubber disc. This is likely the culprit. If it looks flattened, cracked, or feels like old chewing gum, it’s time for a replacement. I always suggest taking the old washer with you to the hardware shop—matching the exact size is vital, as a fraction of a millimetre can be the difference between a dry sink and a midnight flood.
- 5. While you’re at it, take a quick look at the “seat” of the tap—the part inside the tap body that the washer presses against. If it looks pitted or uneven, a new washer won’t do much good. You might need a tap seat cutter to smooth it out, but for most of the Victorian or Edwardian terraces around here, a simple cleaning with a bit of cloth is usually enough to get things sitting flush again.
- 6. Now, the rebuild. Drop the new washer into place, screw the valve stem back into the body, and tighten it down. You want it firm, but not over-tightened. I’ve seen many a DIYer crack a brass fitting by thinking more torque equals more security. If you tighten it too much, you’ll just crush the new washer and be right back where you started.
- 7. Finally, turn your water supply back on slowly. Don’t just flick it to full pressure; ease it back on to avoid a sudden hammer effect in the pipes. Test the tap a few times, watching closely for any signs of moisture around the base. If it stays dry, you’ve done the job properly and can get back to your tea.
Identifying the Common Causes of Dripping Taps
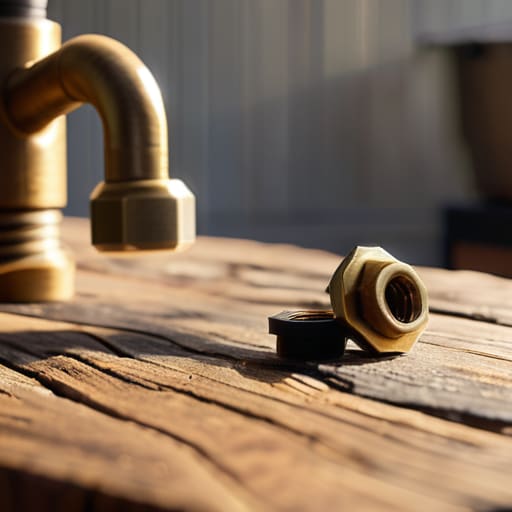
Before you start unscrewing things, you need to understand what you’re actually up against. Most of the time, a tap starts acting up because a small bit of rubber has perished or a bit of grit has lodged itself where it shouldn’t be. In the older cottages around here—most of which were plumbed back in the late Victorian era—you’re usually dealing with a simple compression tap. In these, you typically just need to replace faucet washer to stop the flow. However, if you’ve moved into one of the newer builds from the 1990s onwards, you’re likely looking at a much more modern setup.
Modern taps often use a ceramic disc system rather than a rubber washer. These are much more reliable, but when they do fail, it’s rarely a quick fix with a screwdriver; you’re usually looking at a full ceramic disc cartridge replacement. It is worth noting that if the drip is coming from the base of the spout rather than the nozzle, the issue might actually be an O-ring rather than the internal mechanism itself. Just make sure you know how to turn off water supply at the isolation valve before you dive in, or you’ll be dealing with a much larger problem than a simple drip.
Knowing How to Turn Off Water Supply First
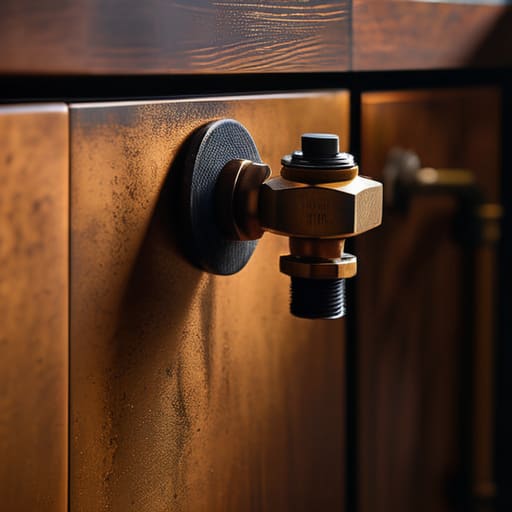
Before you go reaching for your spanners, you must learn how to turn off water supply to the tap in question. I’ve seen more than one well-meaning neighbour turn a simple afternoon task into a flooded kitchen because they assumed the isolation valve under the sink was working. Those little valves, often tucked away in dark, damp cupboards, can seize up if they haven’t been moved since the house was built in the late seventies. Give them a gentle turn first; if they feel stuck, don’t force them with a pair of pliers or you’ll snap the spindle entirely.
If the local isolation valves are stubborn or non-existent, you’ll need to head to the main stopcock. In most of these older cottages around the valley, that’ll be under the stairs or near the front door. Once you’ve shut it off, open the tap fully to drain any remaining water left in the pipes. It’s a small, necessary bit of patience that saves you from a sudden, unwanted geyser when you finally start fixing a leaky kitchen faucet.
A few bits of advice from someone who’s spent too much time under a sink
- Don’t go buying the most expensive tools at the hardware shop; a decent adjustable spanner and a small set of screwdrivers will do more than enough for a standard washer replacement.
- If you’re working on an older tap—the kind with the ceramic handles that were common in the late seventies—be careful not to force the mechanism, as those old threads can be as brittle as a dry-stone wall in a frost.
- Always keep a small rag or a bit of old cloth handy to lay over the drain; there is nothing quite as disheartening as watching a tiny, vital screw vanish down the pipes while you’re halfway through the job.
- When you’re replacing a washer, don’t just grab the first one that looks right; take the old one with you to the shop to ensure the diameter is an exact match, or you’ll be back there making a second trip before tea.
- Once you’ve tightened everything up, turn the water back on slowly; rushing it can cause a sudden surge that’ll just start the whole headache all over again.
A few things to remember before you start
Never, under any circumstances, start tinkering with the brassware until you have physically confirmed the mains or the isolation valve is shut off; I’ve seen many a well-meaning neighbour turn a minor drip into a kitchen flood by forgetting this one simple step.
Most of the time, the culprit is nothing more than a perished rubber washer—a bit of perished material that costs pennies—but you’ll need to be patient enough to strip the handle back to find it.
If you find that replacing the washer doesn’t do the trick, the seat of the tap might be pitted or worn, which is a more serious bit of business that might mean it’s time to call in a proper plumber rather than risking a stripped thread.
## A small leak or a large lesson
I’ve spent thirty years looking at the bones of houses, and if there is one thing I’ve learned, it’s that a dripping tap is rarely just about a bit of wasted water; it’s a small, rhythmic warning that if you don’t attend to the minor things now, the house will eventually start demanding your attention in much more expensive ways.
Gordon Ellery
A Final Word on the Matter
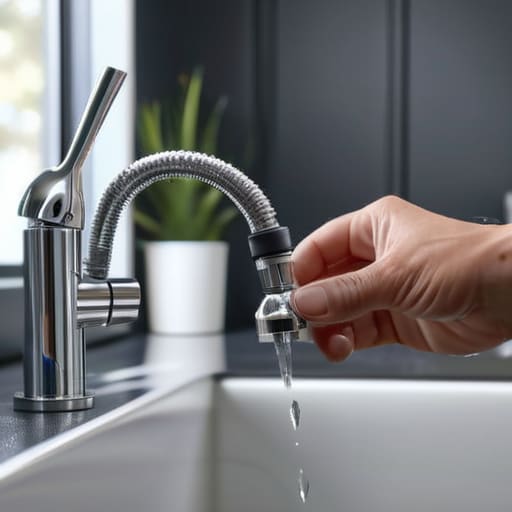
Once you have finished, do a quick check to ensure the new washer or ceramic disc is seated properly before you turn that main stopcock back on. It is worth taking a moment to dry the area completely with a bit of old rag; that way, if a leak persists, you will know immediately if it is a genuine failure of the new part or just a bit of residual moisture. Remember, most of these issues boil down to a bit of grit in the mechanism or a perished seal that has simply seen better days. If you have followed the steps, identified the right part, and kept the water off while you worked, you have already done the hardest part of the job without needing to call out an expensive plumber.
There is a particular sort of quiet satisfaction that comes from fixing something with your own two hands. In a world where we are often told to just throw things away and buy a new version, taking the time to mend a simple tap is a small but meaningful act of stewardship. It keeps the house running smoothly and keeps a few extra pounds in your pocket for the local butcher or the village hall fund. A well-maintained home isn’t built on grand renovations, but on these small, steady repairs that keep the damp at bay and the peace intact.
Frequently Asked Questions
If I’ve replaced the washer but the tap is still weeping, is it time to call a plumber or is there something else I’ve missed?
If you’ve swapped the washer and it’s still weeping, you’re likely looking at a worn valve seat. I’ve seen many a Victorian-era tap in these parts where the metal itself has become pitted over the decades. You can try a seat-grinding tool to smooth it out, but if the brass is too far gone, you’ll be fighting a losing battle. At that point, save your knuckles and call a plumber.
Do I need to buy a specific set of tools for these older brass taps, or will my standard spanner do the job?
You’ll likely find that your standard adjustable spanner is enough to get most of the way there, but if you’re dealing with those older brass taps—the sort you see in most of the mid-Victorian cottages around here—I’d suggest picking up a proper tap spanner. They’re inexpensive. It’s a small bit of metal that prevents you from rounding off the edges of the brass, which is a headache you don’t want when you’re already elbow-deep in a sink.
Is it worth trying to fix an old, temperamental tap, or should I just bite the bullet and replace the whole fixture?
It depends on what you’re looking at. If it’s a solid brass fixture from the sixties, it’s worth the effort to swap a washer or a ceramic disc; those things were built to last. But if you’re dealing with a cheap, modern unit that’s started to corrode at the base, don’t waste your Saturday afternoon fighting it. Sometimes, biting the bullet and buying a new one is the only way to stop the headache.