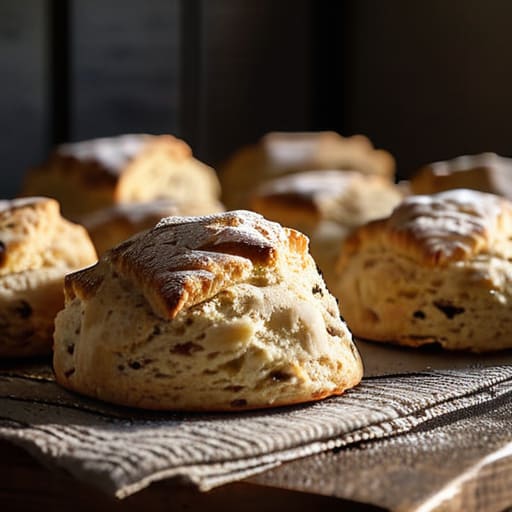
You don’t need a fancy stand mixer or a degree from a culinary school to figure out how to make scones; in fact, I’d argue those expensive gadgets are often the very thing that ruins them. I spent years watching people fuss over their dough, kneading it with a heavy hand as if they were trying to patch a damp foundation in an old Victorian terrace. All that work just results in a heavy, sad brick that’s more suited to a garden ornament than a tea tray. The truth is, if you want a proper rise, you have to learn the art of doing as little as possible with your hands.
I’m not here to give you a list of complicated measurements or tell you that you need organic flour flown in from halfway across the world. I’m going to show you exactly how to get that light, crumbly texture by treating the dough with a bit of respect and a lot of gentleness. I’ve tested these methods in my own kitchen, usually while waiting for the kettle to boil, and I promise to give you the straightforward, no-nonsense steps that actually work.
Table of Contents
- Recipe Instructions
- Mastering the Cold Butter Technique for Flaky Scone Texture
- The Truth About Baking Powder vs Baking Soda for Scones
- Five Little Things That Make or Break Your Batch
- Three Things to Remember Before You Turn the Oven On
- ## A Matter of Patience
- A Final Word Before the Tea is Poured
- Frequently Asked Questions
Recipe Details
Ingredients
- 2 cups all-purpose flour
- 1/4 cup granulated sugar
- 1 tablespoon baking powder
- 1/2 teaspoon salt
- 1/2 cup cold unsalted butter, cubed
- 2/3 cup cold buttermilk
- 1 large egg
Recipe Instructions
Step 1
Start by getting your hands on 350g of self-raising flour and a pinch of salt. Sift them into a large bowl, then take about 85g of cold, unsalted butter—cut it into small cubes first, mind you—and rub it into the flour using your fingertips. You aren’t looking for a paste; you want the texture of fine breadcrumbs. If the butter gets too warm from your hands, pop the whole bowl in the fridge for ten minutes before moving on.
Step 2
Once the flour and butter are combined, make a well in the centre and pour in about 175ml of whole milk. I usually add a squeeze of lemon juice to the milk a minute beforehand to give it a bit of a lift. Use a blunt knife to cut through the mixture in a criss-cross pattern until a soft dough begins to form. Don’t go stirring it like a soup; you just want it to come together without making a mess of the kitchen counter.
Step 3
Dust your work surface with a bit more flour and tip the dough out. This is where most people go wrong by over-handling it. Use your hands to gently fold the dough over itself a few times until it’s just smooth enough to manage. If you fuss too much at this stage, you’ll end up with a heavy, sad brick instead of a proper scone that actually rises in the oven.
Step 4
Use a floured cutter—about 5 or 6 centimetres across is best for a standard tray—to press straight down into the dough. Whatever you do, do not twist the cutter. If you rotate it, you’ll seal the edges of the dough and they won’t rise properly, leaving you with a flat, uneven mess. Just press down once, lift it straight up, and repeat until the tray is full.
Step 5
Arrange them on a baking tray and brush the tops with a little extra milk or a beaten egg to give them a decent colour. Stick them into a preheated oven at 220°C (about gas mark 7) for about 10 to 12 minutes. You’ll know they are done when the tops are golden and they have a bit of a spring to them. Let them sit on the tray for a minute or two before moving them, or they’ll crumble apart before you’ve even reached for the jam.
Mastering the Cold Butter Technique for Flaky Scone Texture
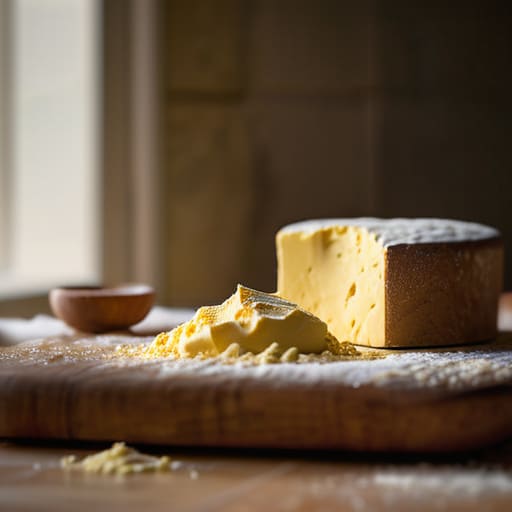
The secret to a proper flaky scone texture isn’t found in a fancy mixer, but in how you treat your butter. I remember a particularly old cottage near Salisbury—built around 1740, mind you—where the kitchen flagstones were always cold. That’s exactly what you want. You need your butter straight from the fridge, cut into small cubes, and worked in until you see pieces about the size of a pea. If the butter melts into the flour before it hits the oven, you won’t get those lovely, distinct layers; you’ll just get a heavy, dense roll. I’ve spent many a Saturday afternoon trying to fix a batch that was too “short,” and I can tell you, patience is your best ingredient.
When it comes to the lift, don’t go overthinking the chemistry. While some folks debate baking powder vs baking soda for scones, for these traditional British scones, you want the steady rise that baking powder provides. Once the flour and leavening are met, be extremely careful with your scone dough handling. Fold it just enough to hold together. If you knead it like bread dough, you’ll develop too much gluten, and you’ll end up with something closer to a paving stone than a treat. Treat the dough with respect, and it will reward you.
The Truth About Baking Powder vs Baking Soda for Scones
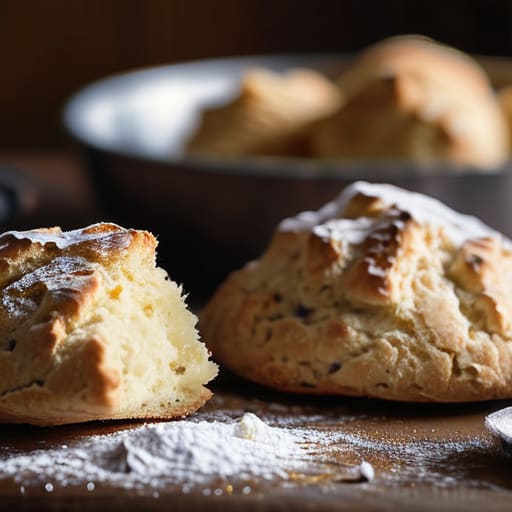
Now, I’ve sat through enough parish council debates to know that people love a good argument over something small, and nothing gets the locals more worked up than the debate over baking powder vs baking soda for scones. If you’re looking to replicate the traditional British scones I remember from my mother’s kitchen, you’ll almost certainly want to stick with baking powder. It’s a reliable, all-purpose leavening agent that provides a steady lift without needing an acidic component like buttermilk to get the job done.
Baking soda, on the other hand, is a bit more temperamental. It requires an acid—think lemon juice or even a heavy dose of yogurt—to activate it properly. If you use soda alone in a standard dough, you won’t just end up with a flat result; you might actually end up with a metallic, soapy aftertaste that ruins the whole batch. When you are aiming for that specific flaky scone texture, consistency is your best friend. I’ve seen many a well-intentioned baker try to swap them out to save a few pennies, only to find their afternoon tea accompaniments looking more like heavy biscuits than proper, light scones.
Five Little Things That Make or Break Your Batch
- Stop your hands from working the dough. I know it’s tempting to keep kneading until it feels smooth, like you’re making a loaf of bread, but that’s a mistake. You want to handle it as little as humanly possible; otherwise, you’ll develop the gluten and end up with something more akin to a paving slab than a scone.
- Watch your oven temperature like a hawk. If your oven is running a bit low—and mine often does, being a mid-eighties model—the scones will spread sideways before they have a chance to rise. You want that initial blast of heat to hit them the moment they go in, pushing them upwards.
- Don’t use a rolling pin. It’s far too easy to press down too hard and squash all the air out of the dough. Use your fingers to gently pat it out to about an inch thick. I’ve spent enough time measuring floor joists to tell you that thickness matters, and it matters here too.
- Avoid the temptation to twist the cutter. When you’re cutting your rounds, press straight down and lift straight up. If you twist the metal cutter like you’re screwing in a lightbulb, you’ll seal the edges of the dough together and they won’t rise properly in the middle.
- Keep your ingredients at the right temperature. If your kitchen is particularly warm—which it often is when the radiator is on full blast in November—your butter will soften before it even hits the oven. If it starts to feel greasy, pop the whole bowl in the fridge for ten minutes before you proceed.
Three Things to Remember Before You Turn the Oven On
Keep your butter cold and your hands quick; if the fat melts into the flour before it hits the heat of the oven, you’ll lose that lift and end up with something more akin to a biscuit than a proper scone.
Don’t be tempted to knead the dough like you’re working a piece of heavy clay; a light touch is the only way to ensure they stay tender rather than turning into something tough enough to use as a doorstop.
Watch the oven, not the clock; every stove in the county behaves a little differently, so keep a close eye on them through the glass once they’ve had about twelve minutes of heat.
## A Matter of Patience
I’ve spent thirty years looking at cracks in masonry and settling foundations, and I can tell you that the same principle applies to your baking: if you rush the process or let the heat of your own hands soften the butter before it hits the oven, you aren’t making a scone, you’re making a heavy, spiritless biscuit.
Gordon Ellery
A Final Word Before the Tea is Poured
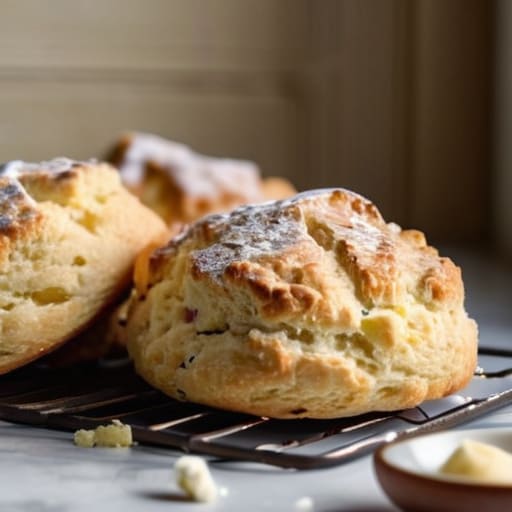
To get this right, you don’t need a professional kitchen or fancy gadgets, just a bit of patience and some decent butter. Remember that keeping your ingredients cold is the difference between a light, aerated crumb and a heavy, leaden lump that sits in your stomach like a piece of slate. Use enough baking powder to give them lift, but don’t go overboard, or they’ll taste more like a chemistry experiment than a treat. If you follow these steps—mind the temperature and watch your handling—you’ll find that getting the texture right is mostly about not overthinking it. It’s a simple bit of arithmetic: the less you fuss, the better the result.
At the end of the day, a scone isn’t meant to be a piece of high art; it’s meant to be shared. I’ve spent forty years looking at the structural integrity of flint walls and timber frames, and I can tell you that the most important thing about any structure is how it brings people together. Whether you’re sitting in a draughty kitchen or out on the garden bench, a warm scone with a bit of jam is a small, reliable comfort that makes a house feel like a home. So, don’t worry if they aren’t perfectly symmetrical. Just put the kettle on and enjoy them while they’re still warm.
Frequently Asked Questions
Can I make the dough ahead of time and keep it in the fridge, or will that ruin the rise?
I wouldn’t recommend it. I once tried to prep a batch of dough for a parish tea on a Sunday morning, leaving it in the fridge overnight. By the time the oven was hot, the baking powder had already done its work, and I was left with flat, heavy discs rather than proper scones. If you want that lift, keep the flour and butter separate until you’re actually ready to bake.
My scones always come out a bit flat and heavy; am I pressing down too hard when I shape them?
You’ve hit the nail on the head there. I’ve seen it a hundred times in village bake-offs. If you press down hard to flatten the dough, you’re essentially squeezing the air right out of it. Once that air is gone, they won’t rise, no matter how much baking powder you use. Just pat them gently into shape with your fingertips—treat them like they’re made of glass, not clay. Keep it light.
Is it worth using salted butter instead of unsalted, or does that throw off the balance?
It’s a fair question, and one I’ve heard more than once at the parish coffee mornings. Personally, I’ve always stuck to unsalted. When you’re measuring out your flour and milk, you want total control over the seasoning. Using salted butter adds a bit of a gamble to the salt ratio, and if you’re not careful, you’ll end up with a scone that tastes more like a biscuit. Stick to unsalted and add your own pinch.