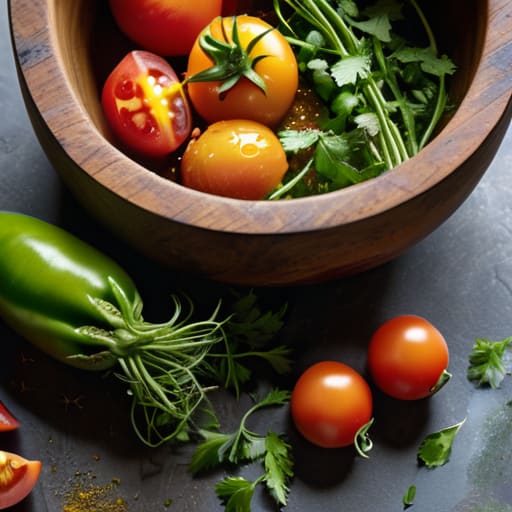
I saw a recipe in the Sunday supplement last week that suggested you needed “hand-harvested organic shallots” and a specific type of aged balsamic to truly understand how to make chutney. Honestly, it made my blood boil. If you tell me I need a specialist importer just to balance a bit of vinegar and sugar, you’ve missed the point entirely. You don’t need a culinary degree or a fancy pantry to get this right; you just need a bit of sense and some decent fruit from the local market. I spent thirty years valuing properties, and I learned early on that you don’t need the gold-plated fixtures to have a solid foundation. Chutney is no different.
I’m not here to give you a list of expensive, hard-to-find trifles that will leave your kitchen looking like a chemistry lab. Instead, I’m going to show you the straightforward way to do it—the way my mother did it in her kitchen back in the seventies. I’ll walk you through the proper ratios and the patience required to let the flavours settle. We’ll stick to what works, using what you actually have in the cupboard, so you can end up with something truly decent.
Table of Contents
Choosing Your Homemade Chutney Ingredients List
Now, before you go rushing to the supermarket and grabbing whatever is on offer, you need to think about your base. When I’m putting together a homemade chutney ingredients list, I always start with the seasonal stuff. If you’re in the middle of August, you’ll want those firm, slightly under-ripe plums or perhaps some windfall apples—the kind you’ll find in the orchard behind the old rectory, which, mind you, was built around 1840. You can go the fruit or vegetable route; a fruit-heavy base offers a lovely sweetness, but a vegetable-led one, like a sharp onion or carrot, holds up better against a strong cheddar.
The real trick, though, is balancing sweet and sour flavors so you aren’t left with something that tastes like jam or, worse, straight vinegar. You’ll need a good quality cider vinegar—not that clear stuff that smells of nothing—and enough sugar to offset the acid. If you fancy something a bit more exotic, you can toss in some spices for Indian style chutney, like mustard seeds or a bit of turmeric, but don’t go overboard. It’s about the subtle notes, not a spice riot.
Fruit vs Vegetable Chutney Picking Your Foundation
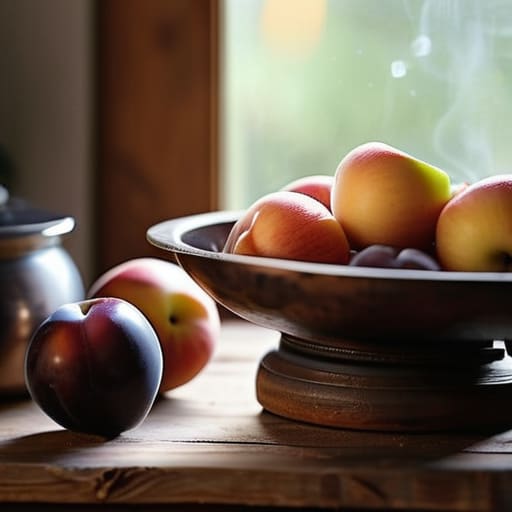
Now, this is where people usually get stuck, but it’s simpler than a planning application. When deciding between fruit vs vegetable chutney, you aren’t just choosing a flavour; you’re choosing the backbone of the whole jar. Fruit-based versions—think apples from the orchard or plums from the garden—tend to be more forgiving. They offer a natural sweetness that does half the work for you, especially when you’re balancing sweet and sour flavours with a bit of malt vinegar.
Vegetable chutneys, on the other hand, are a bit more serious business. If you’re working with onions or carrots, you’re looking for something more savoury to sit alongside a sharp cheddar or a bit of cold ham. I’ve found that vegetable bases often require a slightly more careful hand with your spices to ensure they don’t end up tasting a bit dull. It’s a bit like choosing between a Victorian cottage and a sturdy mid-century semi; one is all charm and sweetness, while the other is built on a solid, dependable foundation. Either way, once you’ve picked your base, the rest is just following the rhythm of the pot.
Five Things I’ve Learned from a Kitchen Full of Jam Jars
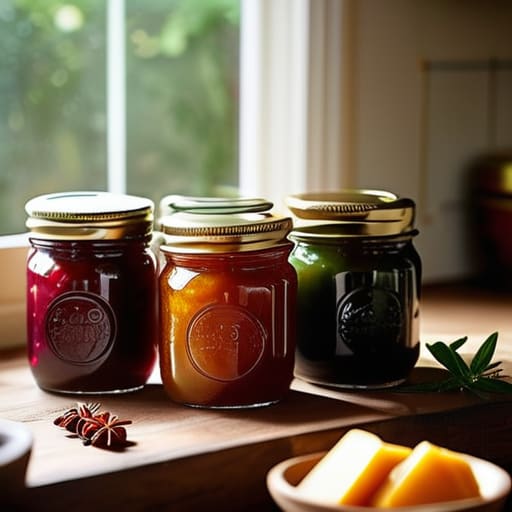
- Don’t be afraid of the vinegar. You’ll think it smells a bit much when you’re standing over the pot, but once that sugar settles in and the fruit breaks down, it’s the vinegar that keeps the whole thing from being cloyingly sweet. It needs that sharp edge.
- Patience is your main ingredient. I know it’s tempting to jar it up the moment it looks thick, but chutney is a bit like a well-built dry stone wall; it needs time to settle. Let those jars sit in the pantry for at least a month. It’ll taste far better once the flavours have actually shaken hands.
- Watch your heat. If you crank the stove up too high to speed things along, you’ll end up with scorched bits at the bottom of the pan, and no amount of spice will hide that burnt taste. Keep it at a steady, gentle simmer—the kind of heat you’d use to keep a tea kettle warm.
- Use what’s in season, not what’s in a supermarket catalogue. If the plums from the garden are coming in heavy this week, use them. If you’ve got a surplus of onions from the allotment, lean into that. Chutney should reflect what’s actually growing in the soil around you.
- Test the “plate trick” before you jar it. Take a small spoonful, spread it on a cold saucer, and let it set for a minute. If it runs like soup, it needs more cooking; if it holds its shape like a proper preserve, you’re ready to go. It’s much easier to fix it now than when it’s in the jar.
A Few Things to Remember Before You Start
Don’t go looking for perfection in the supermarket; the best chutneys usually start with fruit that’s a bit overripe or vegetables that have seen better days.
Patience is your main ingredient, as any chutney worth eating needs a few weeks in a cool, dark cupboard to let those flavours actually get to know one another.
Keep your ratios sensible—too much sugar and you’ve made a jam, too little and it won’t preserve properly—so stick to the basics until you find your feet.
The Secret to the Slow Simmer
Making chutney isn’t like following a blueprint for a new extension; you can’t just measure everything and expect it to stand up straight. You have to let it sit, let the flavours settle into one another, and trust that a bit of patience in the pot is worth more than any fancy ingredient you’ll find in a supermarket aisle.
Gordon Ellery
A Final Word on the Wait
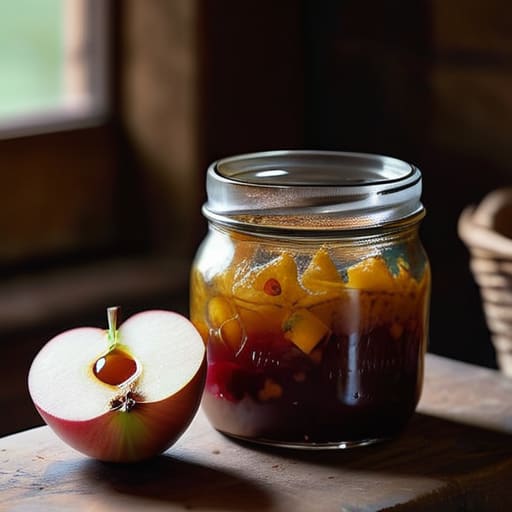
When you finally get that jar onto the larder shelf, remember that you aren’t just storing food; you are managing a bit of chemistry. Whether you’ve gone with a sharp apple and onion base or something more substantial with roasted peppers, the rule remains the same: patience is your primary ingredient. Don’t be tempted to crack the seal after a week just because the kitchen smells lovely. You need to let those flavours settle and marry properly, ideally for at least a month. If the consistency looks a bit thin at first, don’t panic—it will thicken up as it sits. Just ensure you’ve used enough vinegar to keep things safe, and you’ll find that the best results come to those who can wait.
There is something deeply satisfying about looking at a row of glass jars on a shelf and knowing exactly what went into them, from the orchard down the lane to the spices in your cupboard. It isn’t about making something fancy for a food critic; it’s about having a bit of something special to pull out when a guest drops by or when a cheese board needs a bit of character. Chutney is a bit like a well-built dry stone wall—it takes time to set, but once it’s done, it stays with you. So, get your jars ready, find a quiet corner of the pantry, and enjoy the slow, steady work of making something real.
Frequently Asked Questions
How long do I actually have to leave the jars in the cupboard before it's safe to open them?
Now, don’t go rushing in with a spoon the moment the jars cool down. I know the temptation, especially if it’s a plum chutney, but patience is your best ingredient here. You really ought to leave them in the cupboard for at least four to six weeks. That’s how long it takes for the vinegar to mellow and the flavours to actually settle into one another. If you open them too soon, it’ll just taste like sharp acid.
Can I use vinegar from the supermarket, or do I need to go out and find something more expensive?
Don’t feel you need to go hunting for some fancy, small-batch cider vinegar from a boutique deli. I’ve spent enough time looking at pantry cupboards to know that a standard supermarket white or malt vinegar works perfectly well. It’s the acidity you’re after, not the pedigree. Just make sure you check the label; as long as it’s clear and sharp, it’ll do the job without denting your weekly shop budget.
What's the best way to stop the whole kitchen smelling like a vinegar factory while it's simmering?
Now, if you’re making a large batch, you’ll find the smell of vinegar can get a bit aggressive. I’ve been there, usually while trying to preserve the summer plums in my own kitchen. The trick isn’t a fancy gadget; just keep a window cracked or use the extractor fan if you have one. I also find a small bowl of baking soda left on the counter helps soak up the sharp edges of the scent.