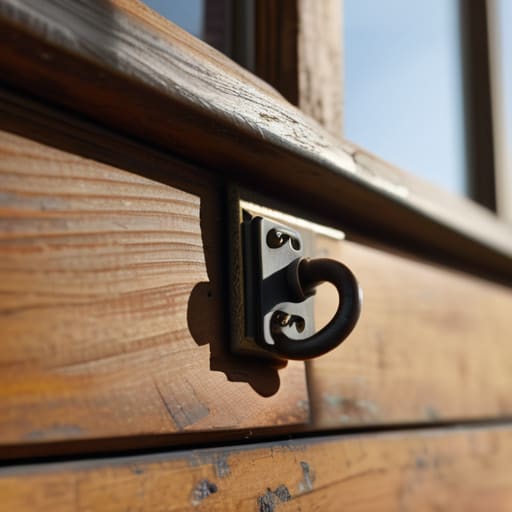
I was standing in my kitchen last Tuesday, clutching a lukewarm mug of tea, listening to that familiar, rhythmic clack-clack-clack of the casement window in the scullery. It’s a sound most people ignore until a gale blows in from the Channel, but I knew exactly what it meant. Most folks think you need to call out a specialist or replace the entire frame when things go wrong, but that’s a costly misconception. In reality, learning how to fix a broken window latch is often a matter of ten minutes and a screwdriver, rather than a week of waiting for a builder who might not show up until after Michaelmas.
I’ve spent thirty years surveying properties from here to Salisbury, and I can tell you that a house is only as good as its smallest fittings. This guide isn’t about fancy DIY tricks or buying expensive gadgets you don’t need; it is about practical, honest repairs. I’ll walk you through identifying whether your mechanism is simply tired or truly snapped, and I’ll show you exactly how to get it sorted so you can finally sleep without that draft whistling through the glass.
Table of Contents
- Step-by-Step Instructions
- Securing Casement Windows Against the Evening Draft
- The Right Window Hardware Installation Tools for the Job
- A few things I’ve learned from thirty years of looking at window frames
- A few final thoughts before you pick up the screwdriver
- ## The small things that hold a house together
- A bit of peace and quiet
- Frequently Asked Questions
Guide Overview
Tools & Supplies
- Screwdriver (Phillips or flathead depending on screws)
- Pliers (to remove old hardware or adjust components)
- Replacement window latch (1 unit)
- Small screws (included with new latch)
Step-by-Step Instructions
- 1. First, you’ll need to get a good look at what we’re actually dealing with. Don’t just poke at it with a finger; grab a torch and look closely at the mechanism. Is it a simple casement window where the handle just won’t turn, or is it one of those older sash windows where the fastener has slipped its track? You need to identify if the metal has actually snapped or if the screw has simply worked itself loose over the last twenty years of opening and closing.
- 2. Once you know the culprit, clear your workspace. If you’re working on a sash window—the kind you see on most of the Victorian terraces down the lane—you’ll likely need to remove the sash horns or the decorative moulding to get to the guts of it. I’ve found that having a small tray or a magnet handy is a lifesaver; there is nothing quite as infuriating as dropping a tiny brass screw into the gap between the floorboards and the skirting board.
- 3. Now, take your screwdriver and begin loosening the mounting screws. If the window is particularly old, the wood around the latch might be a bit soft or even slightly rotted. Be gentle with the tool here. If you force a screw into damp timber, you’ll only strip the hole, and then you’re looking at a much more expensive job involving wood filler and a bit of patience.
- 4. If the latch itself is bent or the internal spring has lost its tension, it’s time to swap it out. You can pick up a standard replacement at most decent hardware shops, though I’d suggest checking the dimensions carefully before you drive all the way into town. Make sure the new part matches the thickness of the frame; a latch that is even a millimetre too shallow won’t give you that satisfying click when it engages.
- 5. Set the new latch into position, ensuring it sits perfectly flush against the frame. If it’s sitting crooked, the window won’t seal, and you’ll be feeling the draft by Tuesday. I always recommend hand-tightening the screws first. Once you’ve checked that the alignment is spot on, then you can give them a final turn with the screwdriver to secure everything firmly.
- 6. Before you celebrate and put the tools away, give the window a proper test run. Open it fully, close it, and engage the latch several times. It should feel smooth and purposeful. If you hear a grinding sound or if it feels like you’re fighting the mechanism, something isn’t sitting right, and you’ll want to loosen it back up and try again before the damp sets in.
Securing Casement Windows Against the Evening Draft
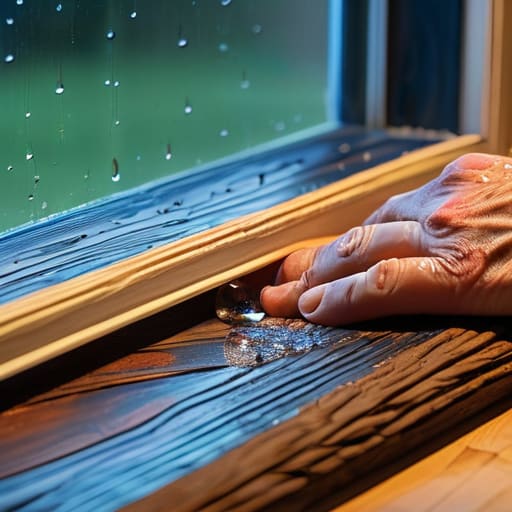
Once you’ve finished the actual repair, you’ll often find that a newly tightened latch doesn’t quite stop that familiar evening chill. I remember an old cottage near Chawton where the frames were so settled that even a perfect latch couldn’t stop the wind whistling through. If you find the air still getting in, you aren’t necessarily looking at a mechanical failure, but rather a need for improving window seal and insulation. A bit of high-quality foam tape or a fresh bead of silicone along the frame can do more for your comfort than the sturdiest ironmongery ever could.
It is also worth checking the alignment of the entire sash. If the window sits slightly askew in its frame, no amount of securing casement windows with new hardware will truly make them airtight. I’ve seen many a well-meaning person spend an hour fixing loose window handles only to realise the problem was a hinge that had dropped an inch over the last decade. Take a moment to ensure the frame is square; sometimes a simple adjustment to the hinge screws is the real secret to a draught-free night.
The Right Window Hardware Installation Tools for the Job
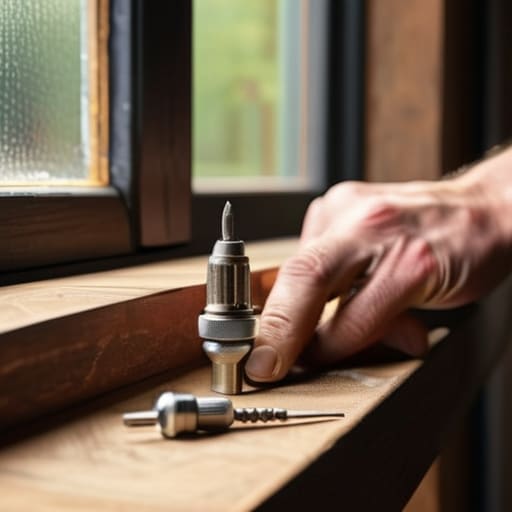
Now, before you go tearing at the frame, you’ll need to gather the right bits. I’ve seen more people make a mess of a simple repair because they went at it with a blunt screwdriver or, heaven forbid, a hammer. For most of the older timber frames around here, you won’t need a full workshop, but you must have a decent set of window hardware installation tools. A proper set of precision screwdrivers—the kind with the slim heads that won’t slip and mar the surrounding wood—is worth every penny. If you’re dealing with a more modern uPVC unit, a bit of WD-40 or a silicone spray is essential for easing the movement of the mechanism before you start unscrewing anything.
If you find yourself fixing loose window handles, keep a small set of Allen keys handy. You’d be surprised how often a handle feels broken when it’s actually just a tiny grub screw that’s vibrated loose over the years. I always keep a small container of brass screws in my shed; there’s no sense using a steel one that’ll rust and seize inside a beautiful oak frame within two seasons. It’s the small, correct tools that turn a frustrating afternoon into a job well done.
A few things I’ve learned from thirty years of looking at window frames
- Don’t just replace the latch; check the frame. If the timber has swelled from the damp—which happens a lot in these older cottages—a brand new metal latch won’t do a lick of good if it isn’t meeting the strike plate properly.
- Use a bit of graphite powder rather than oil. I know, it sounds old-fashioned, but oil attracts dust and grit, which eventually turns into a grinding paste that jams the mechanism. Graphite keeps things moving without the mess.
- Measure twice, buy once. I’ve seen plenty of folks rush to the hardware shop only to come back with a latch that’s two millimetres too wide. In a window, two millimetres is the difference between a snug fit and a whistling draft.
- Check the screws, not just the metal. Often, the latch isn’t actually broken; it’s just that the vibrations from opening and closing the window over the years have backed the screws out of the wood. A quick tighten often solves the mystery.
- Look at the weatherstripping at the same time. There is no sense in having a perfectly functioning latch if the rubber seal underneath has perished and cracked. If it feels brittle to the touch, it’s time to swap it out.
A few final thoughts before you pick up the screwdriver
Don’t let a bit of grit or a loose screw turn a minor nuisance into a major repair; catching a dodgy latch early saves you from a much larger bill when the winter winds start blowing off the downs.
Make sure you’ve got the right bit of hardware for the specific age of your window, as trying to force a modern latch into a Victorian frame is a quick way to end up with more holes than sense.
At the end of the day, a window that closes properly isn’t just about security, it’s about that quiet bit of peace that comes from knowing your house is actually holding the warmth in.
## The small things that hold a house together
“A window that won’t latch properly isn’t just a bit of bother; it’s a slow leak of warmth and a bit of peace of mind. I’ve stood in many a draughty hallway in these old cottages, and I can tell you, fixing a five-pound piece of brass is a lot cheaper than trying to heat a room that won’t stay sealed.”
Gordon Ellery
A bit of peace and quiet
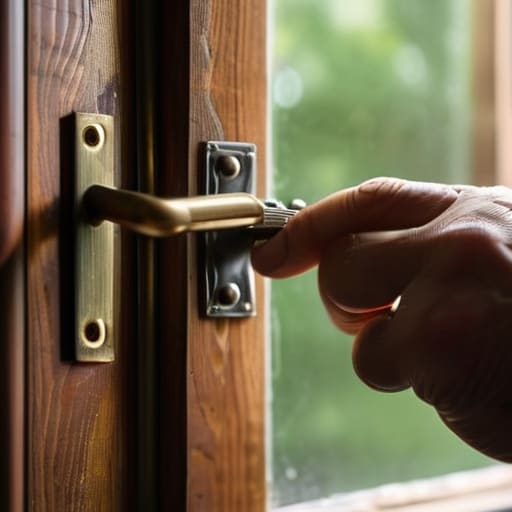
Once you have the new hardware fitted and the frame aligned, you’ll find that a simple latch does a lot more than just stop the wind. It isn’t just about the tools or the specific measurements we discussed; it is about the satisfaction of a job done right without having to call out a contractor who charges by the minute. Whether you are tightening a loose screw on an old Victorian casement or replacing a snapped mechanism on a mid-century frame, the goal is the same: a window that closes with a solid, reassuring thud rather than a hesitant rattle. If you’ve taken the time to grease the tracks and check the alignment, you’ve already done more for your home’s efficiency than most.
At the end of the day, these small repairs are what keep a house feeling like a home rather than just a structure of brick and mortar. We spend so much time worrying about the big things—the extensions, the new kitchens, the loft conversions—that we often forget that true comfort lives in the details. There is a particular kind of quiet that comes from knowing your windows are secure and the evening draft is kept firmly on the other side of the glass. It is these little victories, the ones we manage with our own two hands, that make a village house truly worth the upkeep.
Frequently Asked Questions
If the latch is fine but the window won't stay shut, is it the hinges or the frame that’s gone wonky?
If the latch is clicking home but the window still won’t sit flush, you’re likely looking at a structural shift. I’ve seen it a hundred times in these older cottages. It’s usually the hinges pulling away from the frame, or the frame itself settling—common enough in our clay-heavy soils. Check the screws first; if they’re spinning in loose timber, you’ve found your culprit. If the frame is bowed, you’re into deeper territory.
Do I need to order a specific part for these old timber casements, or will a standard hardware shop latch do the trick?
Don’t go rushing to the local DIY shop just yet. Most of those modern, shiny latches are designed for uPVC, and they won’t sit right in the mortice of an old oak frame. If you’ve got timber casements—likely dating from the late Victorian era or the inter-war period—you’ll want something with a bit of weight to it. I’d suggest checking the local ironmonger or looking for period-accurate brass. A standard part often leaves a gap, and a gap is just a way for the damp to get in.
Is it worth trying to fix a rusted-on latch myself, or am I just going to end up stripping the screw heads and making it worse?
Look, I’ve seen enough botched DIY jobs in the parish to know the feeling. If that latch is truly seized by rust, you’re playing a dangerous game. One wrong turn with a screwdriver and you’ll have stripped heads that no amount of luck will fix. If it’s just a bit of grit, try some WD-40 first. But if it’s fused solid, bite the bullet and call a professional before you make it a much more expensive problem.